Custom Shower
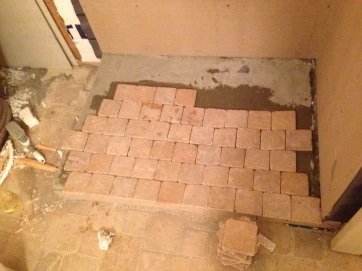
Now let’s talk about our custom shower. Again, we’re hoping to save costs so we decided to build our shower ourselves rather than buying something prefab. To start, we left some tiles hanging over the line so that we could cut out a nice straight line with my angle grinder.
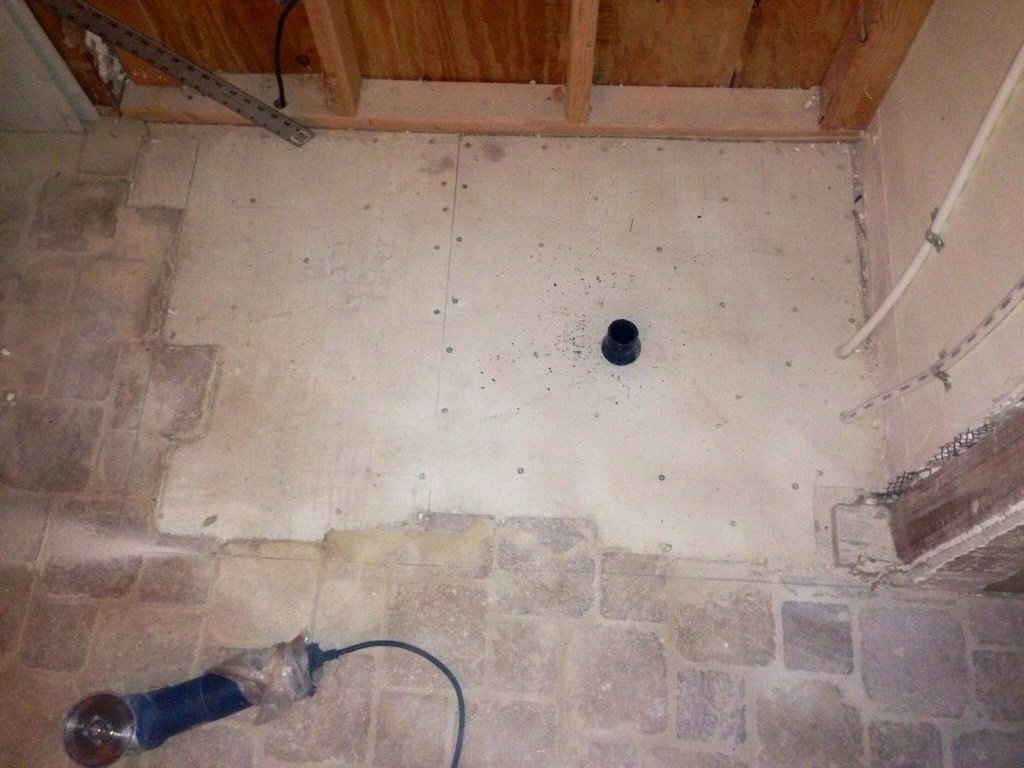

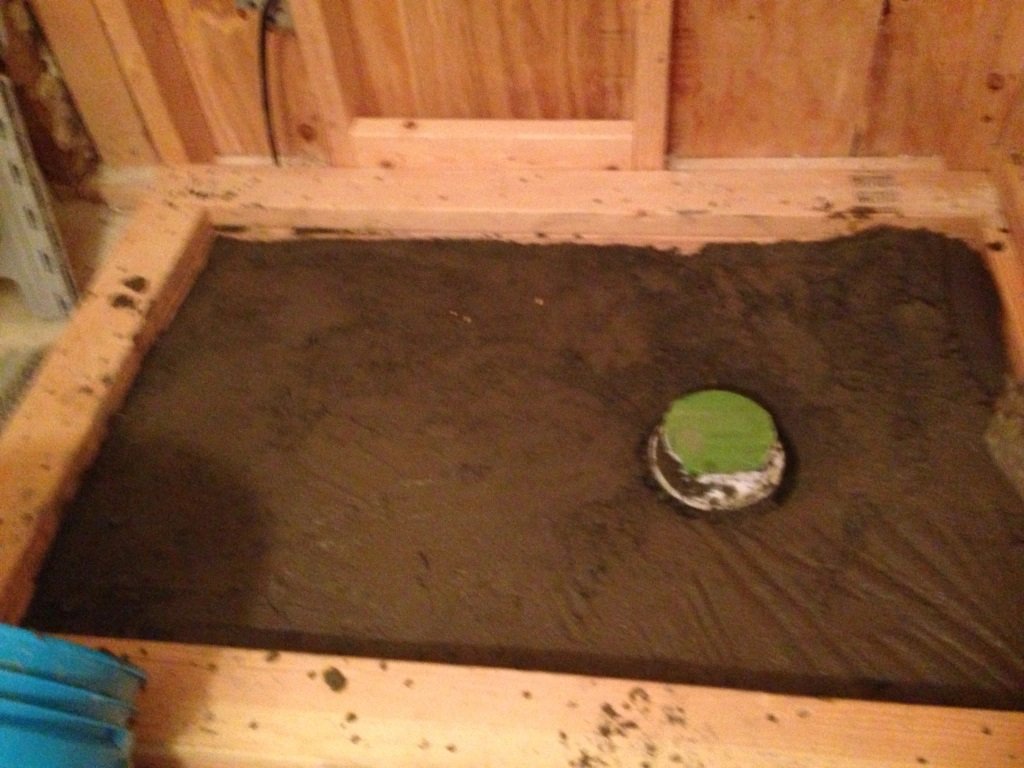
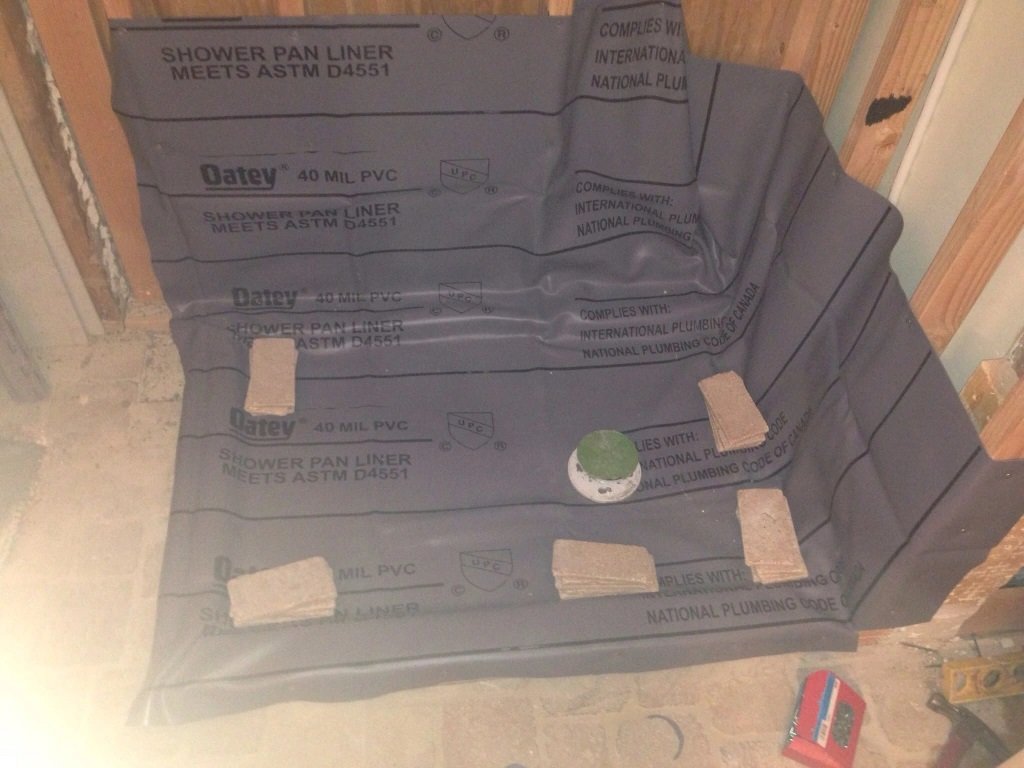
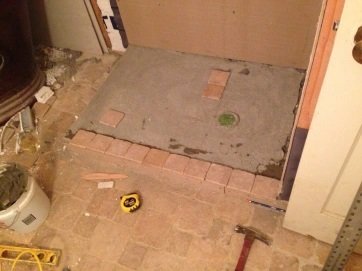
Here is the shower pan area, now ready for a shower pan and the basic frame of the curb of the shower. We want a frameless tempered glass enclosure, so there is no need to have different heights on the curb. We added the base of the shower drain now so we know how much to build up the sand mix for the underside of the shower pan membrane. See the green Frogtape over the drain laying next to the base? Always make sure that you are covering your drains when you’re using something that can fall down into them. It takes 30 seconds and saves you 40 hours of frustrating plumbing troubleshooting later on
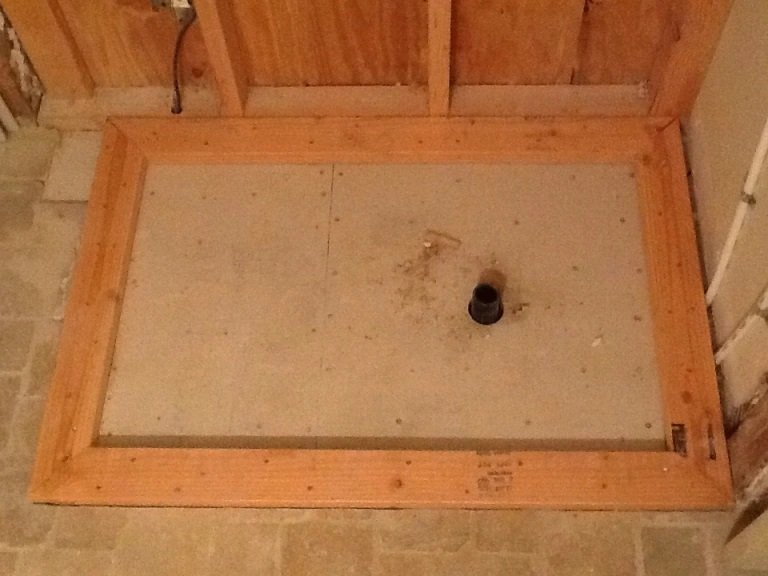
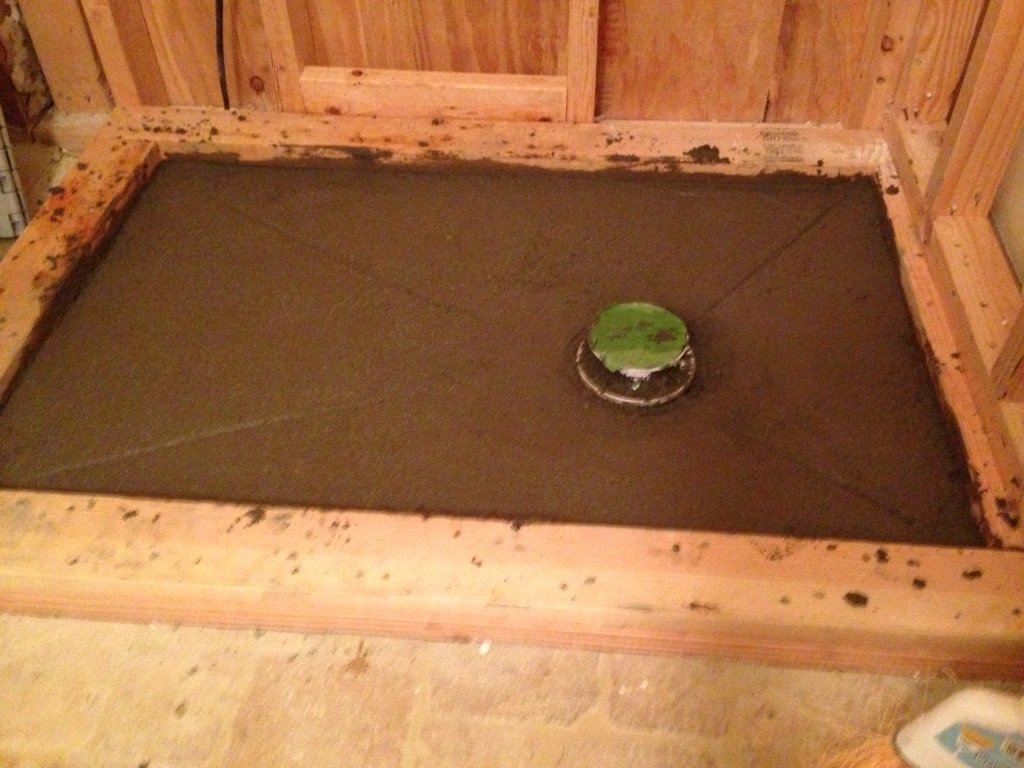
WeI added another layer of 2 X 4’s going around the shower pan for the height we wanted and mixed up my sand mix and poured it into the form. Make sure to pack it very tightly down so you don’t have any air bubbles or voids that will crack under body weight later on. This leveling is so incredibly important. The four lines you see connecting at the drain are the edges of the four planes that I have worked out. You only need the slope to be *ever-so-slightly* dipped towards the drain. This will be under the membrane anyway, so it is my hope that it won’t matter. This is the shower pan “backup plan” if any water makes its way past the membrane.
A day of drying and we’re ready to move forward!
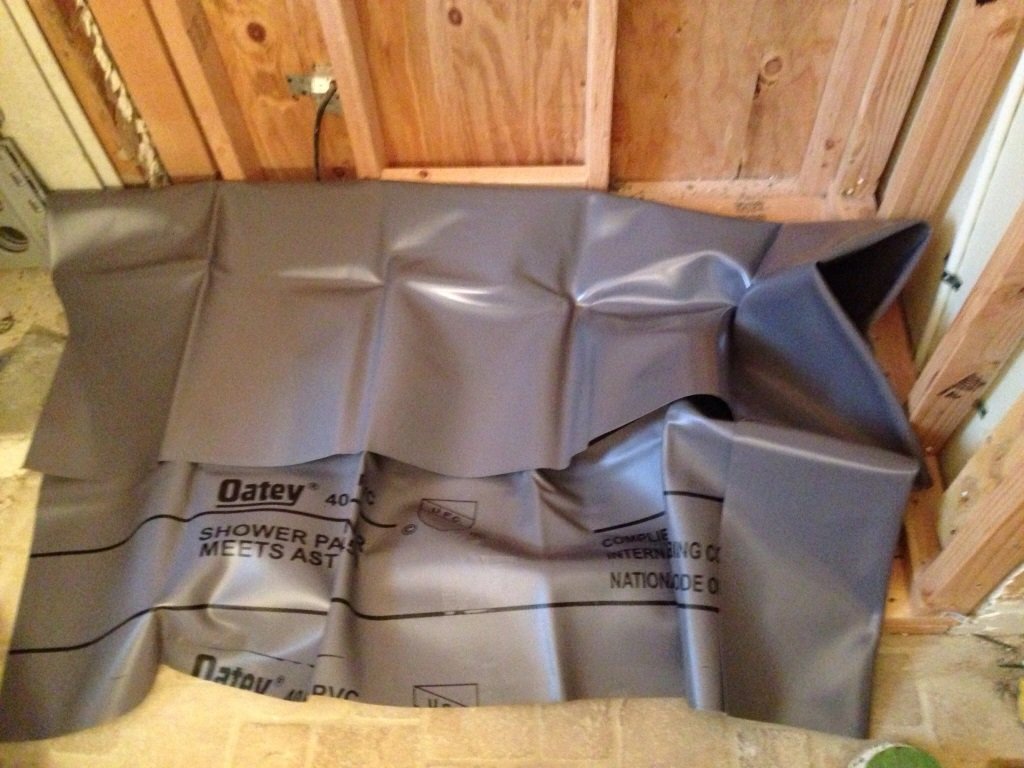
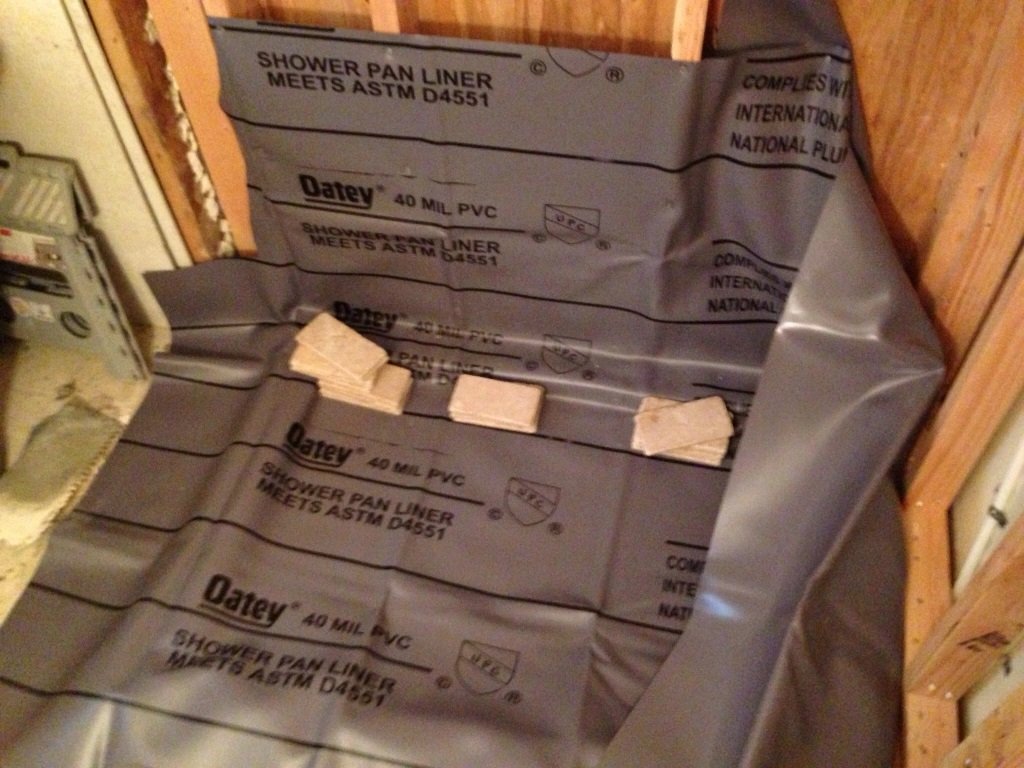
Start your pan by just simply laying the membrane out about where it needs to be, and eyeball whether or not you need to return it for a bigger one. You can cut this stuff very easily, so if it’s too big that’s just fine. Don’t packrat the scraps; just hang onto them until you know they are useless. There is glue for this stuff if you need an intricate shape, I just don’t need that for this shower. Its best if the room is at least very warm for this membrane step. Place it about where it will go and weigh down all the corners with your tiles or the like. ⇒Cut the membrane in straight lines on the OUTSIDE of the shower and FOLD the inside corners. Tuck the excess neatly into the open wall and make sure it is mostly taut.
⇒Check your local codes for how high your membrane will need to be vertically. Mine is well above our local code.
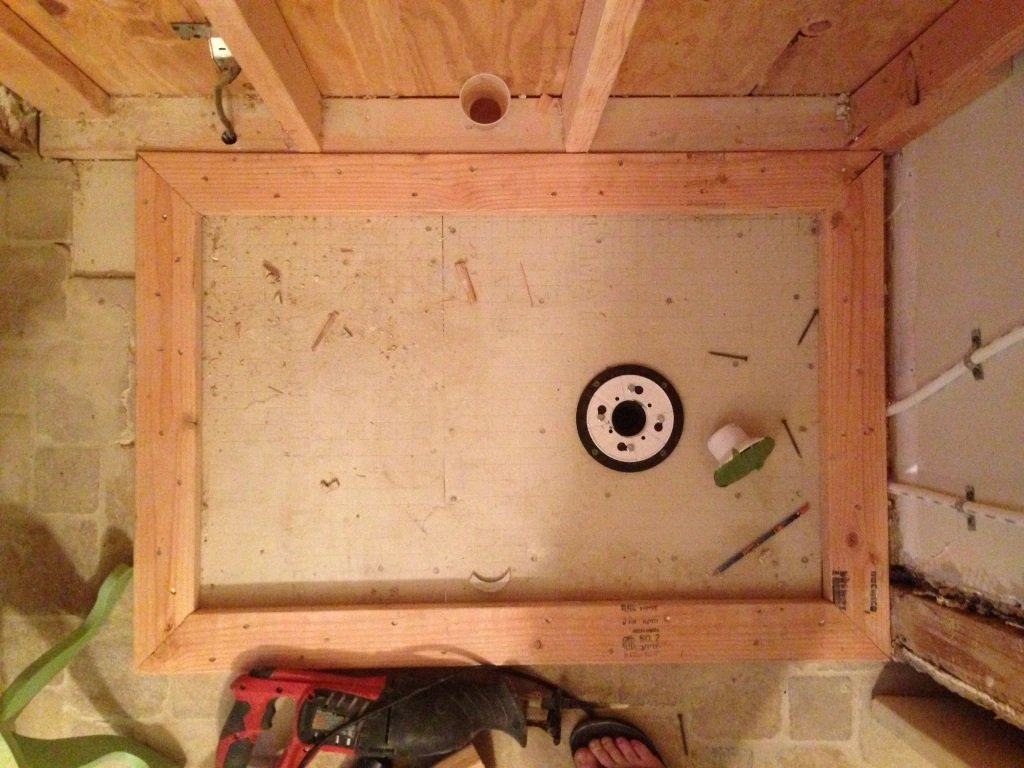
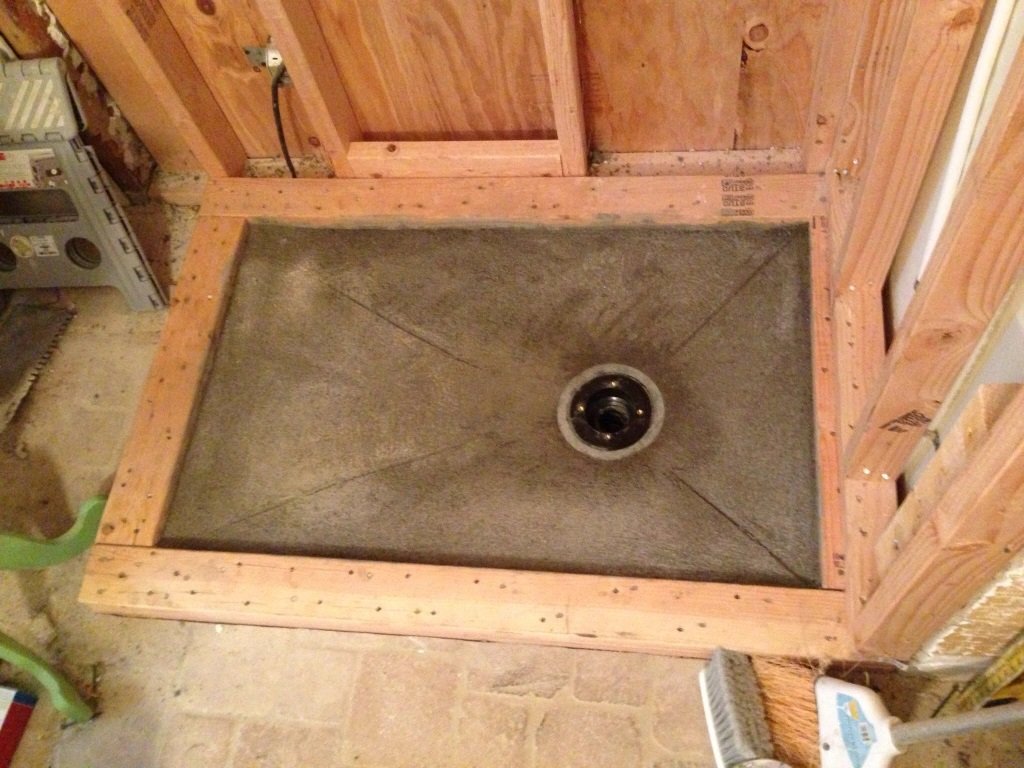
Cut your membrane as closely as possible to the rim of the drain (see the drain packaging) and twist in the top of the drain.
Pour in the second layer of sand mix and follow your slope from the first layer, making sure (with a small level) that your water will definitely flow toward the drain. I wouldn’t go more than 1/8″ per linear foot.
We have two pugs and a yorkie. The pugs just don’t “get it” and the yorkie is so small that it wouldn’t matter if he didn’t “get it” either, although he totally does. If you have dogs or small kids, it might be a good idea to set up a barrier while it dries. We just used some scrap backer board and a single screw.
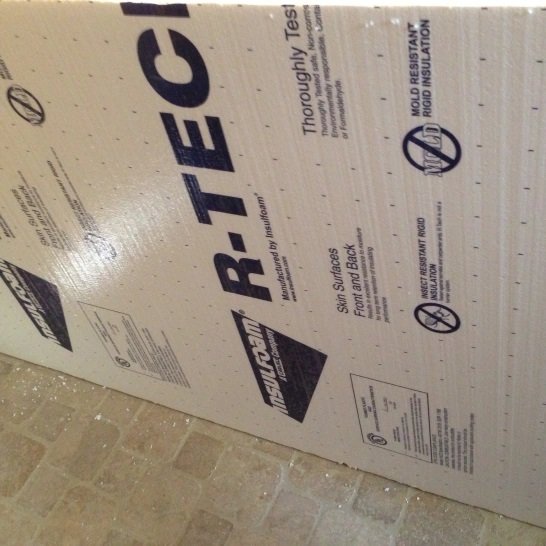
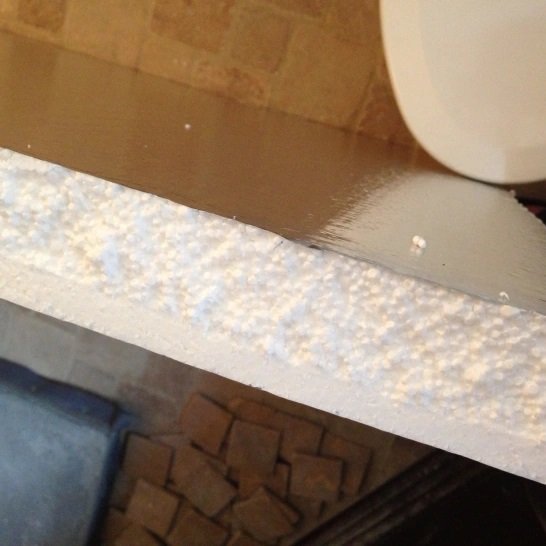
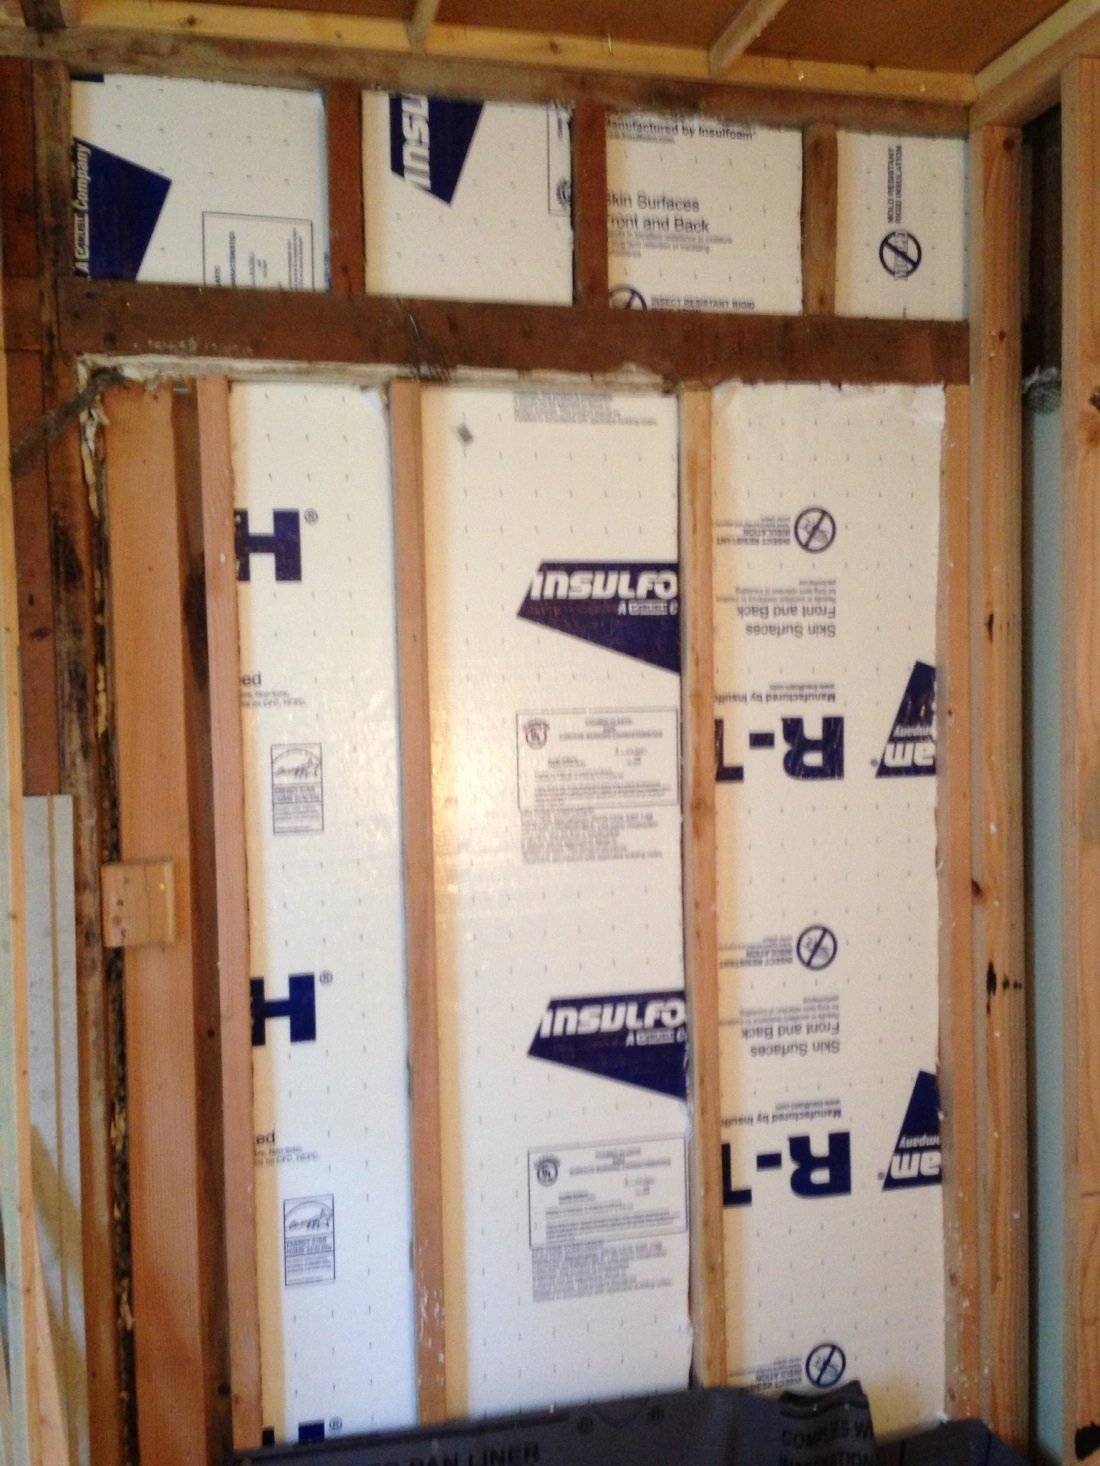
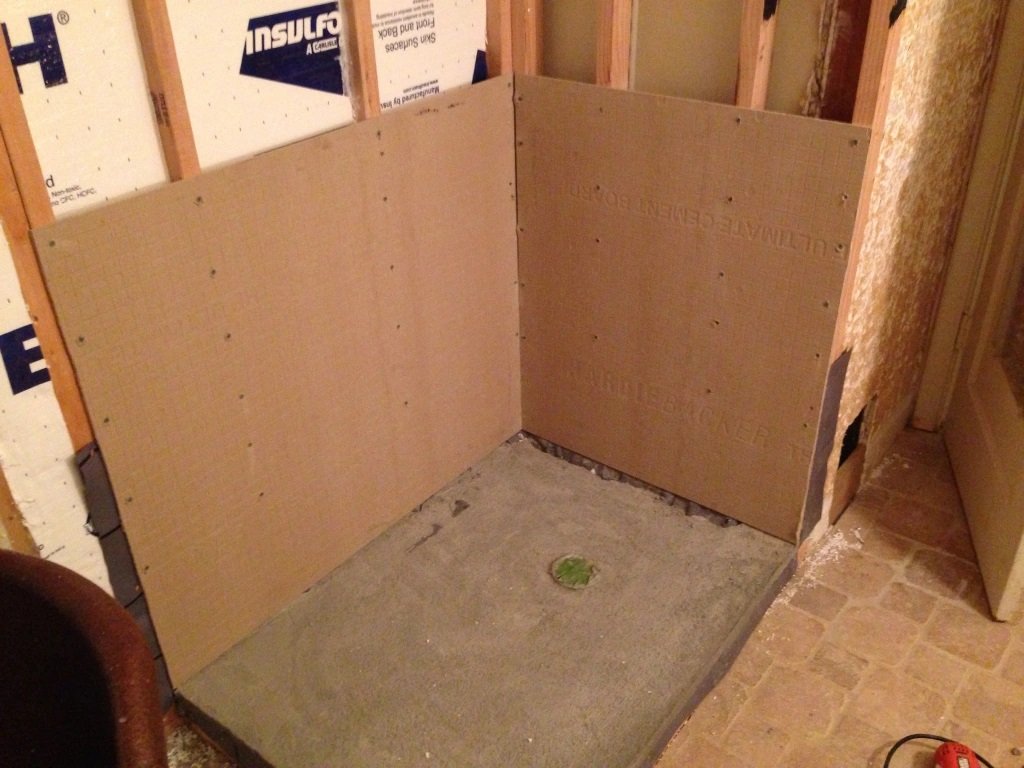
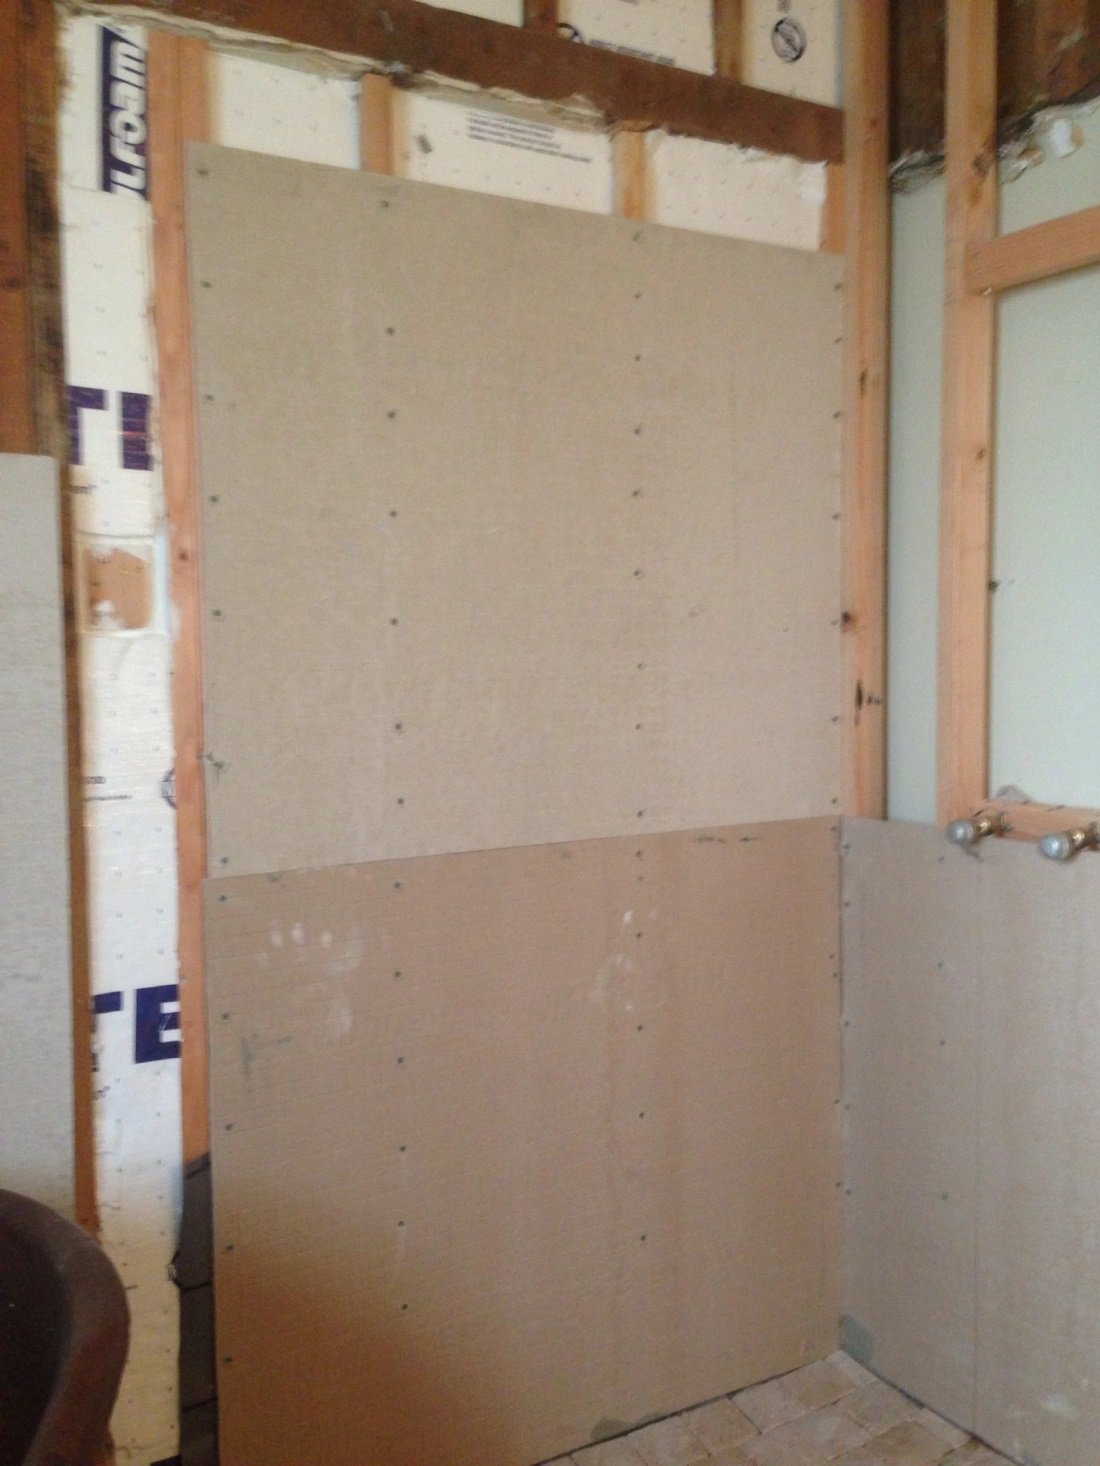
While waiting for the pan to dry, we put the insulation between the bathroom and bedroom. We really want this to be a far-better-than-average sound barrier wall, so this will help a lot. From side to side it will be: paint, drywall, plywood, studs and insulation, drywall (or tile), and paint. We’ll see how it works out when we test it out. Because the faucet wall of the shower backs the hall closet, we didn’t line that wall with the styrofoam insulation. If we had extra, we would have. The first two panels of backer board are in place now. Score and snap with a razor knife. It doesn’t take any special tools to cut this stuff, which is so convenient. Run the backer board up to the point where you would like to stop. We are going to just above where the specs of the shower door we are looking at would be. We also tacked in a 2 X 4 where the brace of our shower fixture will be. It’s very helpful to have all of the elements or their specs available for planning as you go.
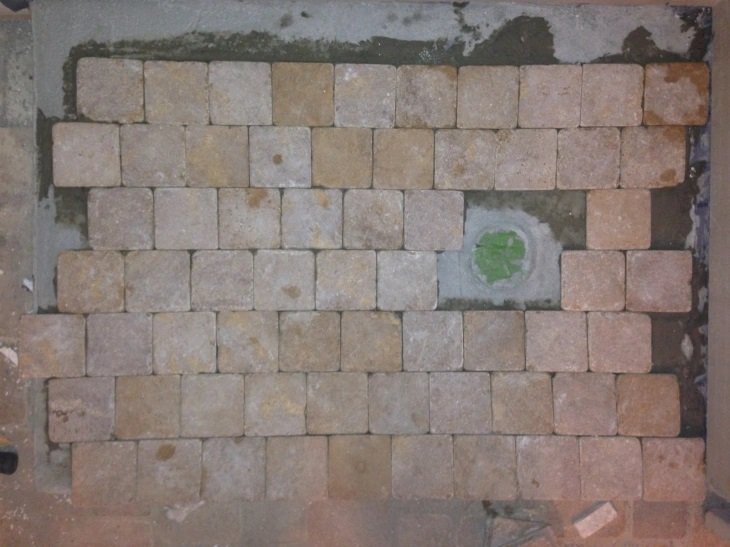
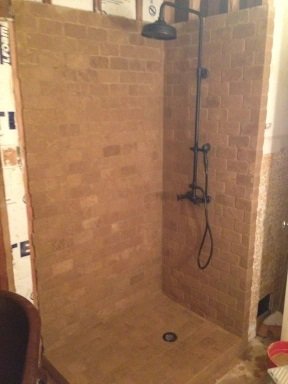
Now we’re tiling in the pan. Make sure that you mix your thinset just slightly watery and really wiggle each and every tile down on the dry sand mix pan to ensure it has a great bond (all the time, but especially for a shower floor).
Now we’re going to be getting the vertical tile going. This is much easier going than the floor pan tiles because there is no slope involved.

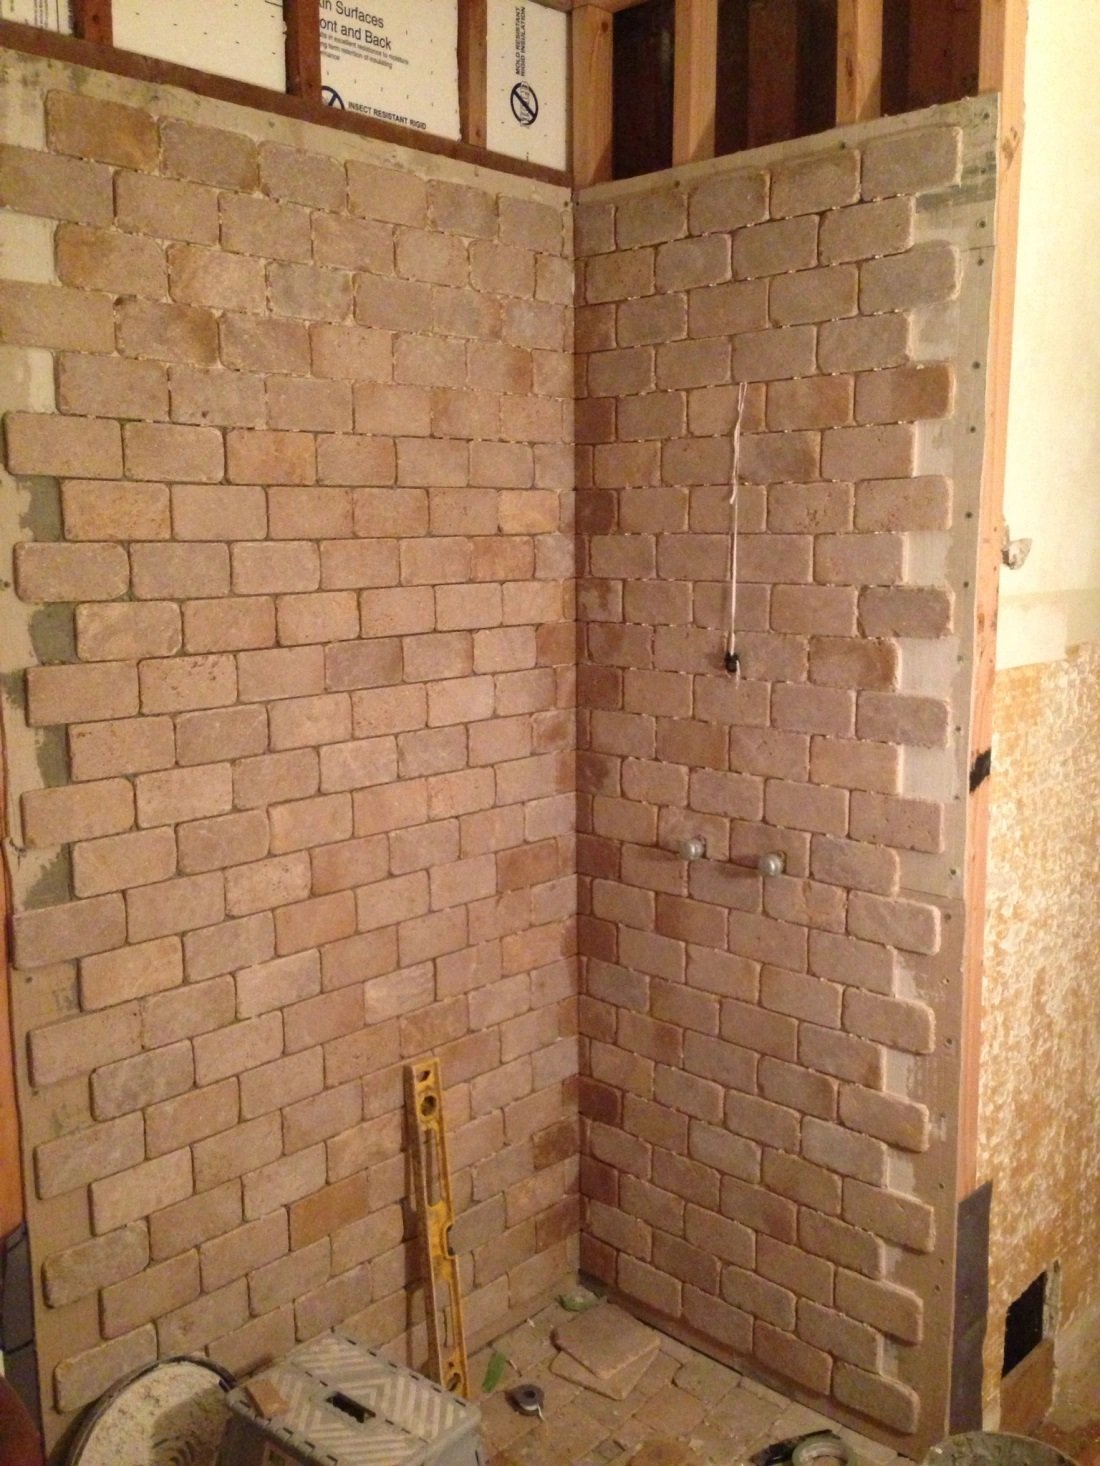
Grout now, and we can get going on something new for a bit. We are ready to use this shower after sweating over it for so many hours!
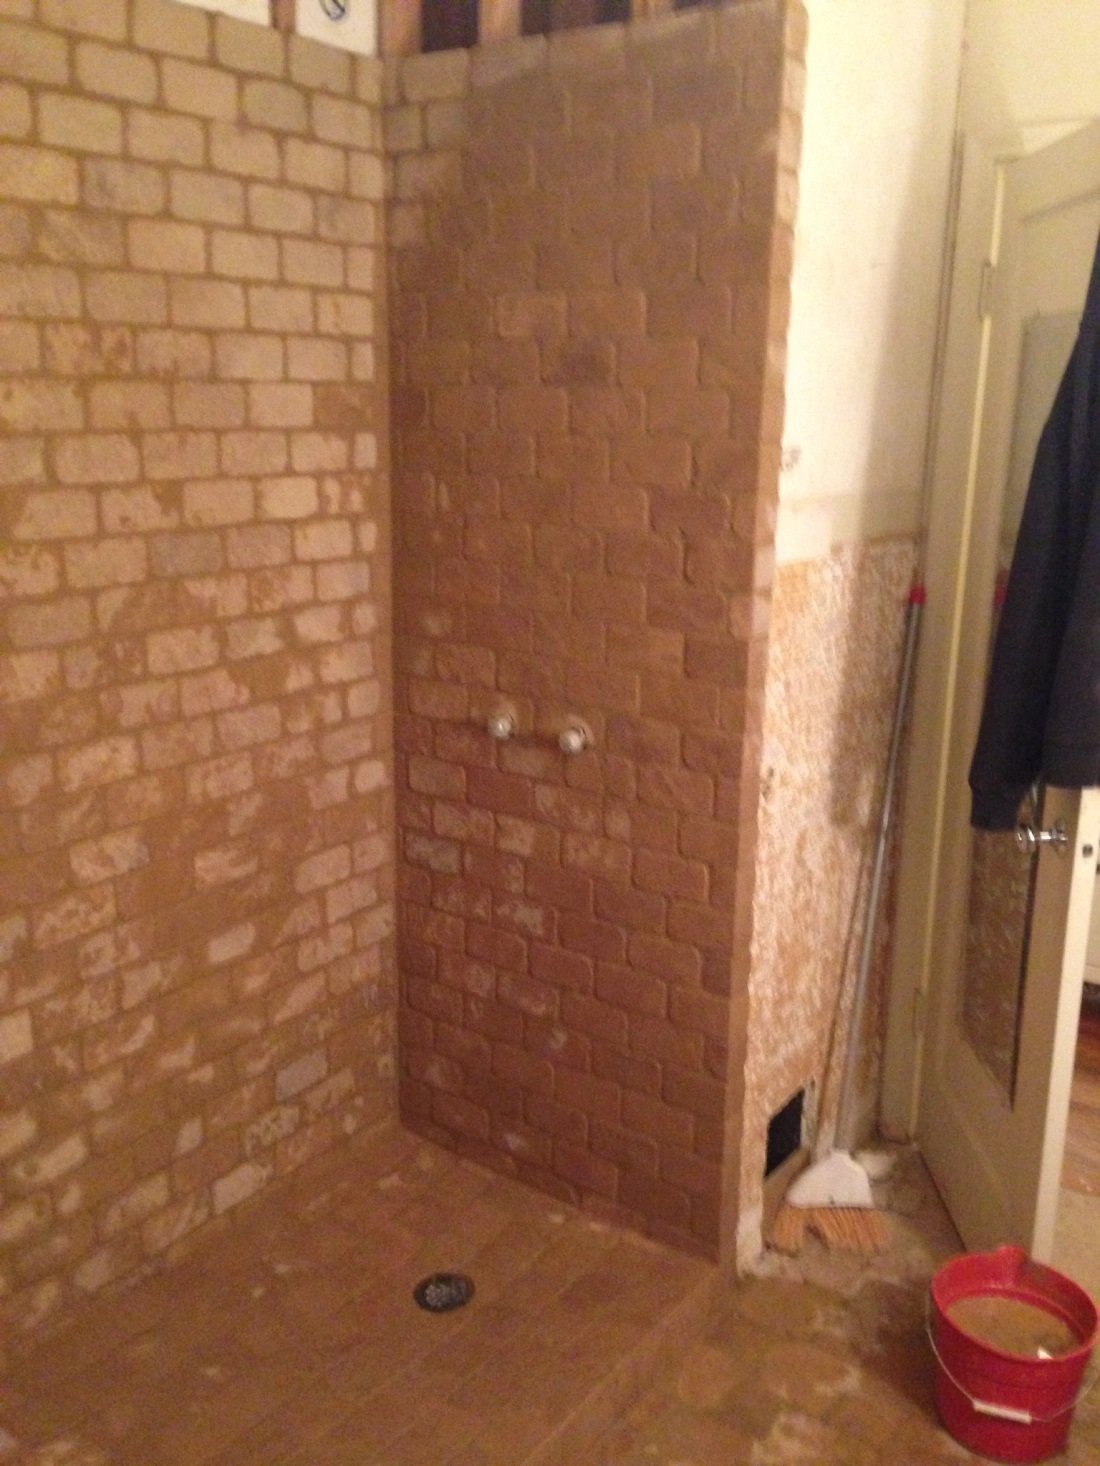
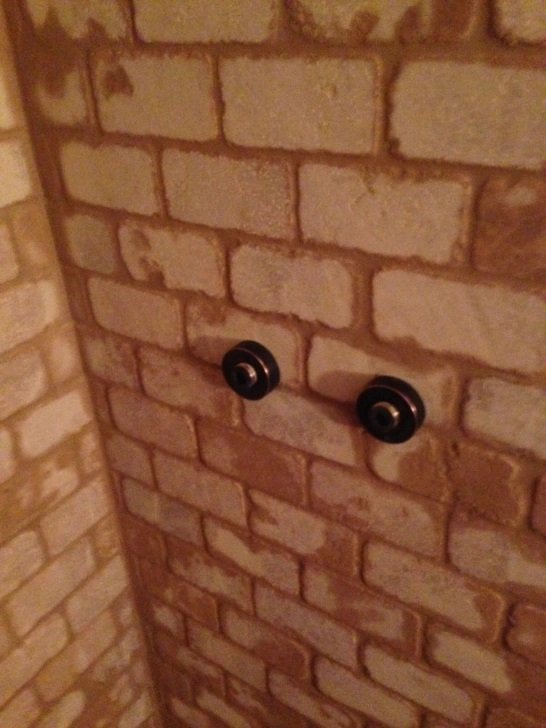
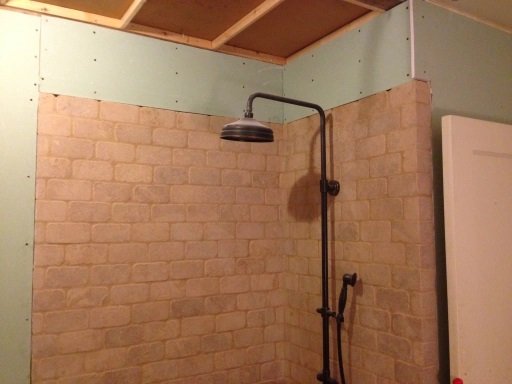
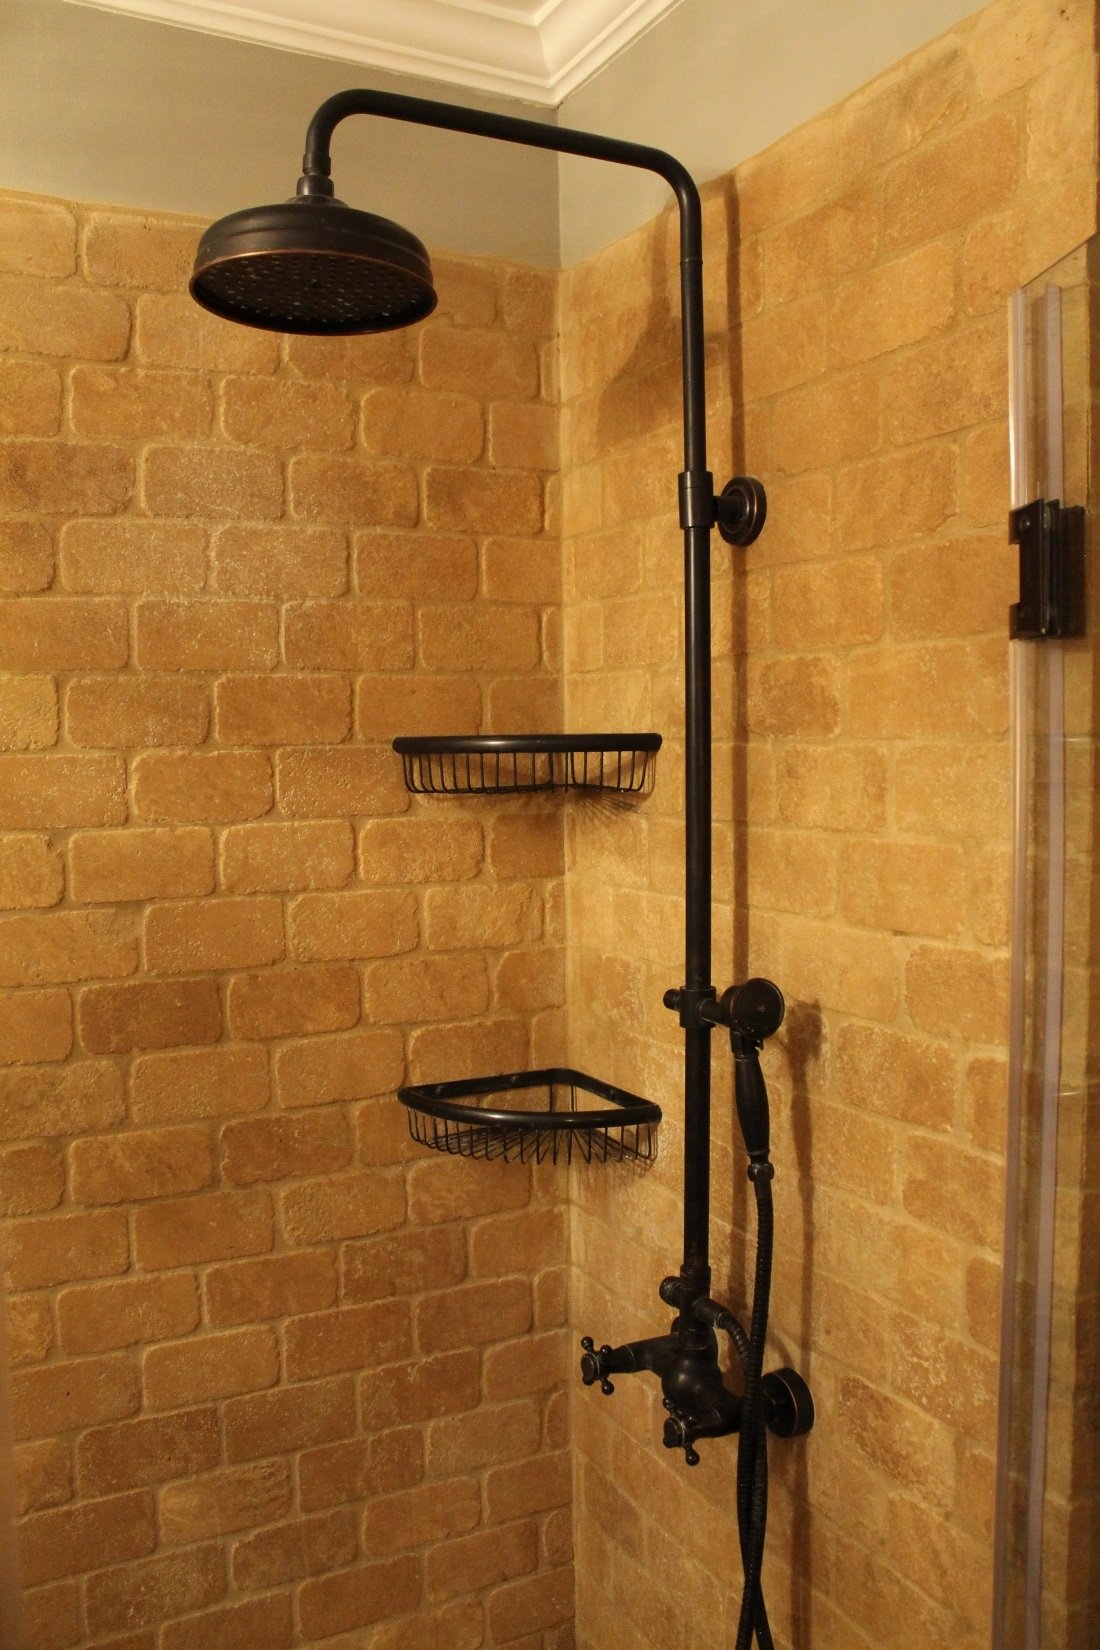
We’ve added the hot/cold braces and the manifold of the shower head we’re using while this grout dries up. The gold bracket is what we added the 2 X 4 stud in for when the wall was open. All that planning for three skinny, dinky screws!
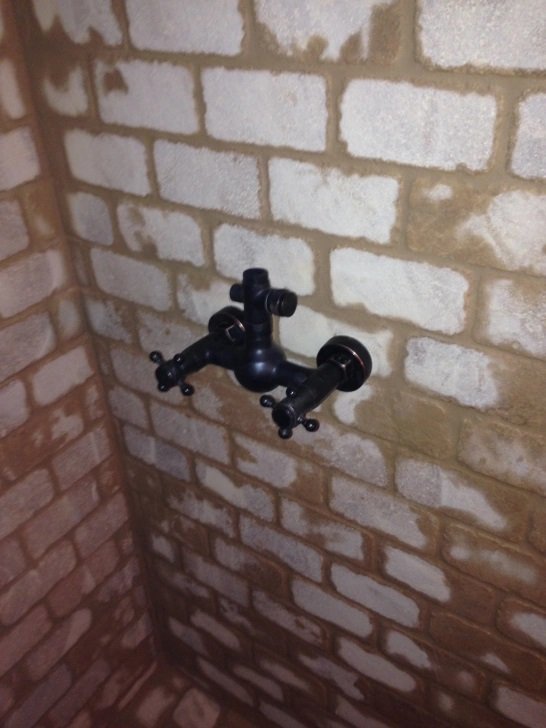
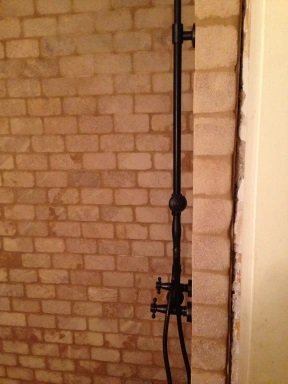
The shower head fixture looks so good! We would like to point out that installing this shower fixture is premature because of the dust and potential bumps/scratches that could happen from the rest of the construction, but sometimes you just need to see some particular progress items to have the motivation to continue!
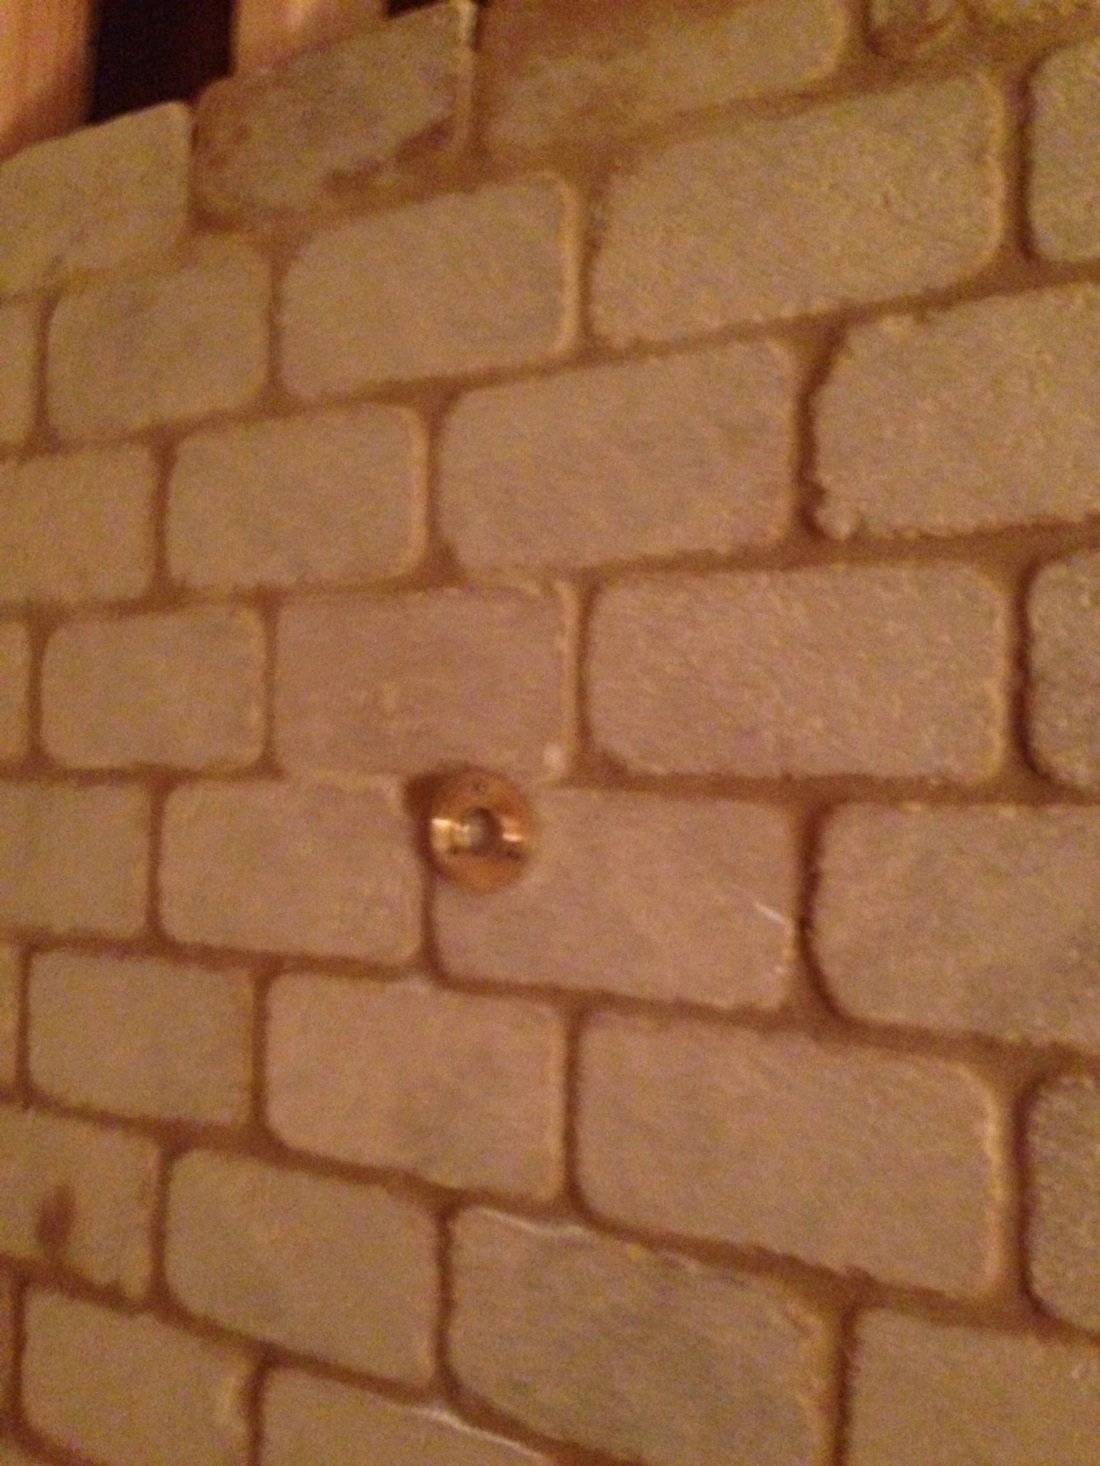
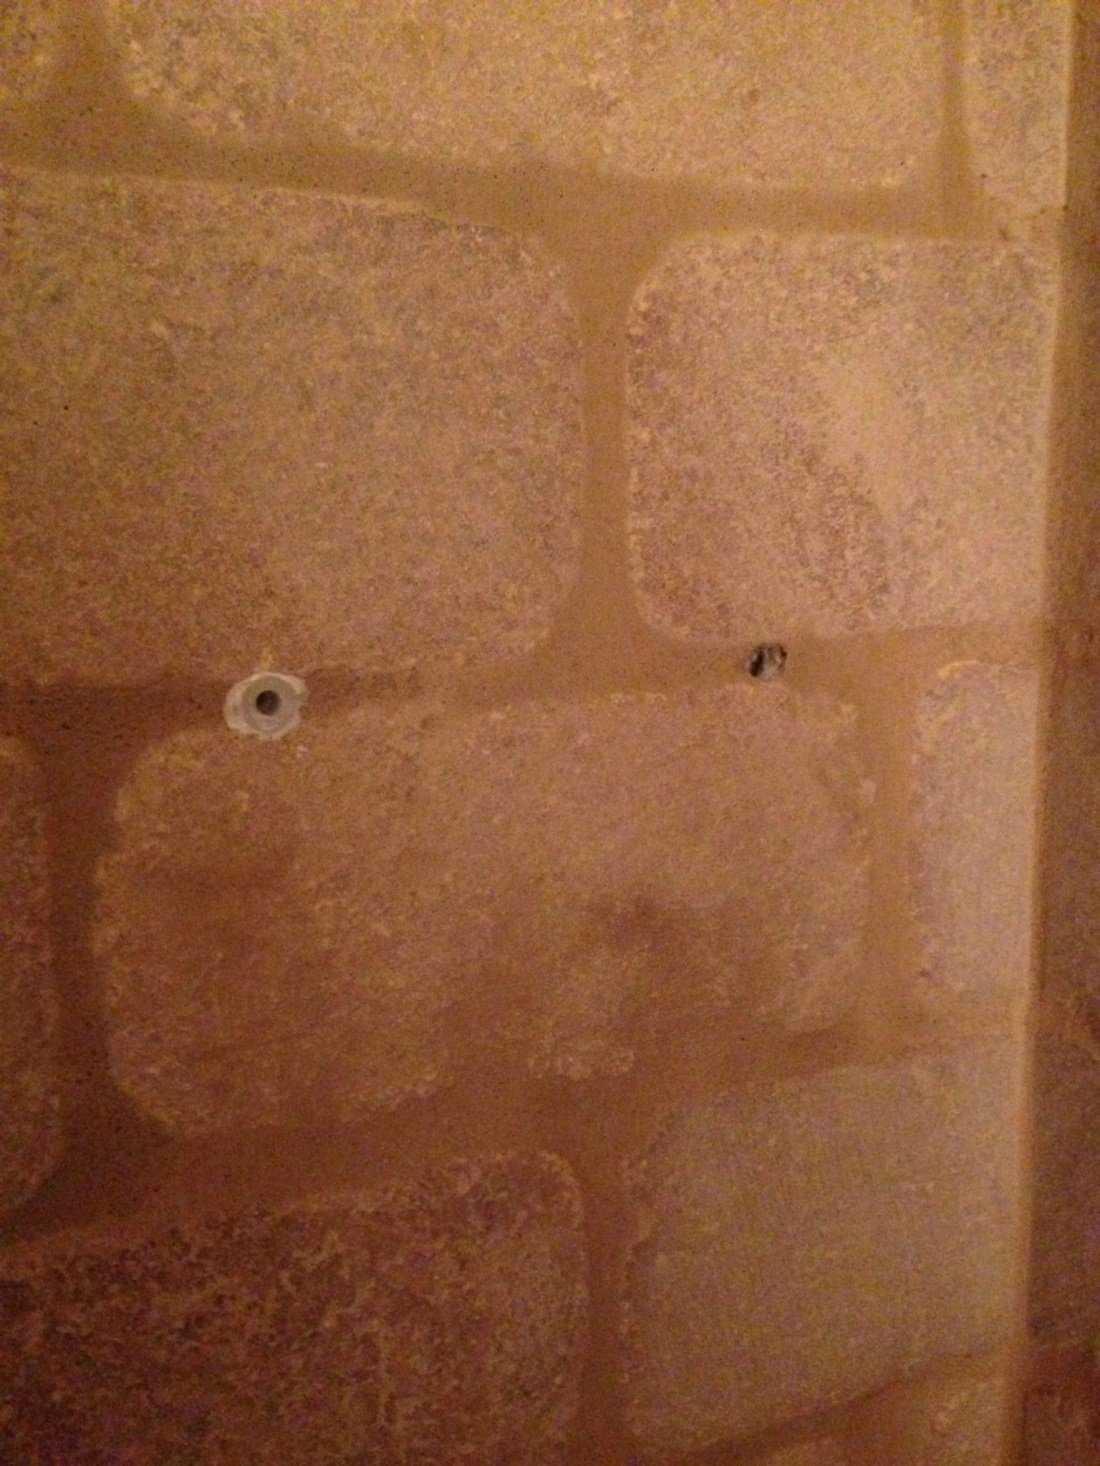
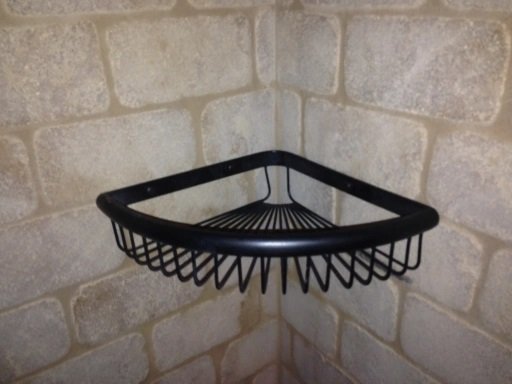
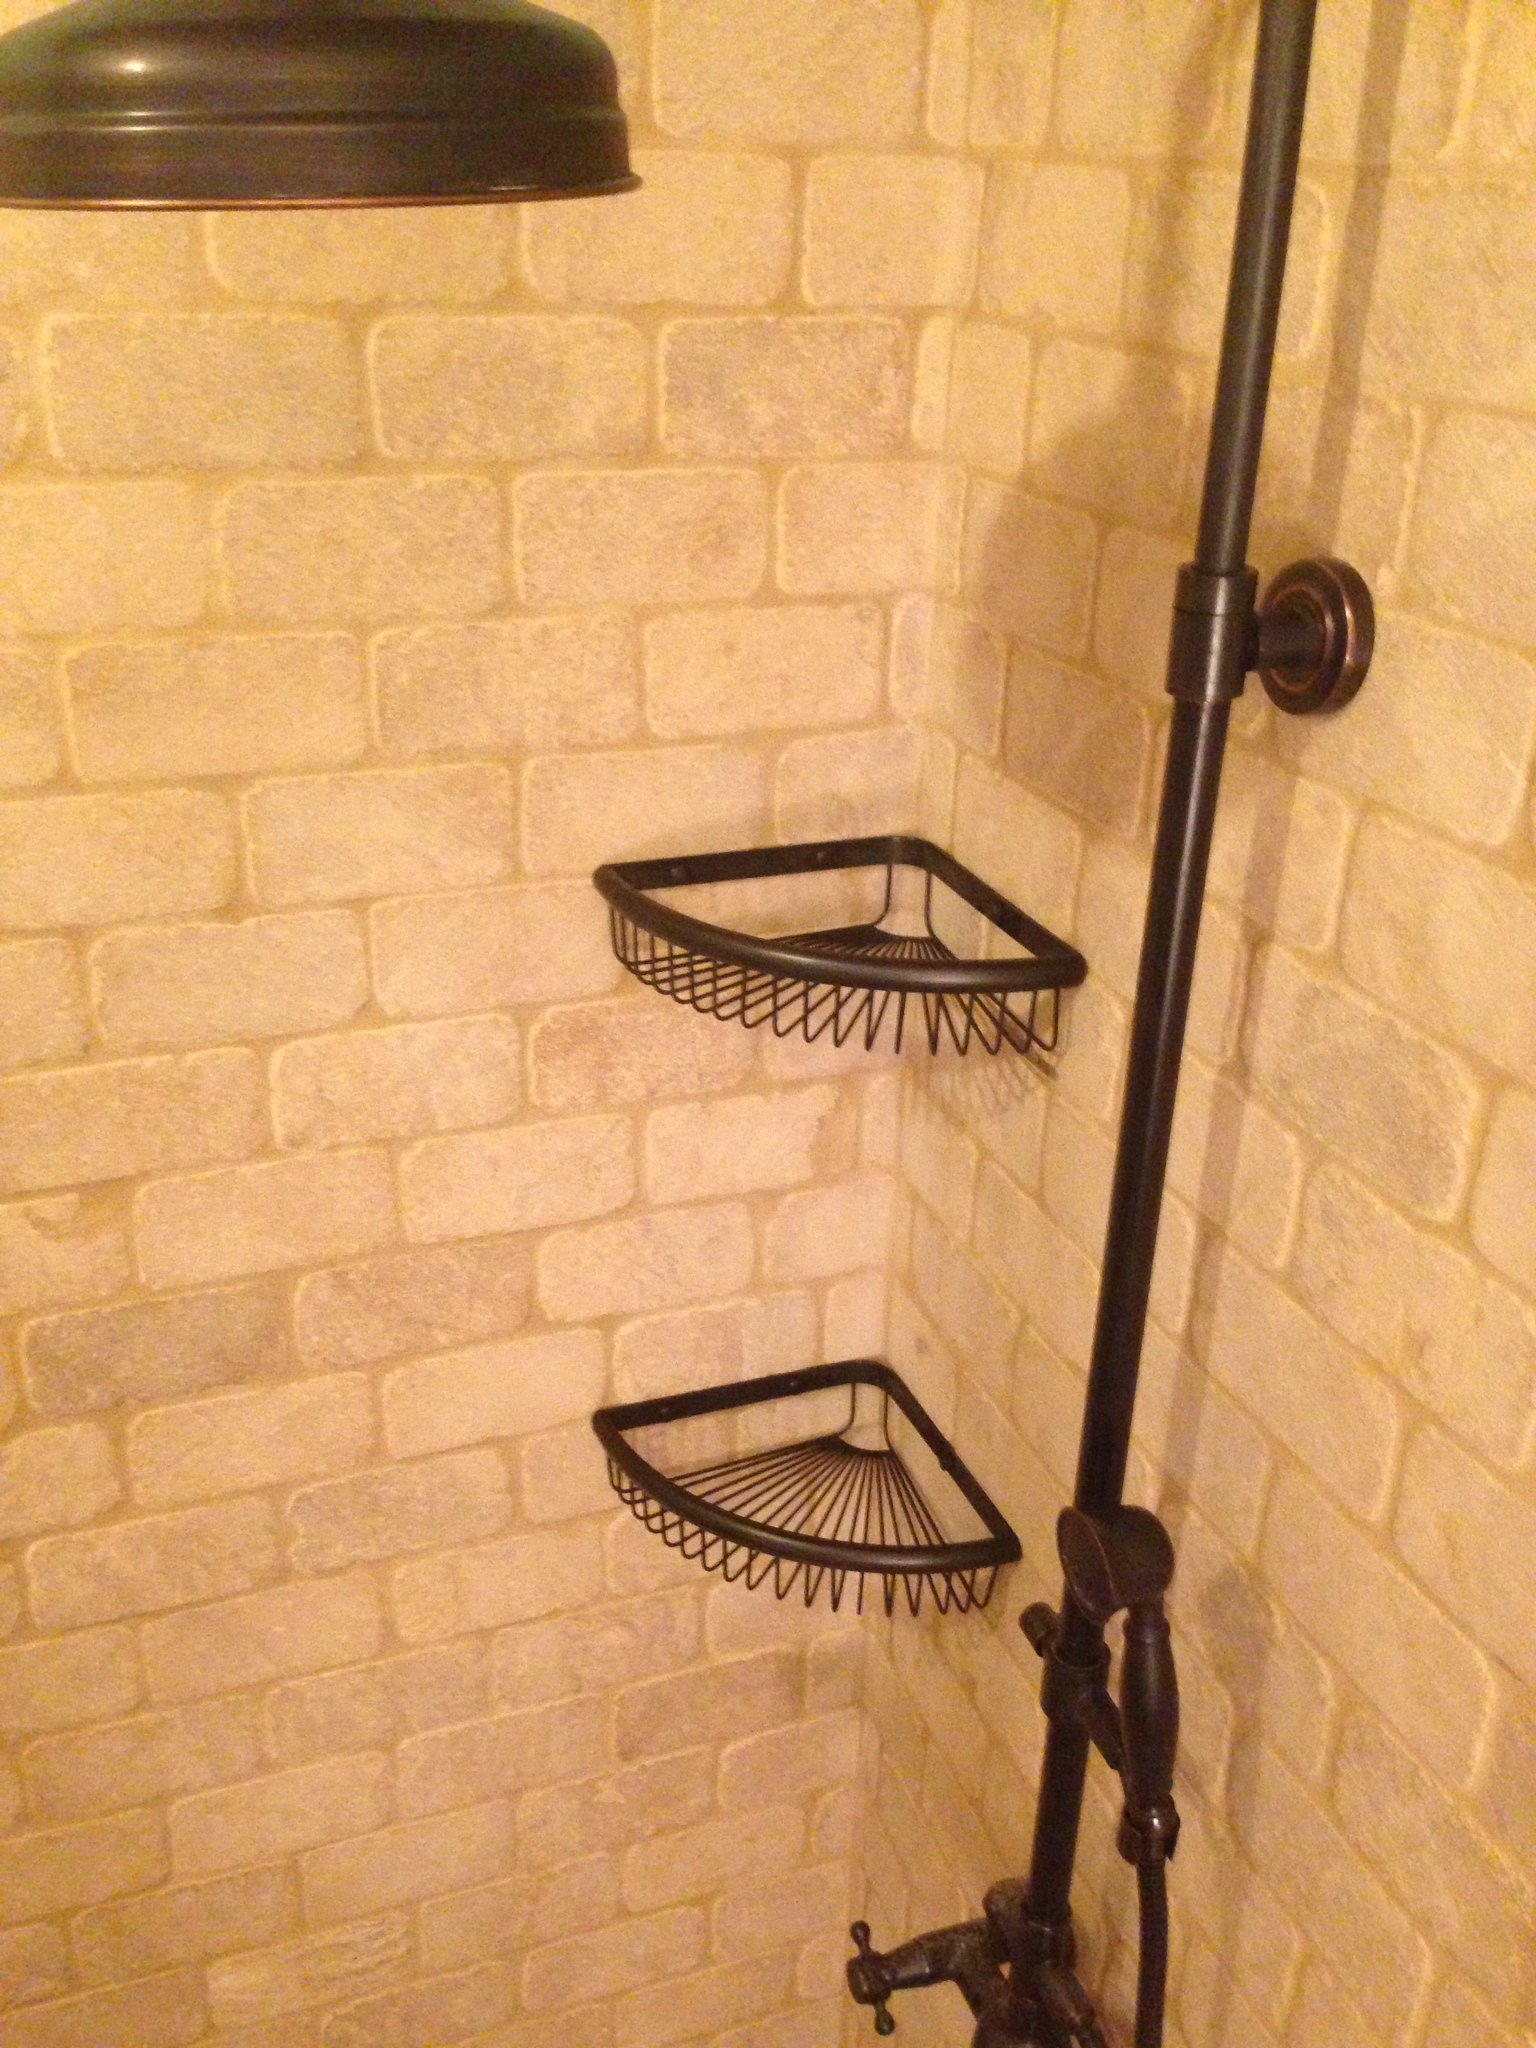
Next we’re putting in the soap dishes. To figure out where the holes need to be, we just held it up where we wanted it to be and put a pencil mark where the holes were. we also chose to put the holes on a grout line because that is far easier to drill through than a whole tile. You can see that we’ve drilled the two holes and added the plastic anchor to one of them with some silicone around it. Always use silicone when you are adding any kind of hole in your shower. we will also put a small dab of silicone on the screws before inserting them as well.
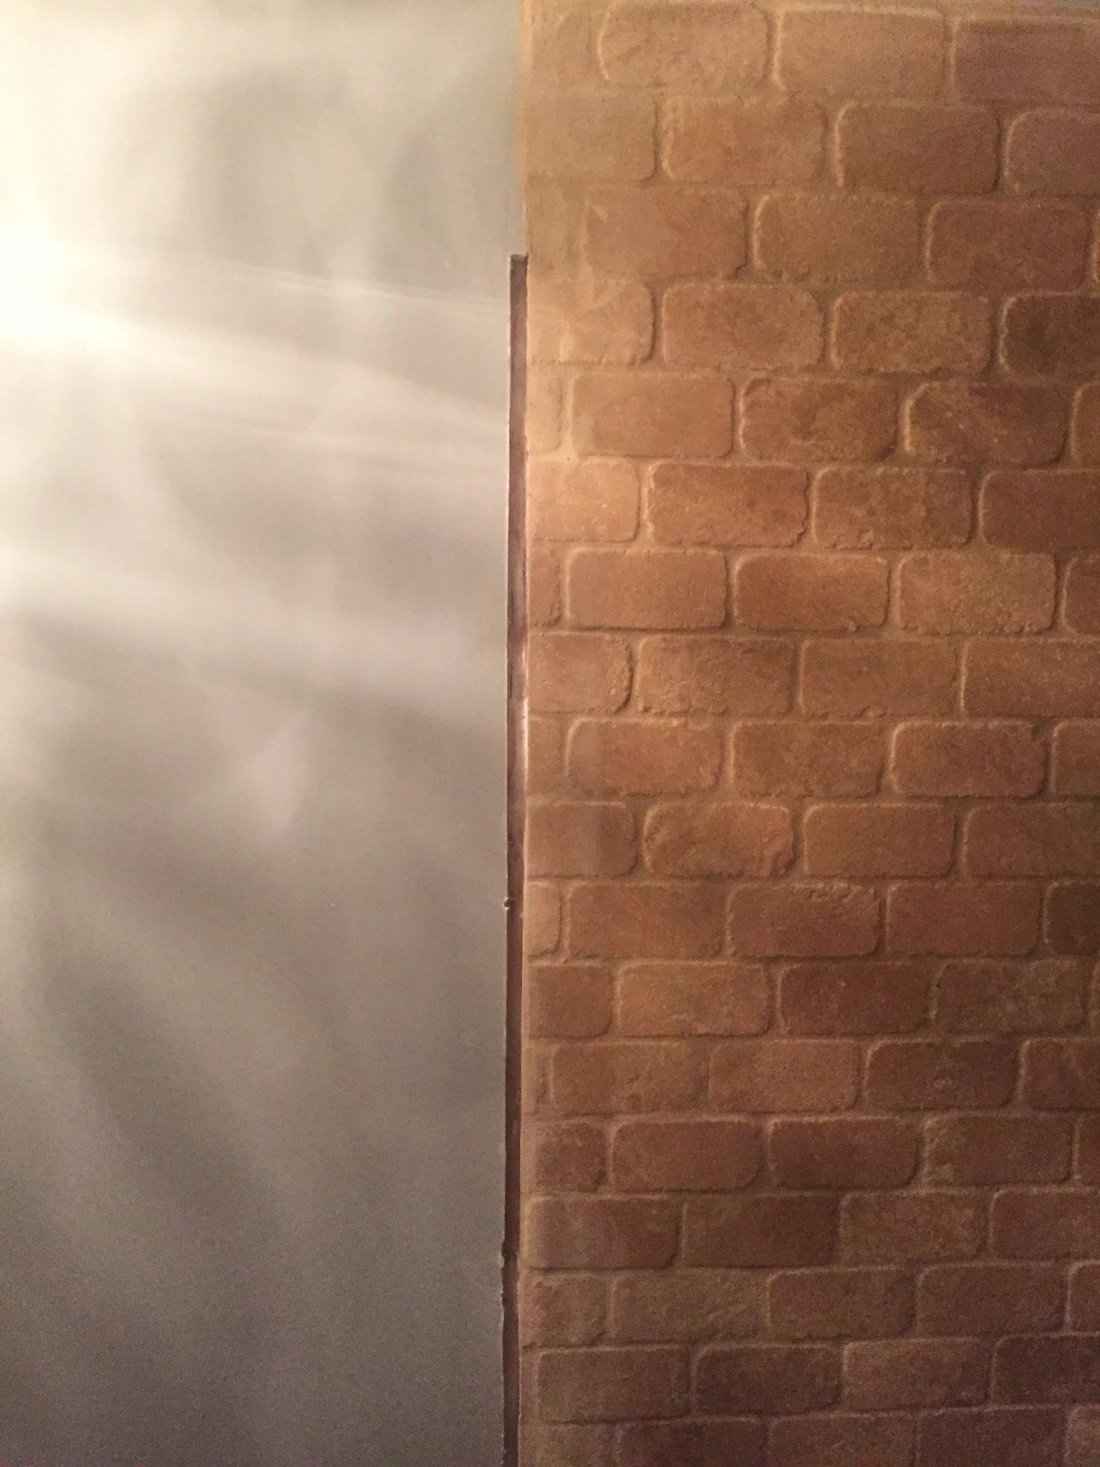
Let’s box in a shower with glass now. Why not, right? The door we decided on is a frameless tempered glass enclosure, which we have dry-fitted (with much difficulty) to determine where my brackets need to go. I cut out this slice of drywall to set my first bracket into.
As a side note, it’s a good thing that we laid this shower out to be a standard size because custom sized shower glass (especially frameless) is exceptionally expensive. If your shower is a standard size, you can literally save thousands on this step; or at least a thousand. Our shower door cost just under $800, which was easily the second most expensive single purchase in the bathroom, next to the copper tub. It would likely have been the most expensive if it had to be custom made for us.
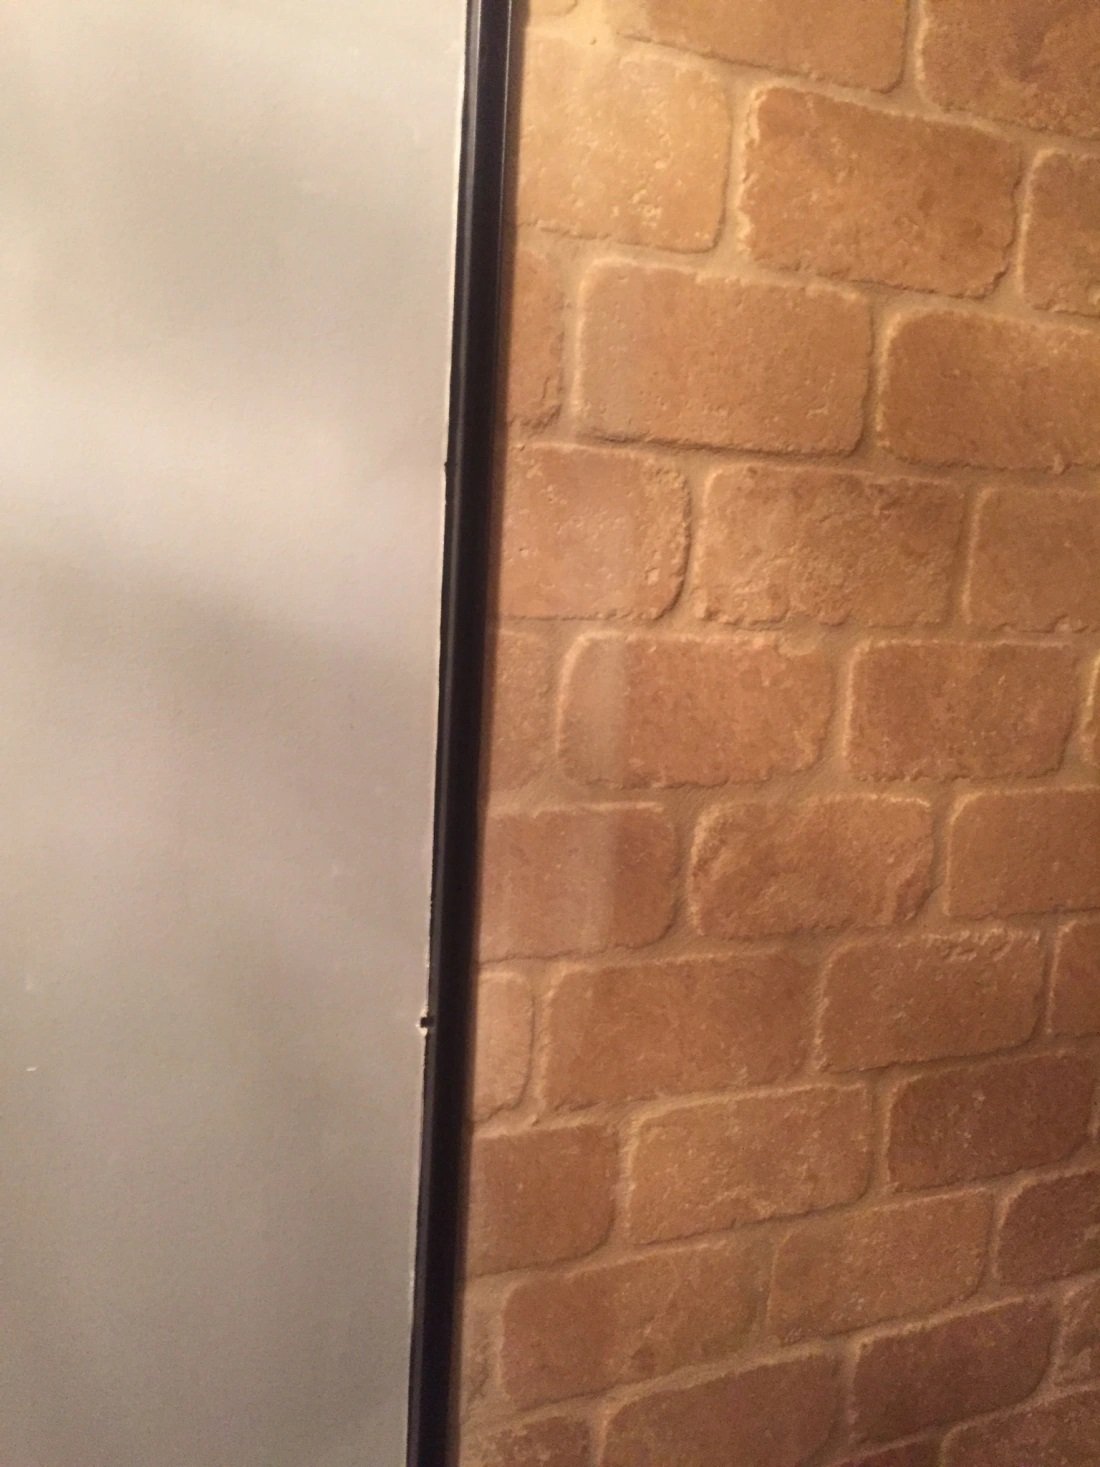
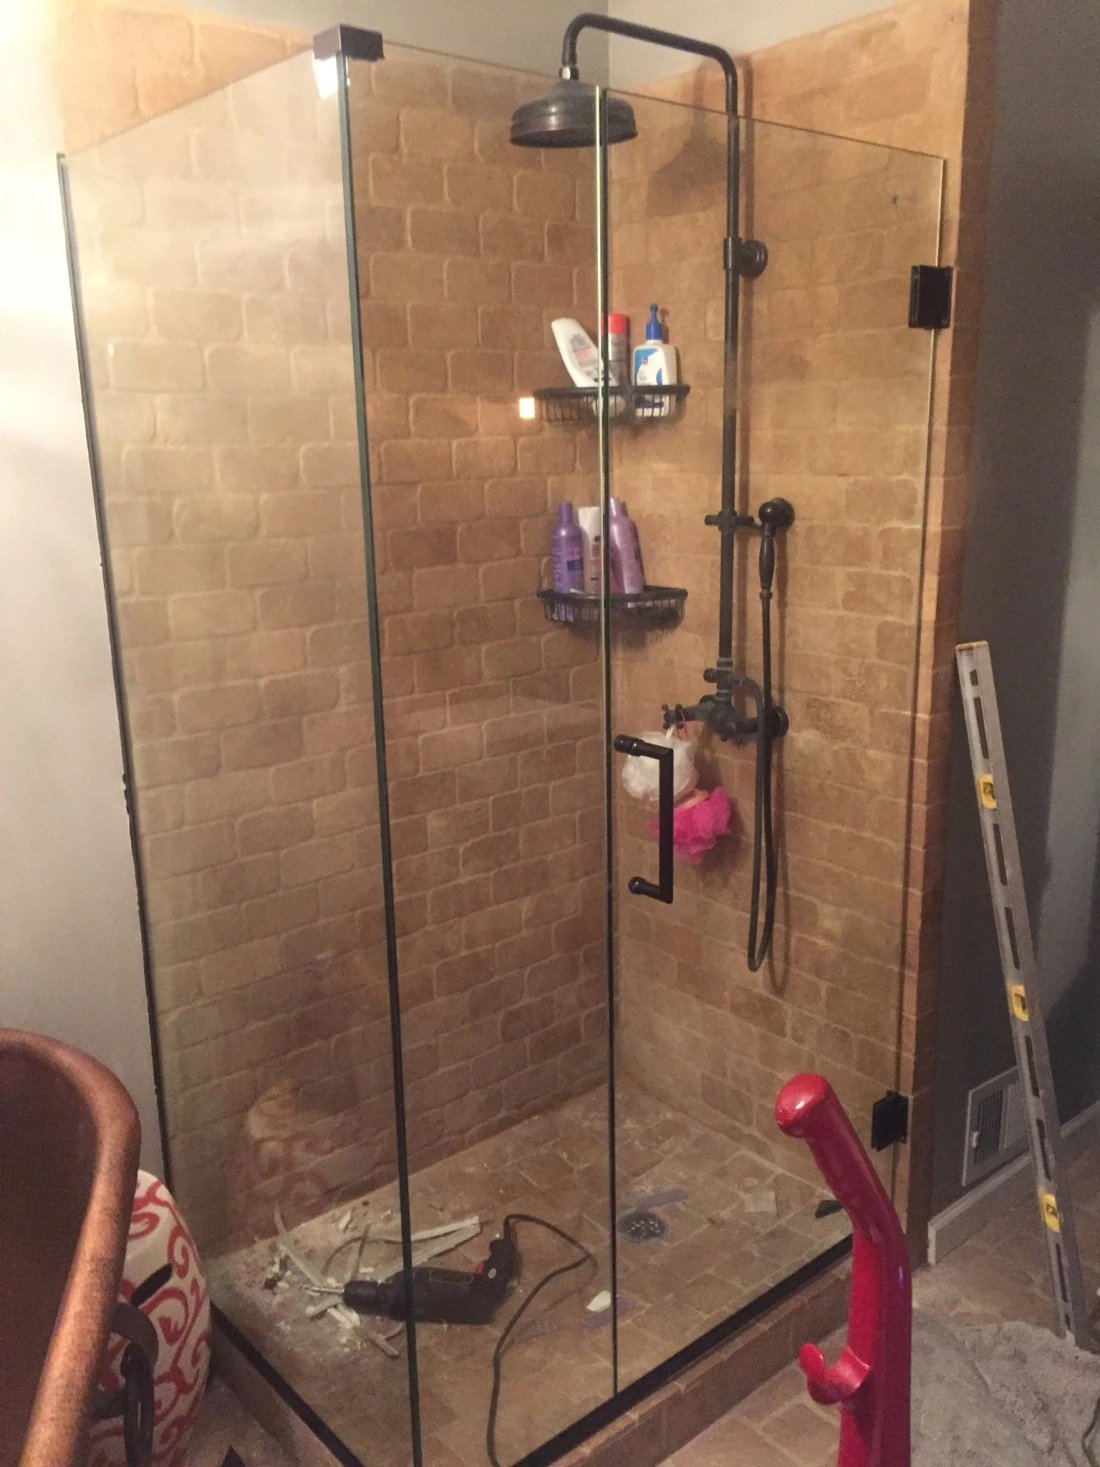
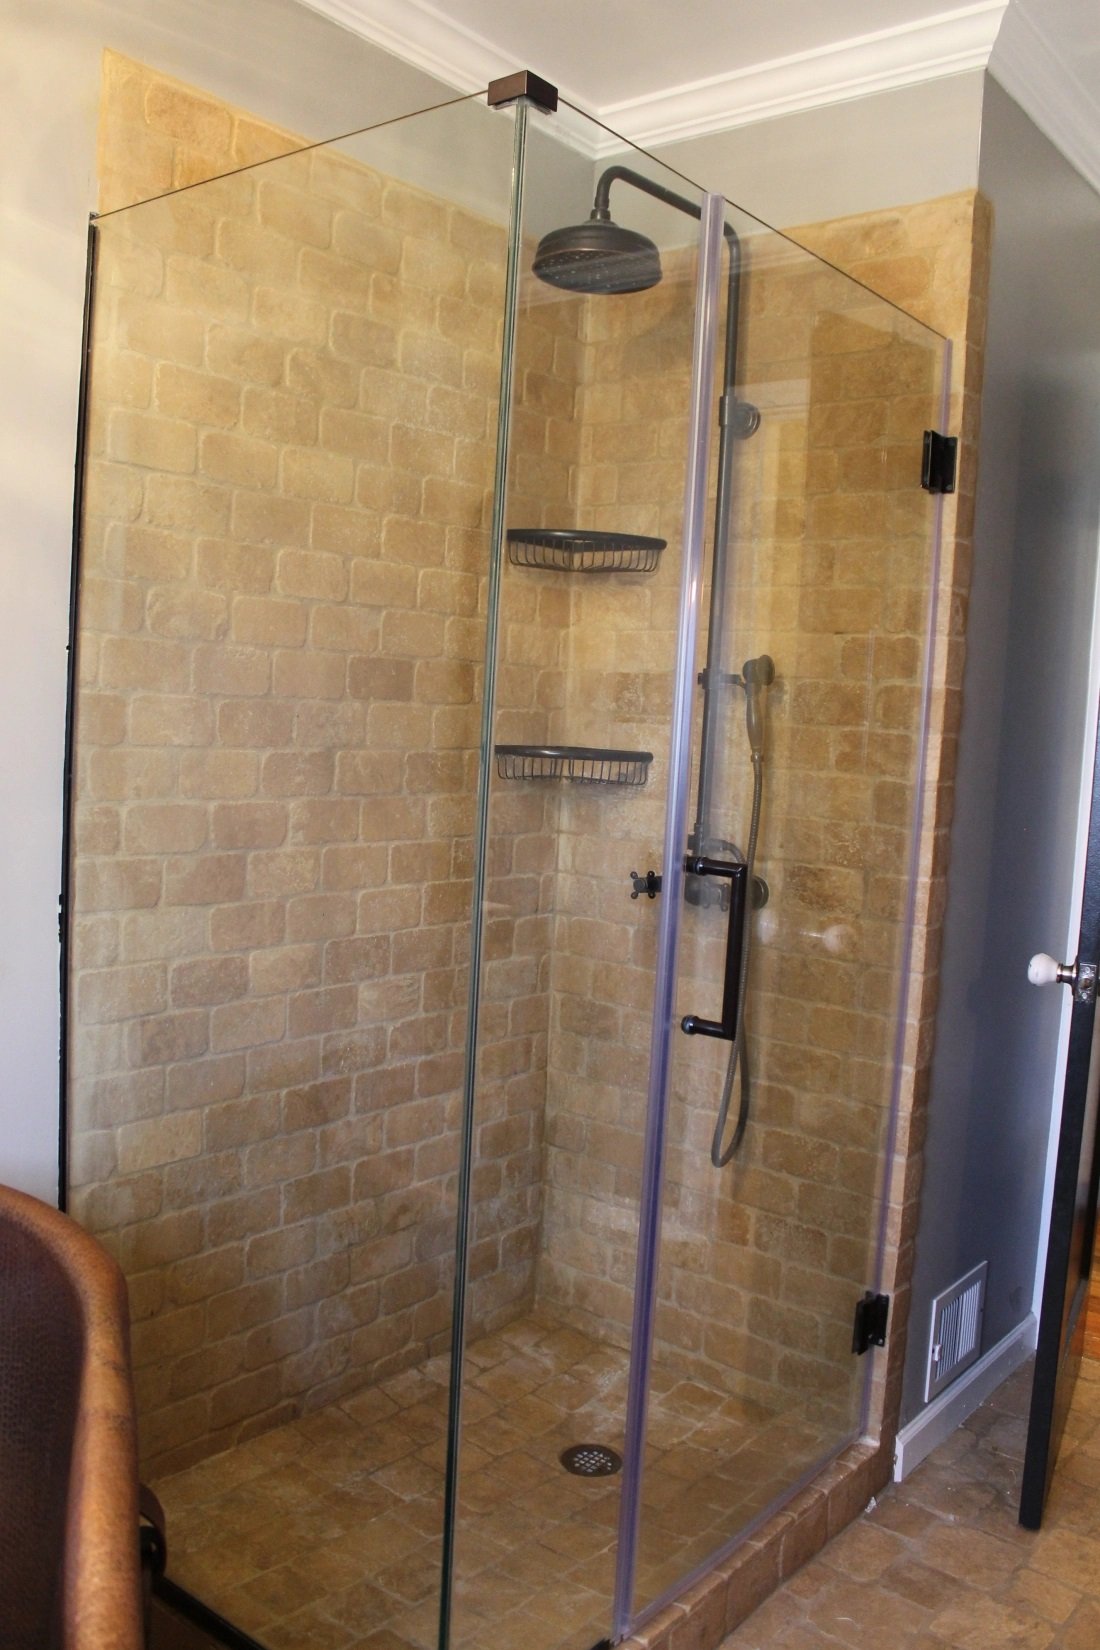
We predrilled holes into the edge of the shower pan, filled them with silicone, screwed in the brackets, placed the glass in, siliconed it together, added the hinges and door and all of the trim pieces. This task is ridiculous. On ALL of the packaging and details that came with this shower door, it says something to the effect of “professional installation is required for this shower door. Please do not attempt a DIY installation.” We’re not going to argue that you can do this yourself, unless you have a lot of gumption and patience. This door took us about 3 days to install. We had to adjust and readjust it until the door edge lined up just right with the glass wall edge, which is very visually important. Now we just need to caulk all of the joints and edges with more clear silicone, and we’re FINALLY ready to take a shower in my own shower! How exciting!
And here’re the final product!