

French Doors with Custom Sidelights
Once again, we are working on a semi-major, structural building project in our house. Now that the fireplace is complete, we are adding parlor doors to the coved entryway between the dining room and the entry/living room.
We purchased the French doors from a consignment shop down the street for $100. They are stained and lacquered, so we will need to strip them and sand them to make them paintable. This also means that we’ll need to make sidelites to match the doors exactly.
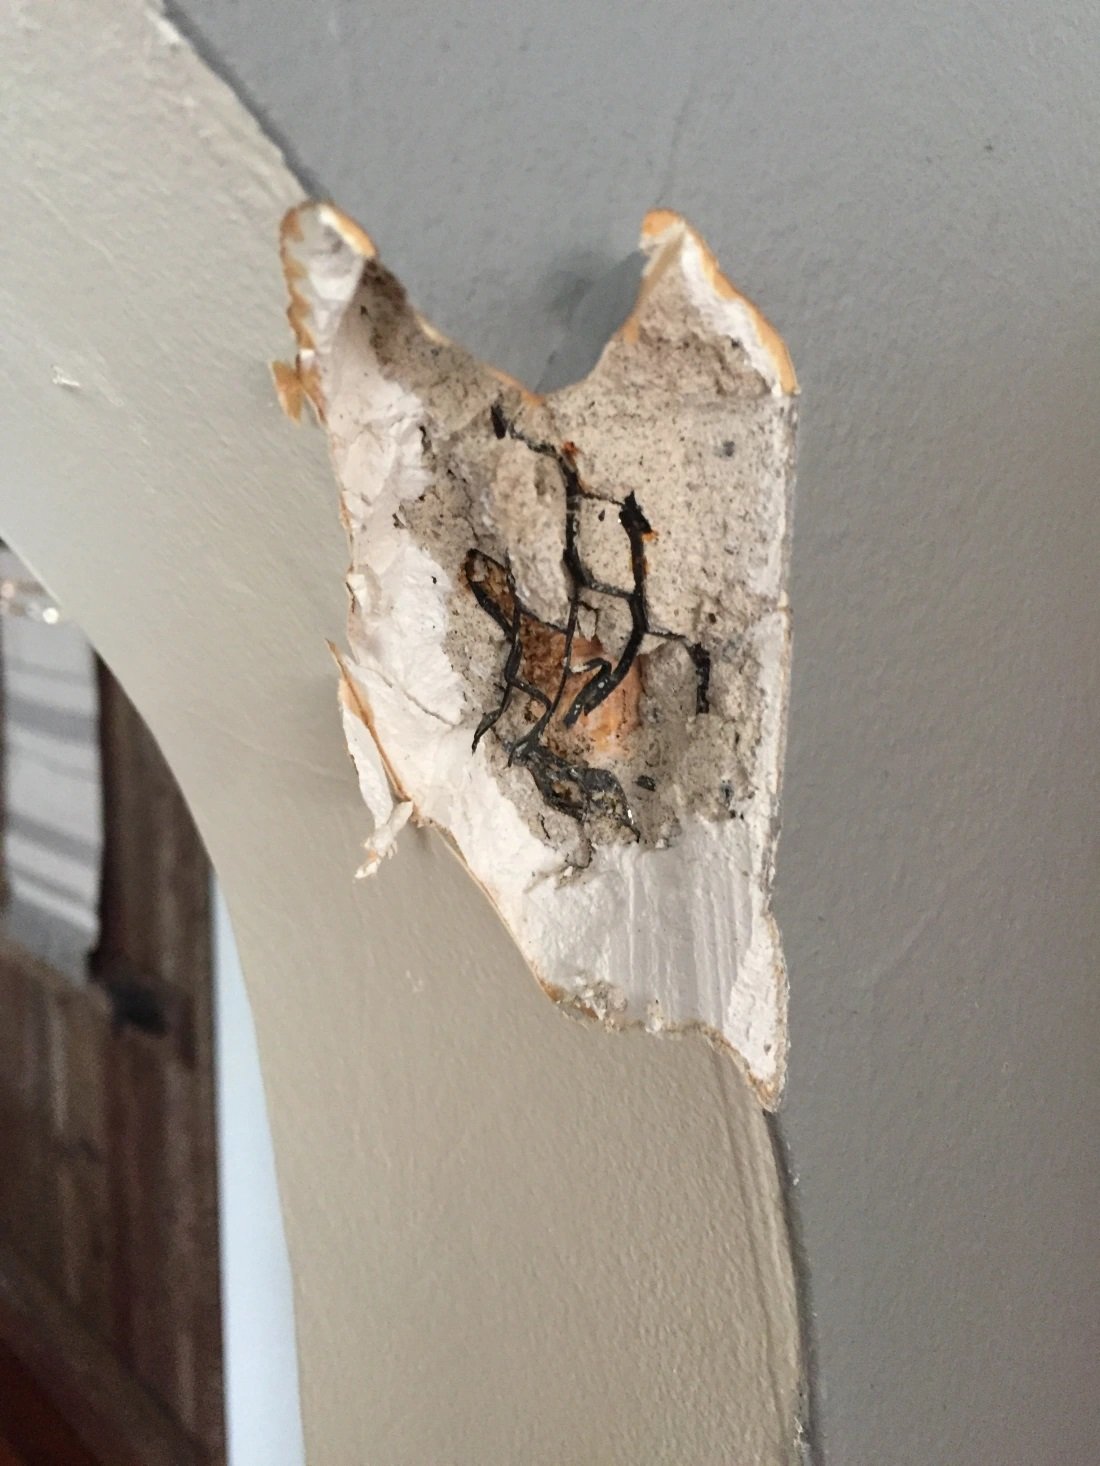
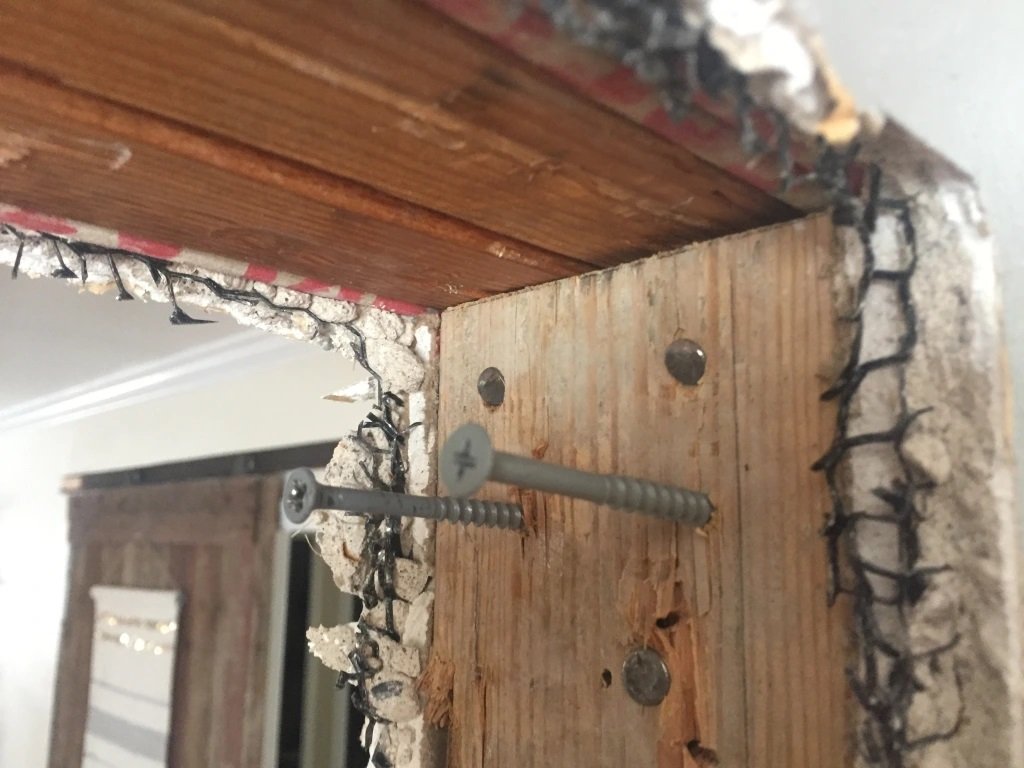
This is what we’re starting with. The curved corners are the only corners like this in the whole house and we’re going to be happy to see them go!

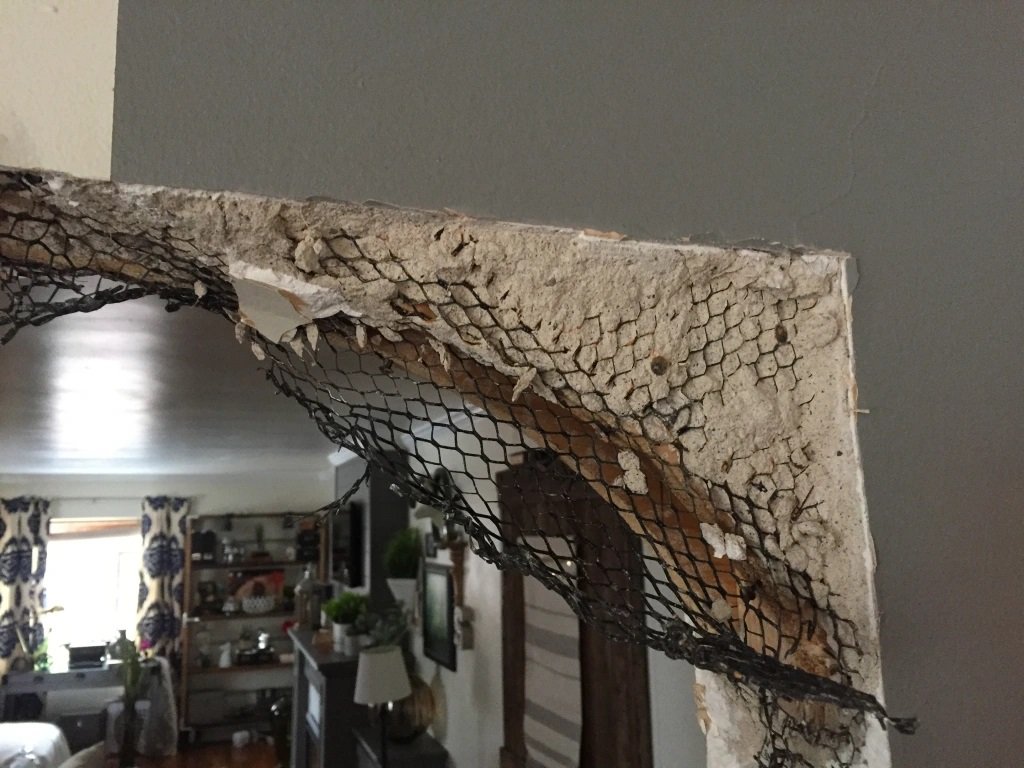
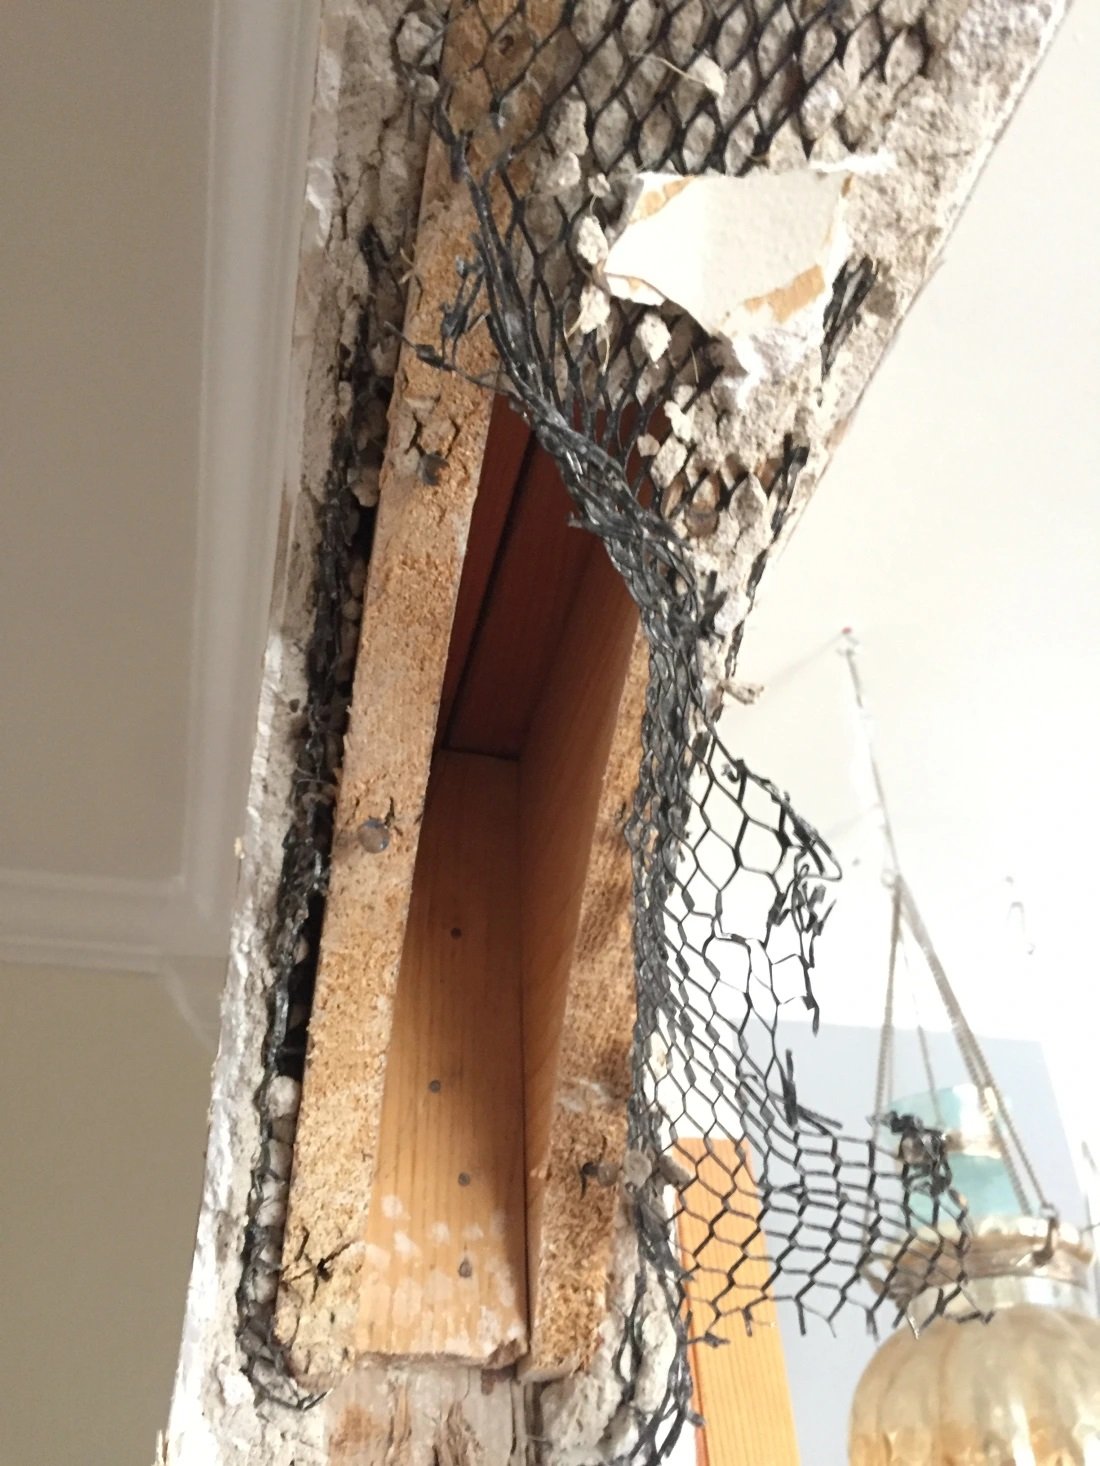
Starting with breaking out the corners revealed plaster and chicken wire underneath that we’ll need to remove. We removed the plaster from the chicken wire with a dull chisel and a hammer and also using a respirator and a shop vac to keep the dust to a minimum. With the plaster mostly gone, we can see the wood backing. There are three pieces (per curve); the middle pine spacer and two curved MDF pieces. We are removing them and using tin-snips to get the chicken wire out.
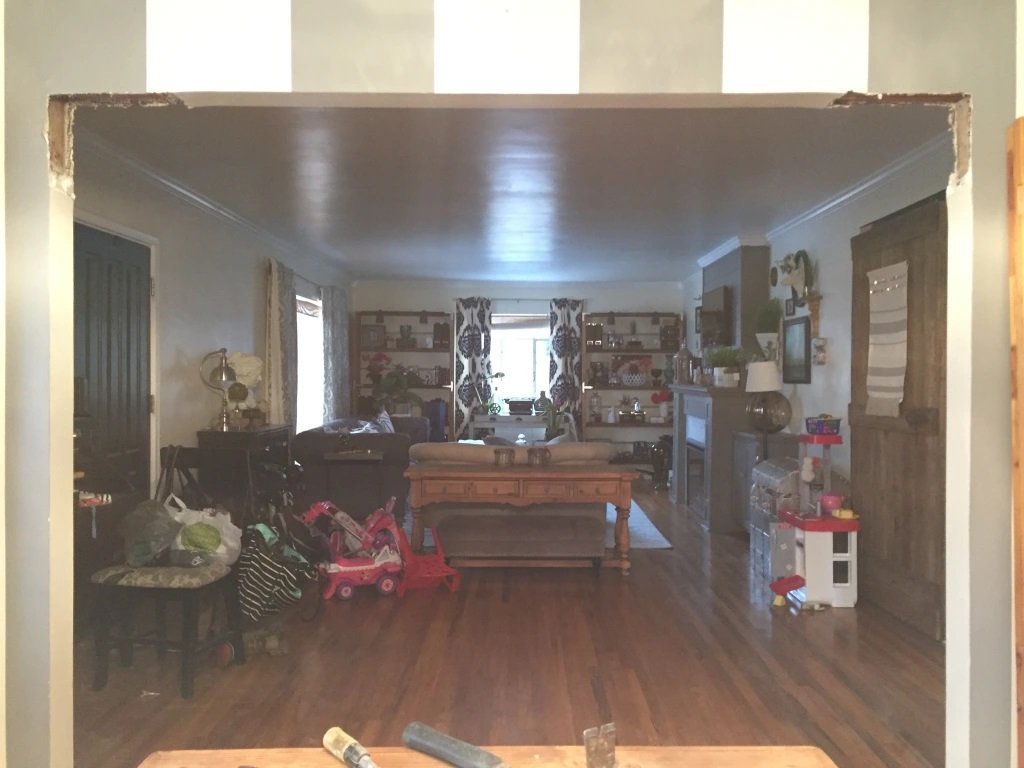
Multiply those efforts by two, and here we are at the fresh canvas for this project.
We’re going to start by framing in the area and figuring out how wide the sidelites need to be. If you’re doing this by yourself you’ll need to use these screws to hold up the opposite side of the wood while to secure the other side. This is a good technique to remember if you are frequently working by yourself.
We trimmed down three 2×6 boards to the width of the wall (5 1/4″) and screwed them into the existing studs. We also measured diagonally each side (corner to corner), and the difference is about 1/8″. Looking good and square and ready to figure in the sidelites.

Adding Sidelites
Using the door measurements, we were able to figure out where the two vertical studs need to be to install the doors once the satellites are built. We measured the doors, added 1/8″ for each of the hinged sides and another 1/8″ for the gap between the doors so they will open and close independently of each other. We also cut into the top and bottom of each side another piece of wood 16 3/16″ long. Measuring again from corner to corner on both diagonals, we am within 1/16″ of perfection, so we’re ready to move on!

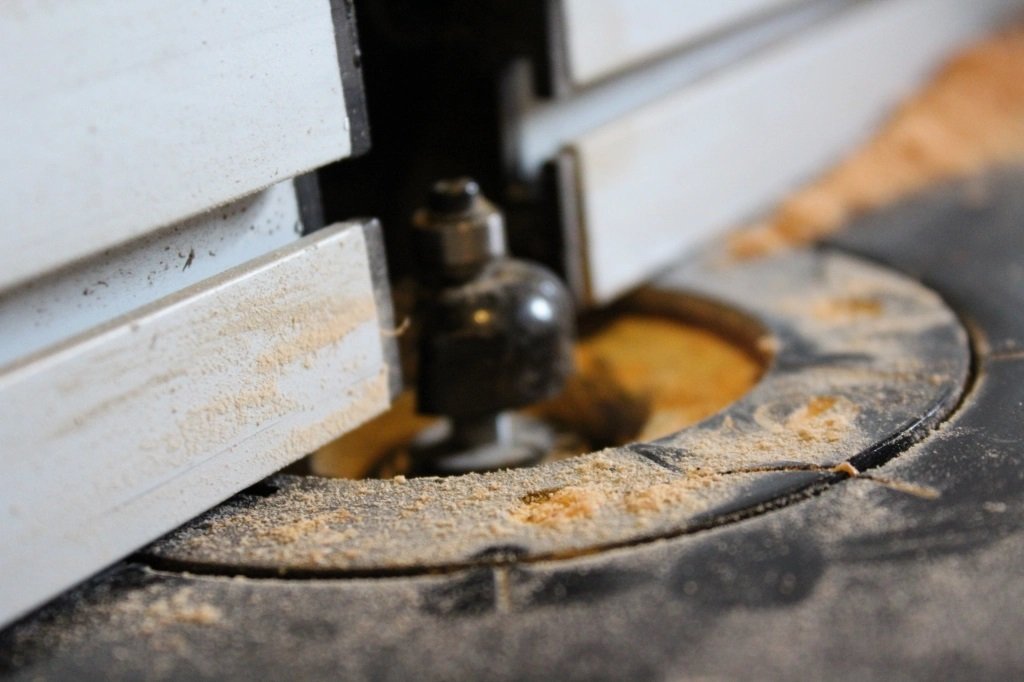
Here is what the glazing strips look like that we need to match for the sidelites. It looks like a basic router bit that we already have. That’s great because router bits aren’t known to be particularly cheap. I love it when I have stuff.

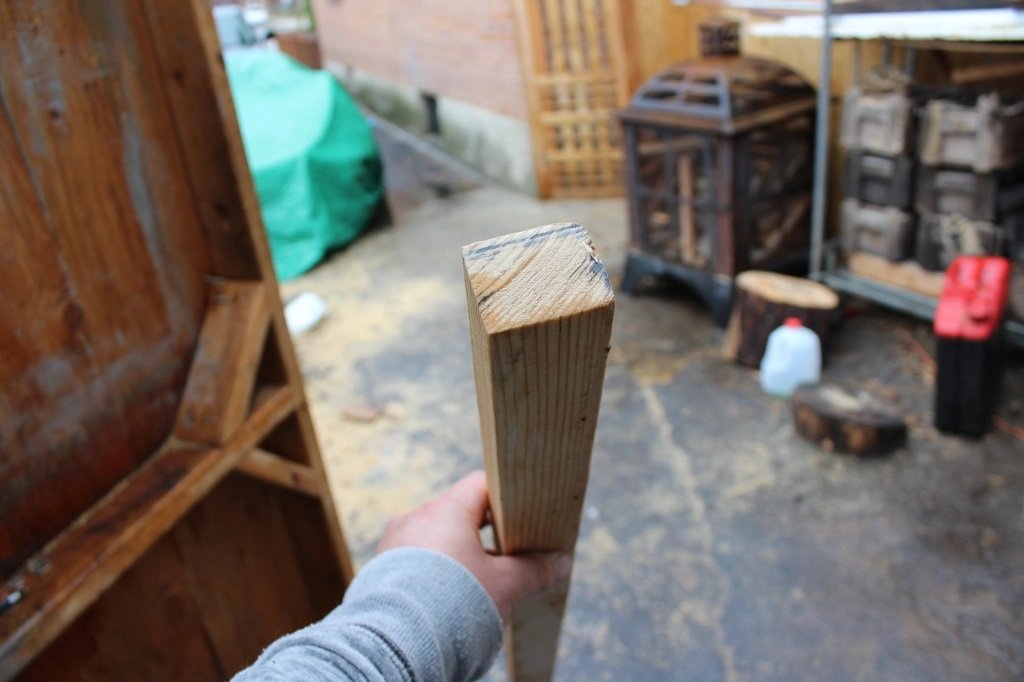
We’re going to use an old piece of 2×4 that we have from another project laying around to start the first unit. Nothing fancy. Yet.
The first thing to do here is to get the measurements of the door glazing strips. They are 1 1/16″ x 3/4″ before they are routed. Easy enough, so I ripped several of this size through my table saw.
Next on the to-do list is to get these things routed out and stuck together. Let’s just start with the routing part first though. We included this photo to show how the outer edge of the bearing on the router bit lines up with my fence almost perfectly. This is important so that each of the pieces will have the same pattern cut in. We would also suggest cutting all of them at the same time so that you don’t have to try to duplicate the exactness of your setup later on.

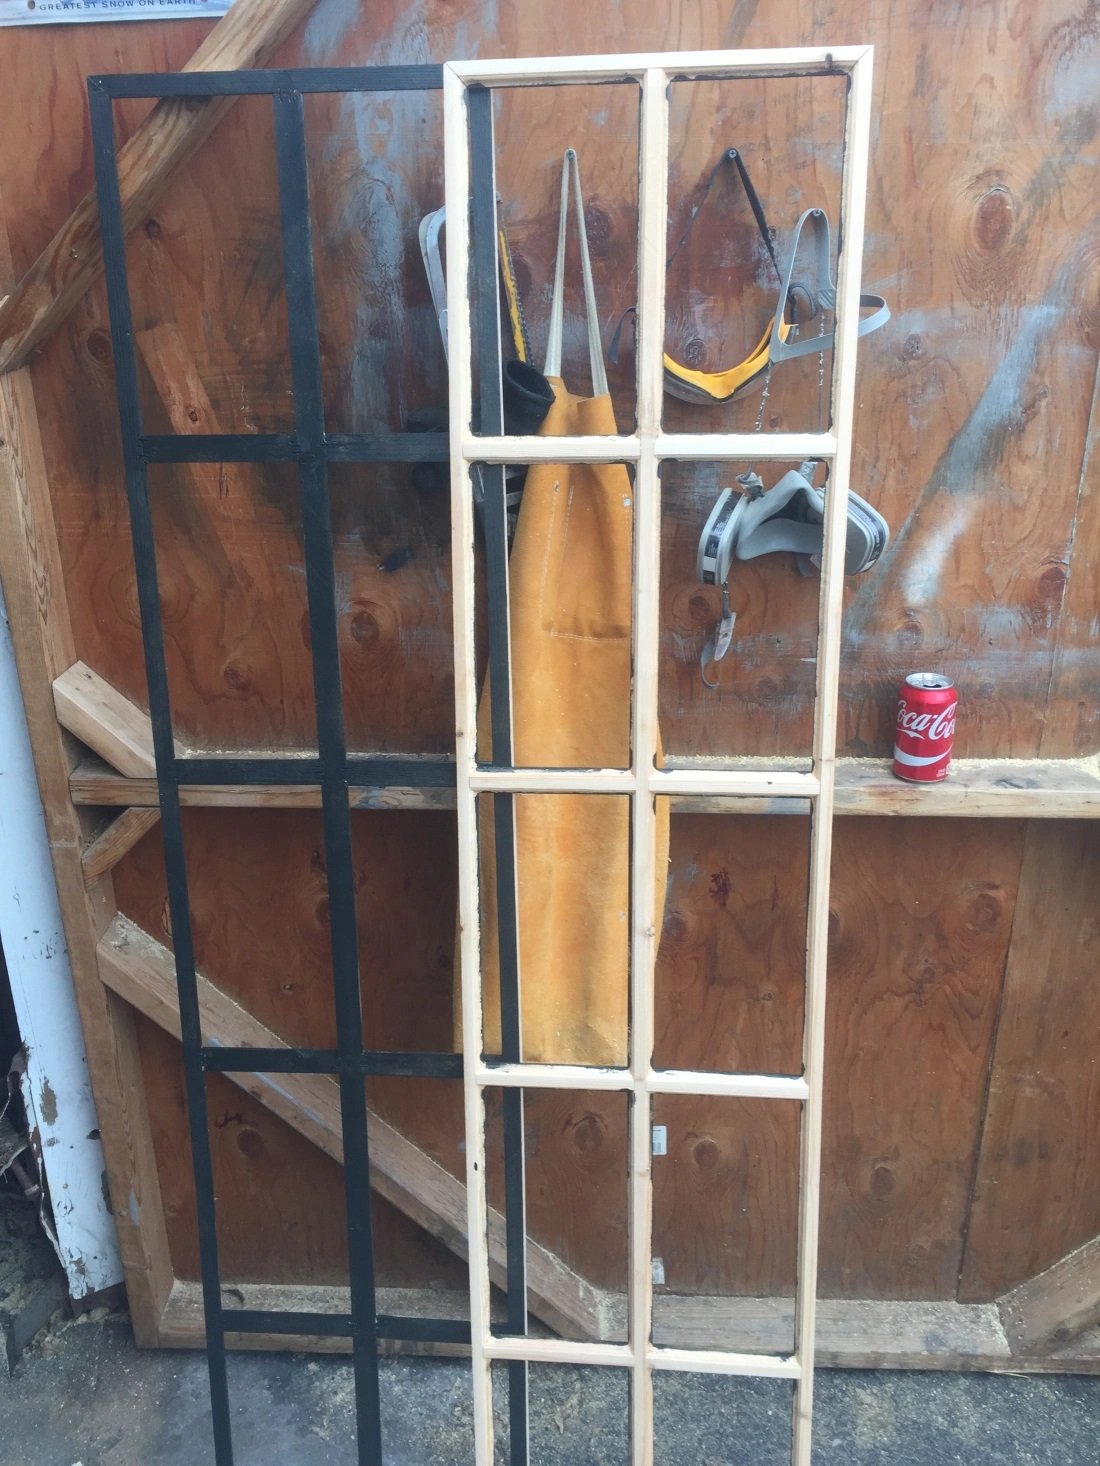
After zinging them all through the router, this is what I have now. In this photo, I have just routed the one side. I will, of course, have both sides routed on each stick.

Of course we’re impatient so we just have to see how things are going to look before they come to fruition. We set them all down on my lovely, clean garage floor to get the visual. Sometimes you just need some motivation to continue, y’know?

So how do you get the clean connection when you have a routed edge? You flip it over and route the ends of the other side with the same bit. Magic, right? Who would have known.
We have used wood glue and finish nails (very carefully) to attach the frames together to specification of the doors. They match! After checking that they line up just right with the doors, we painted the back sides that will touch the glass so we don’t have to worry about that later on.
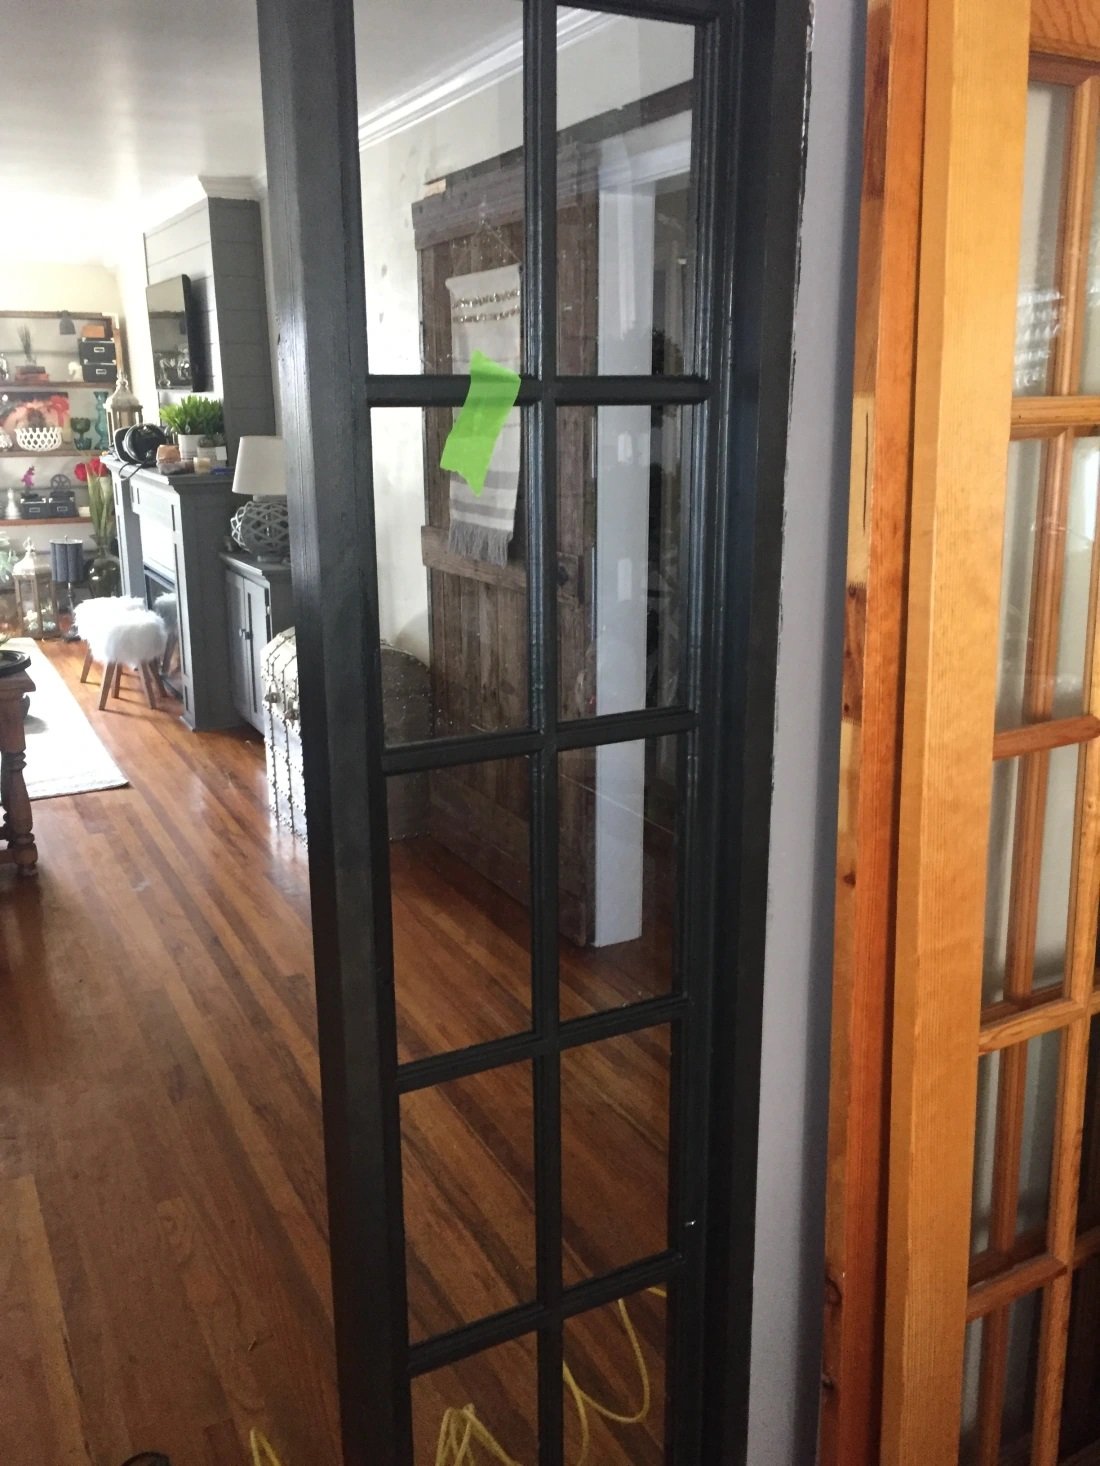
Here is the first one installed! We’re getting much more excited about this project as we keep seeing meaningful visual progress! What you are seeing here is the first window frame with a 3/8″ strip frame around it. I secured them together with wood glue and finishing nails, then used glue and finish nails to attach it into the sidelite frame. We had to add the smaller frame around the window panes because they need to be the same size as the door, but that left a small gap that needed to be filled.
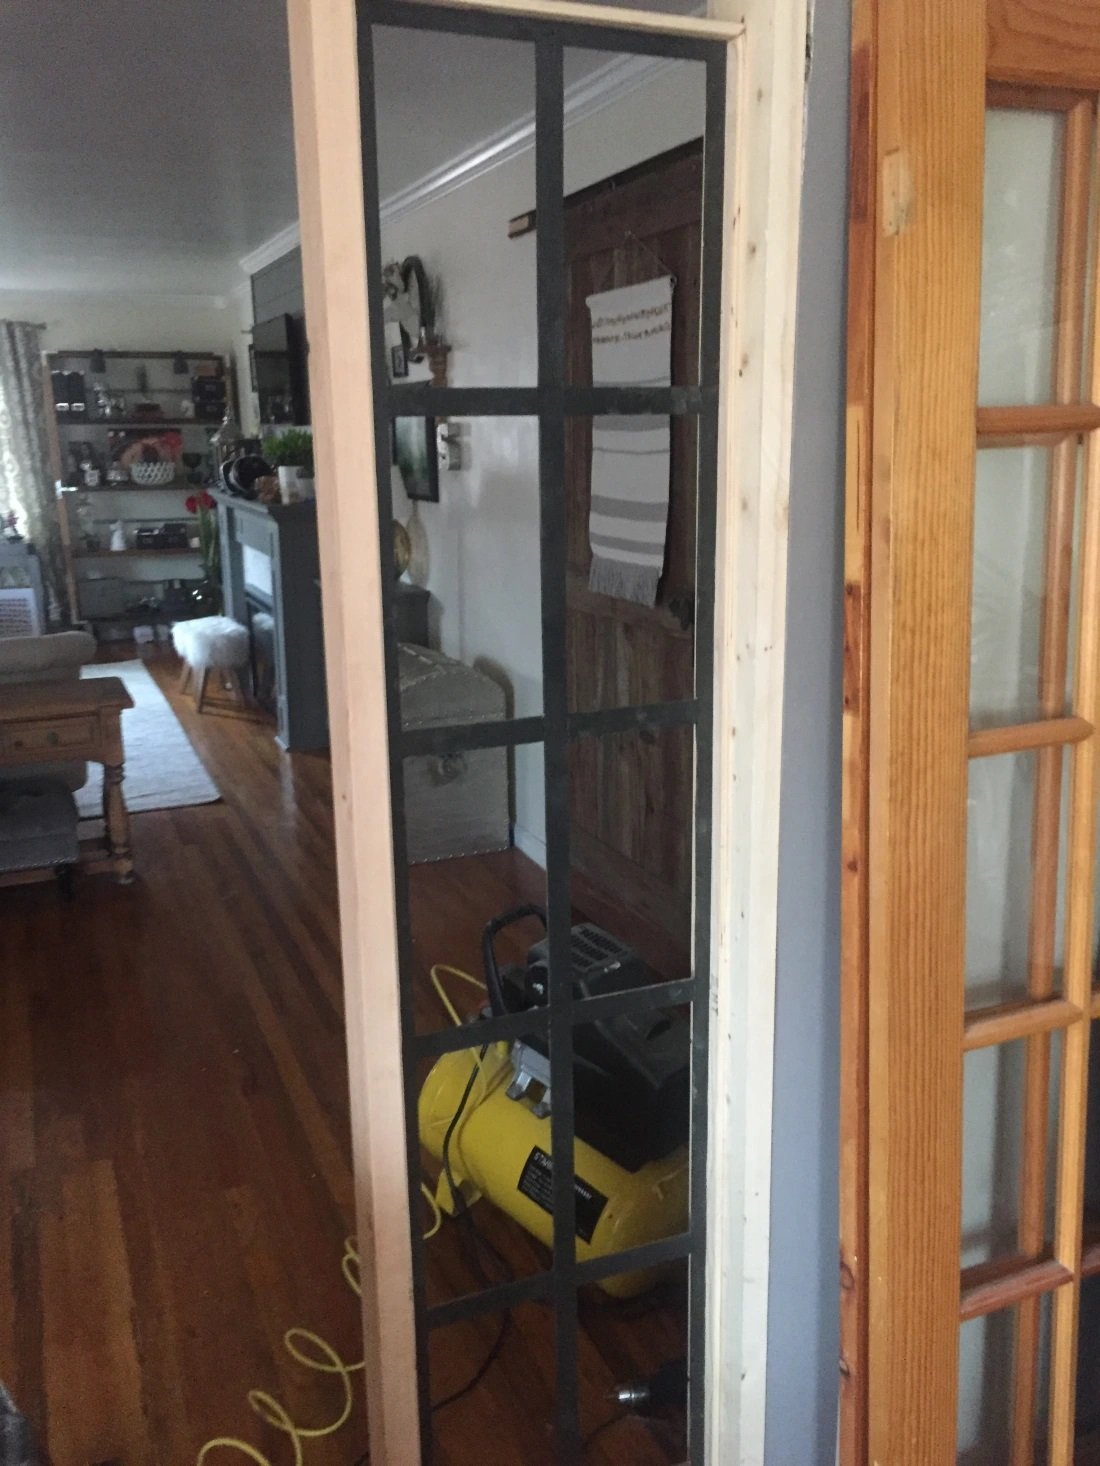
Once that all happened, we used a piece of milled-to-spec 2×4 to fill in the gap at the top, and a piece of milled-to-spec 2×6 to fill in the gap at the bottom. Lookin’ good so far!
As a side note, we had to figure out where the door would hang to make sure that all of the window panes lined up once the doors were installed. This is a very important step, because if we’re off at all, it will be painfully obvious forever.
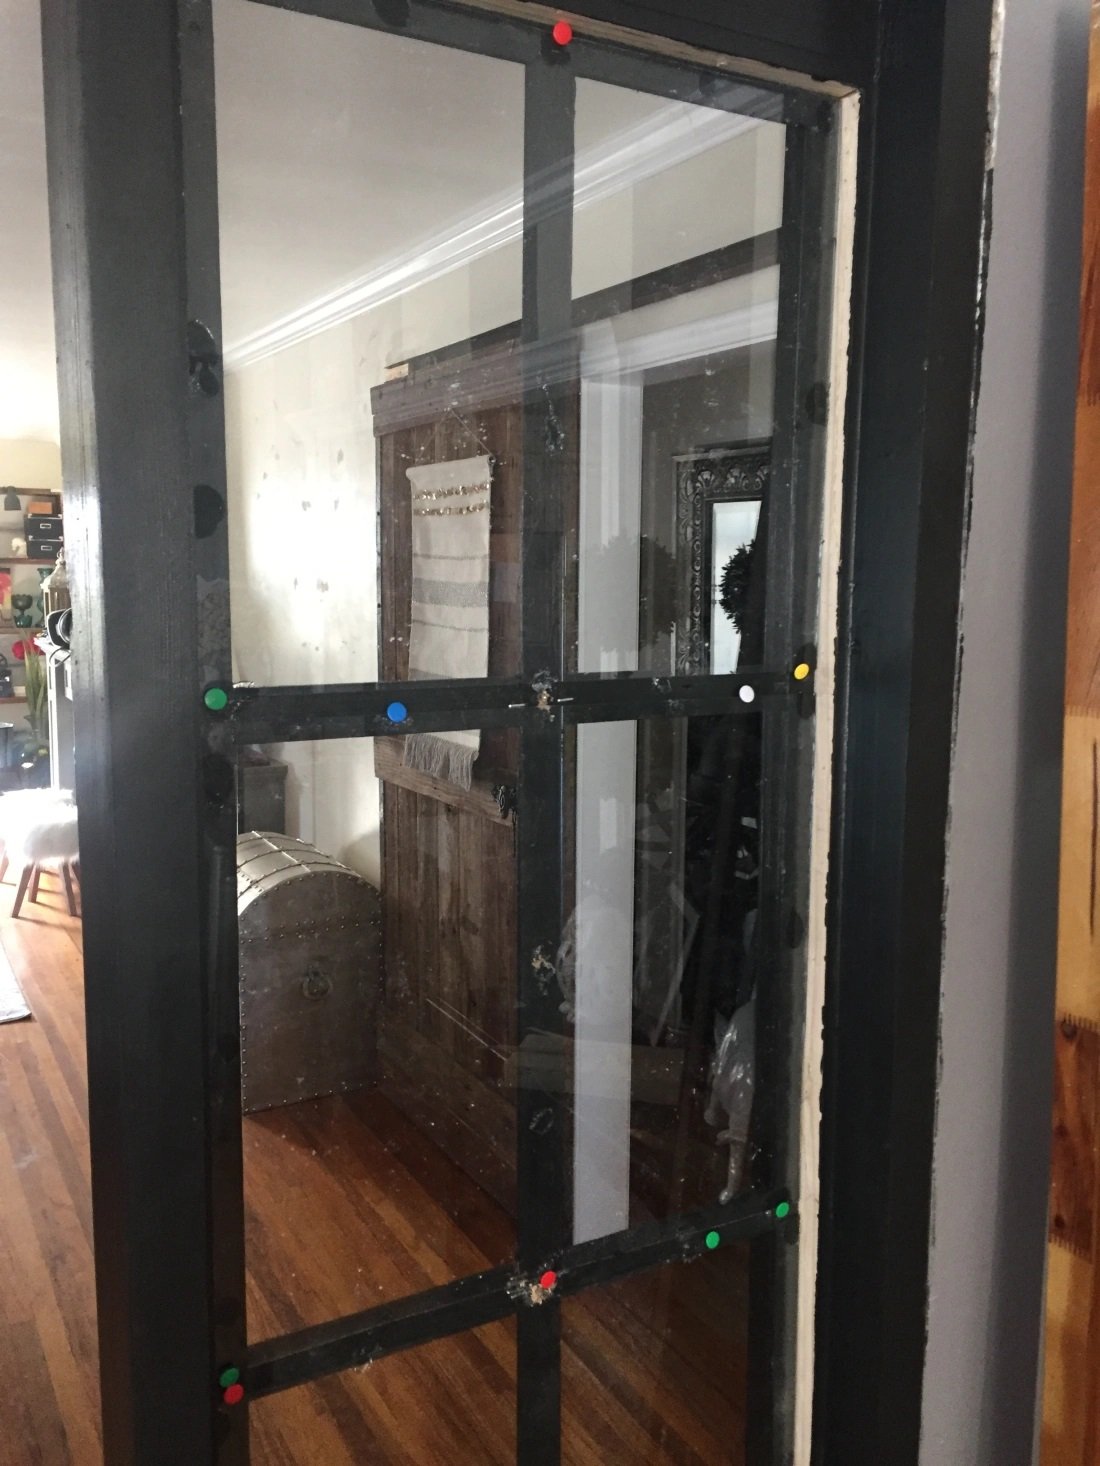
We dry-fitted the other side of the glass panes in, and it fits very snugly and perfectly! Now we’re adding the paint to the areas where the glass will be so that we don’t have to tape everything off later, which would be ridiculously laborious and boring. Always paint first if you can and save yourself many bad feelings and expletives.
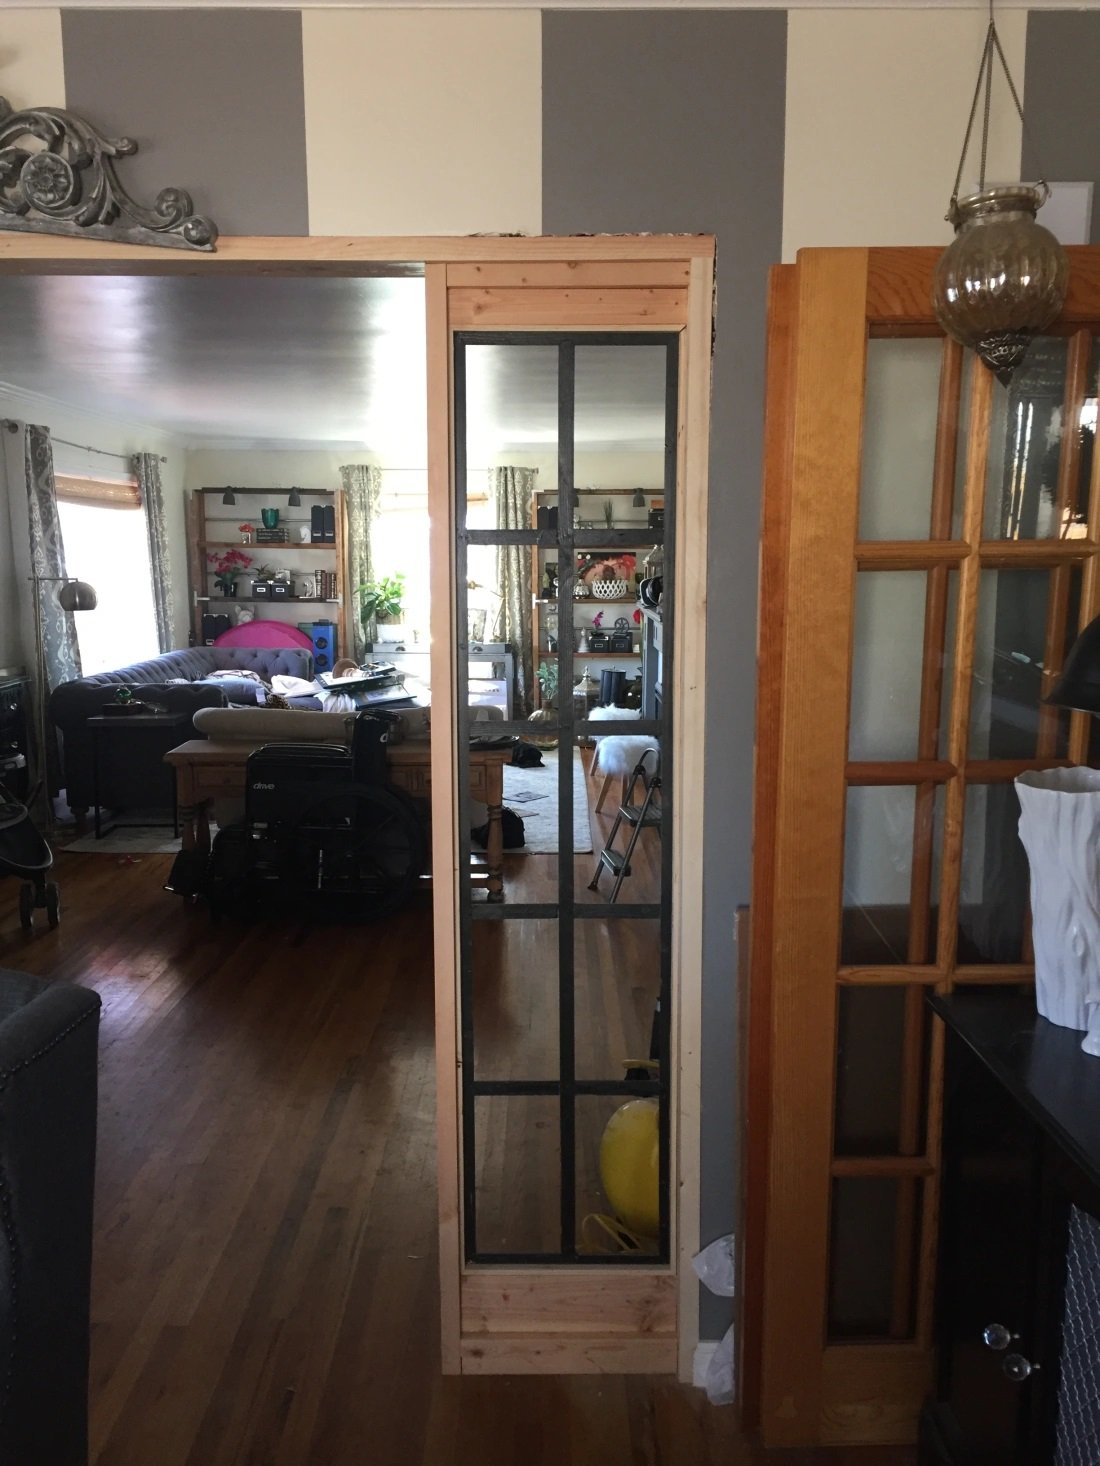
Now for the glass…let’s hope we don’t lose a finger about it. Using a basic $2 glass cutter, we cut out the glass pieces we need. We’re using a clear silicone adhesive to attach the glass to the back side of the panes. We also used thumb tacks to keep them in place while the silicone hardens and cures.
Once the silicone has got a good formation, we can put in the other side of the pane! We wiggled it into place, snug up against the glass, and put four very tiny but long screws into it, going sideways into the outer frame. We have kids. This is most likely going to need new glass at some point in our lives, and we really want it to be simple when that needs to happen.
Hanging The Doors
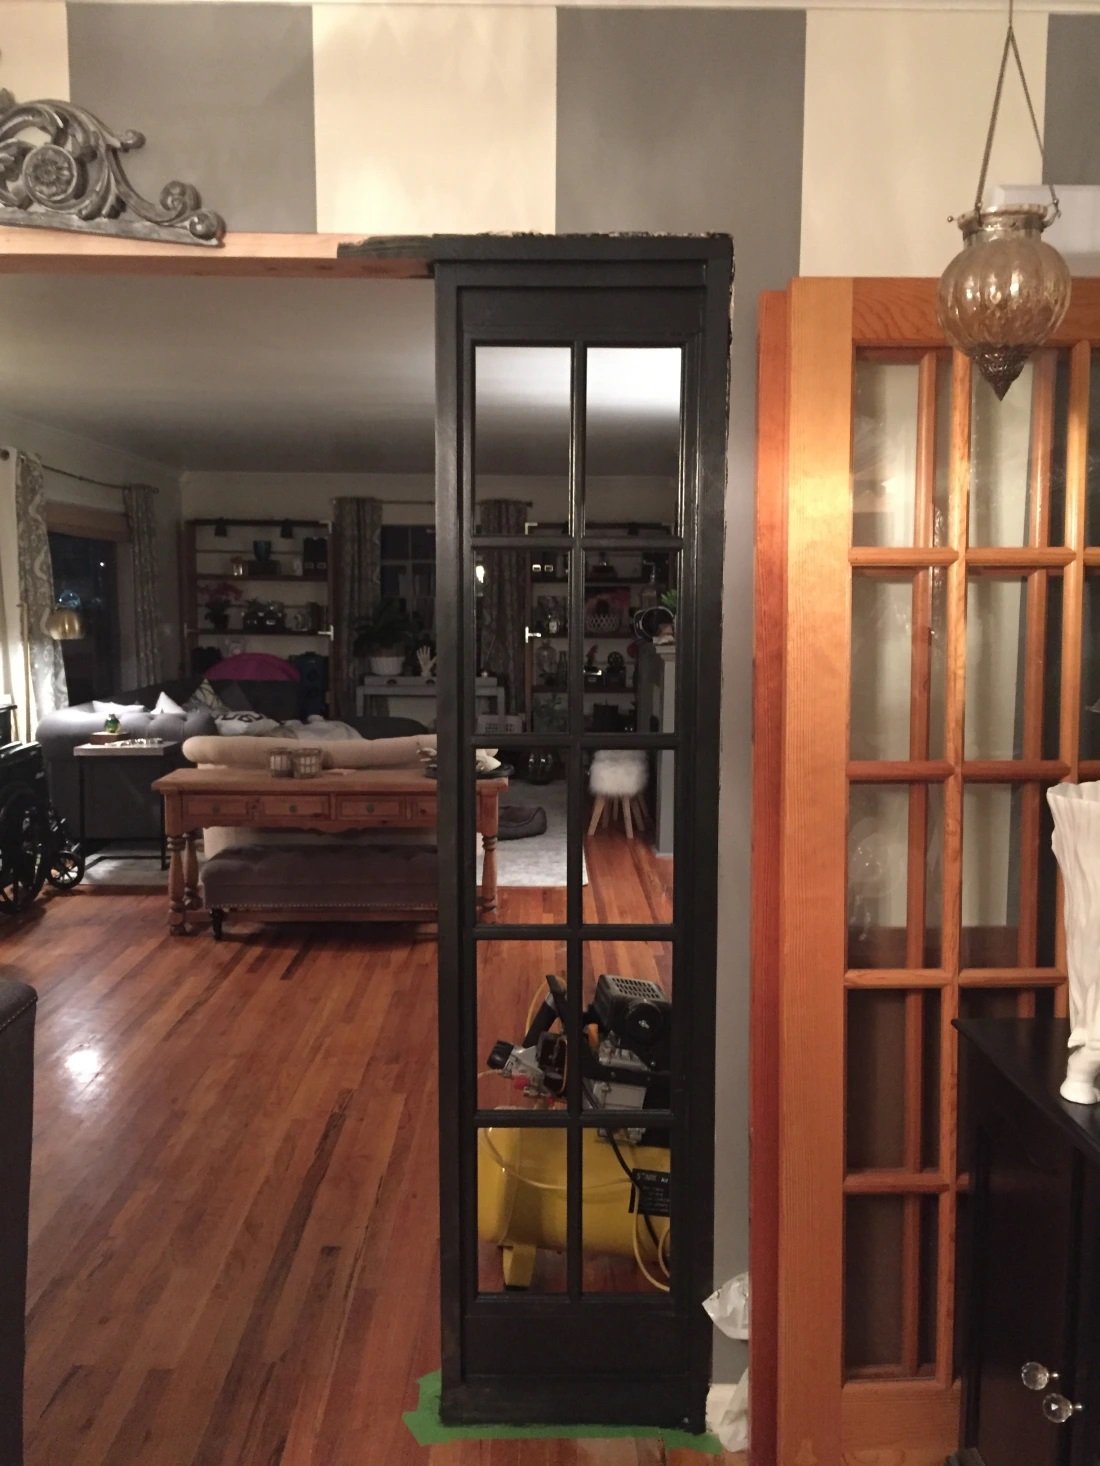
Now the real fun begins! We just love to sand off old stain and lacquer (yeah, no). We used a belt sander to take it down to the wood, and my orbital sander to finish it up. The glazing strips of wood on the glass are far to fine to run sandpaper over, so we’re just using a deglosser to rough that part up and make it more apt to accept a first paint coat. Even with the best of tool choices to pick from, both doors front and back took me about 3 hours. Then we had to paint them. Yikes!

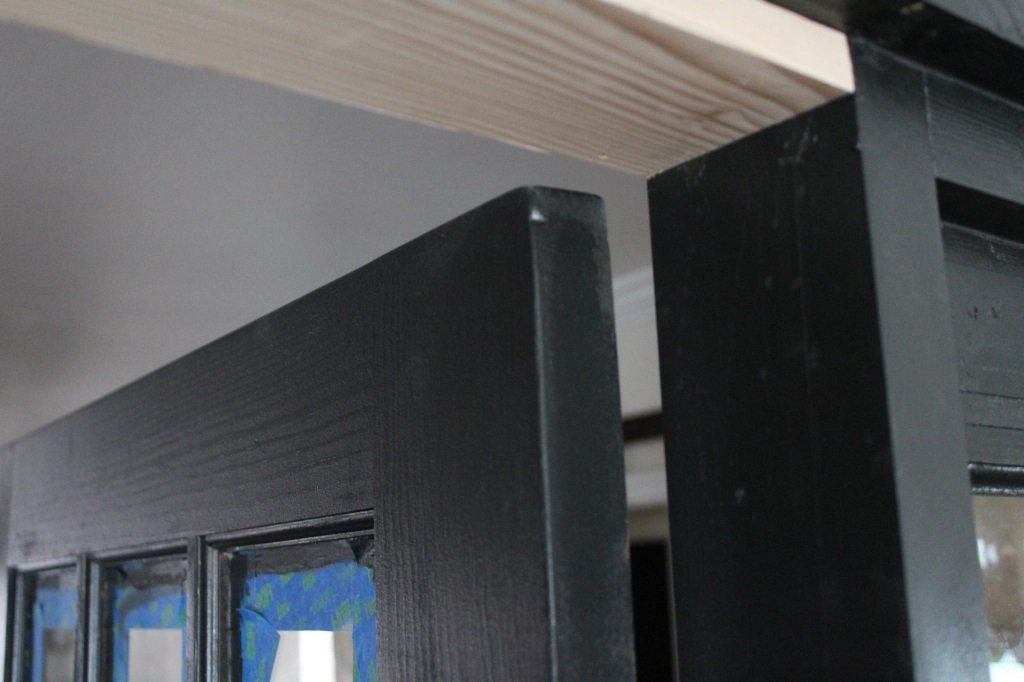
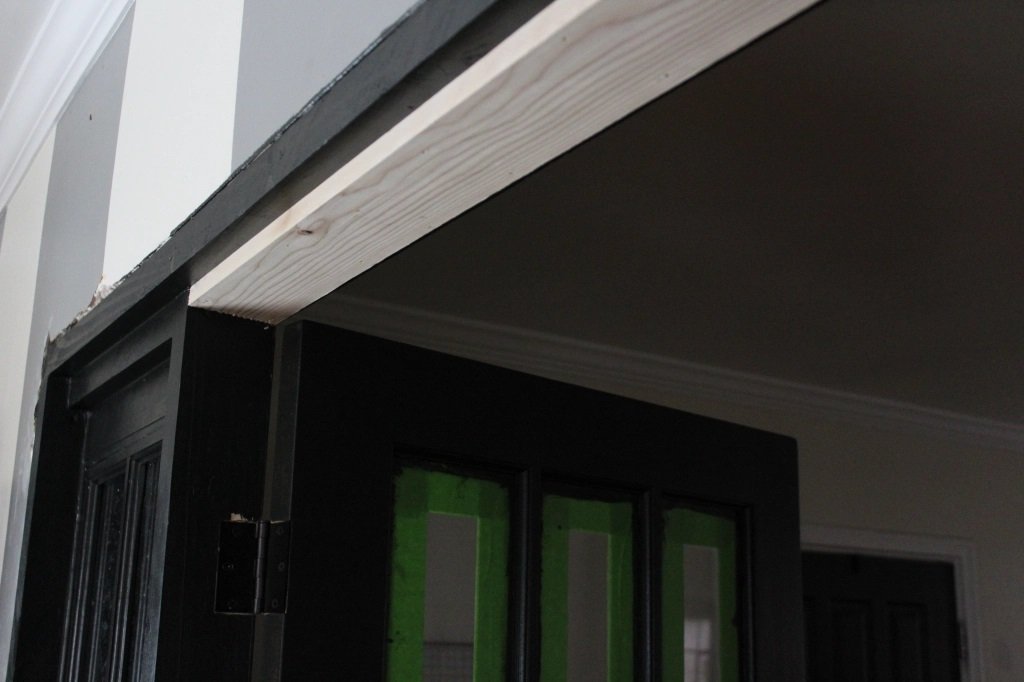
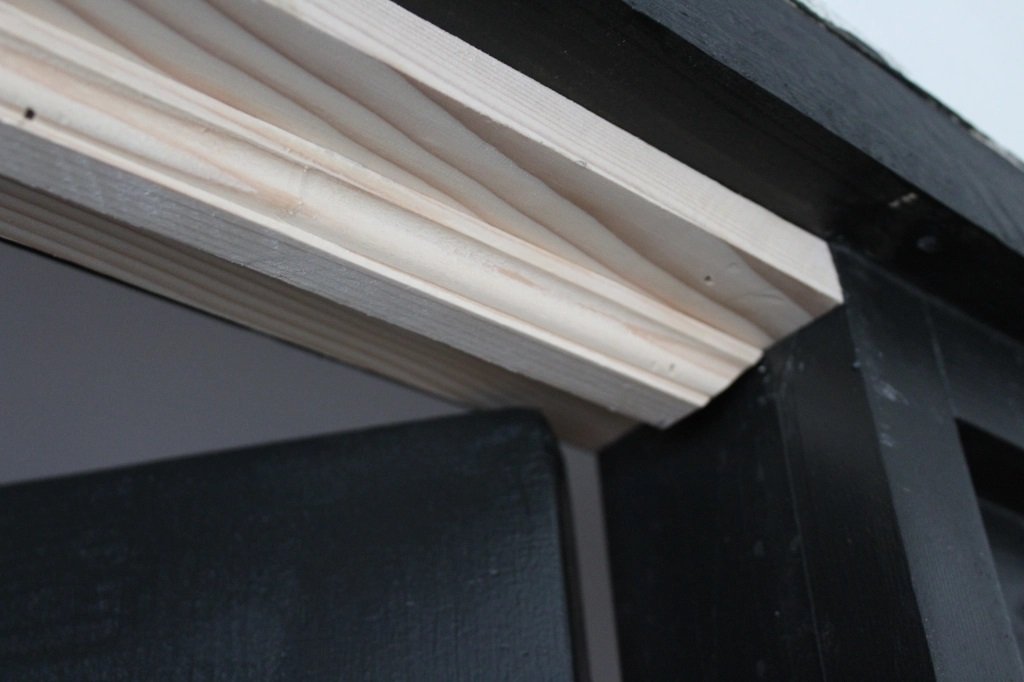
We hung each of the doors, making sure again that the window panes on the doors matched up just right with the window panes on the sidelites. The new wood you see here is the gap between the stud and the top of the doors. We hung the doors first so we could get that piece just right.
It is important to always check that things work while you go. The doors swing open and shut with no rubbing and about 1/8″ gap between this new wood and the top of the door.
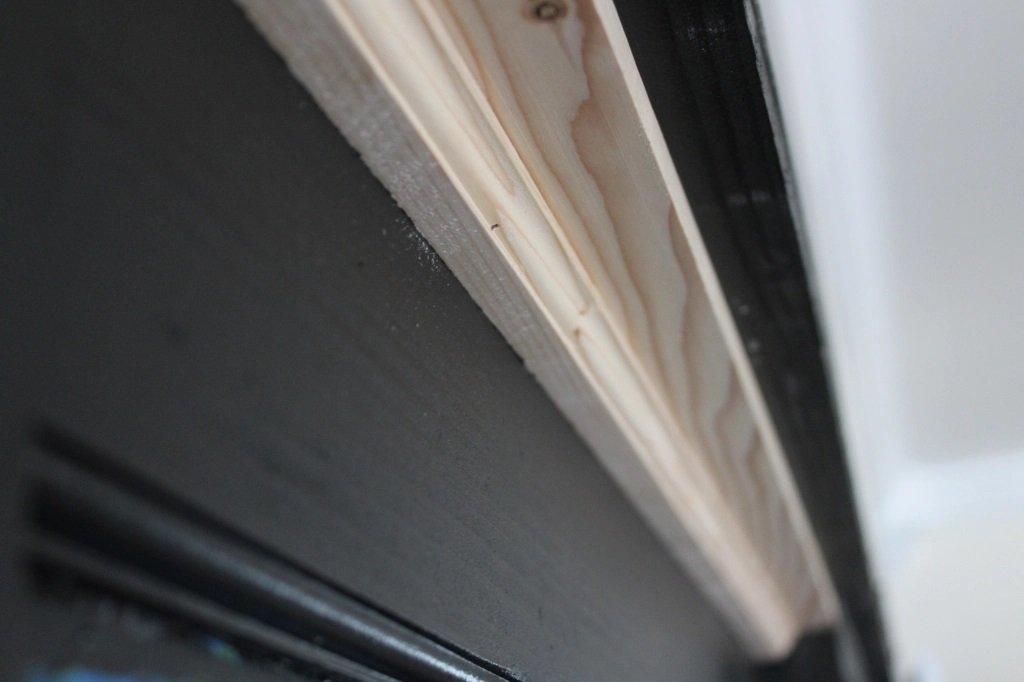
Using the same method as before for the window panes, we cut out a piece of molding from another toss-off 2×4, except we only routed one side and left the other at 90° for the doors to rest against. The very best way that we know of to place this molding just right is to close the doors flush on the opposite side, then press the molding against the door and nail away.
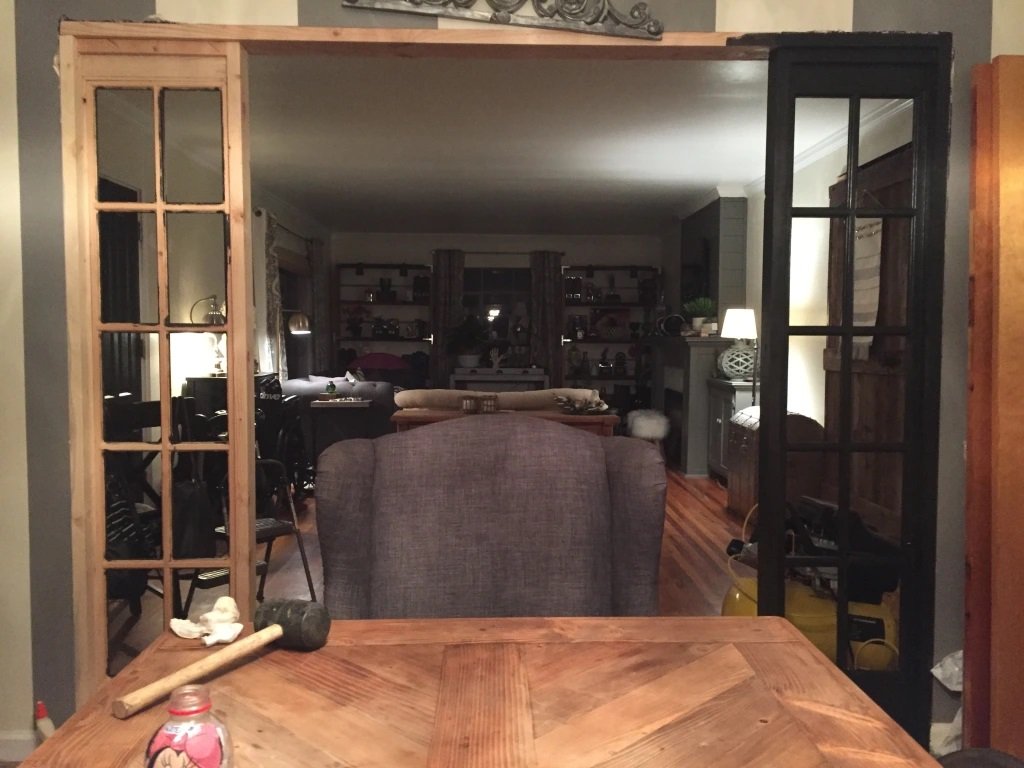
Man, that’s a nice snug fit against the door! We’re totally happy with it.
The painted doors are now hung and they close nicely against the railing. On to the next phase…