

How to Build a Fireplace Surround
We found an electric fireplace built by someone in the blog world that inspired us to build one too. We haven’t ever built a fireplace, but it should be about like everything else we’ve never built before; we’ll see what happens as we go! We have no plans or measurements; we’ve started with the insert dimensions and building the idea out from there.
This is what our entertainment center looked like before. Aside from the VR mess that my brother-in-law brought over, it doesn’t look too bad. It isn’t great either, so it’s time to upgrade!

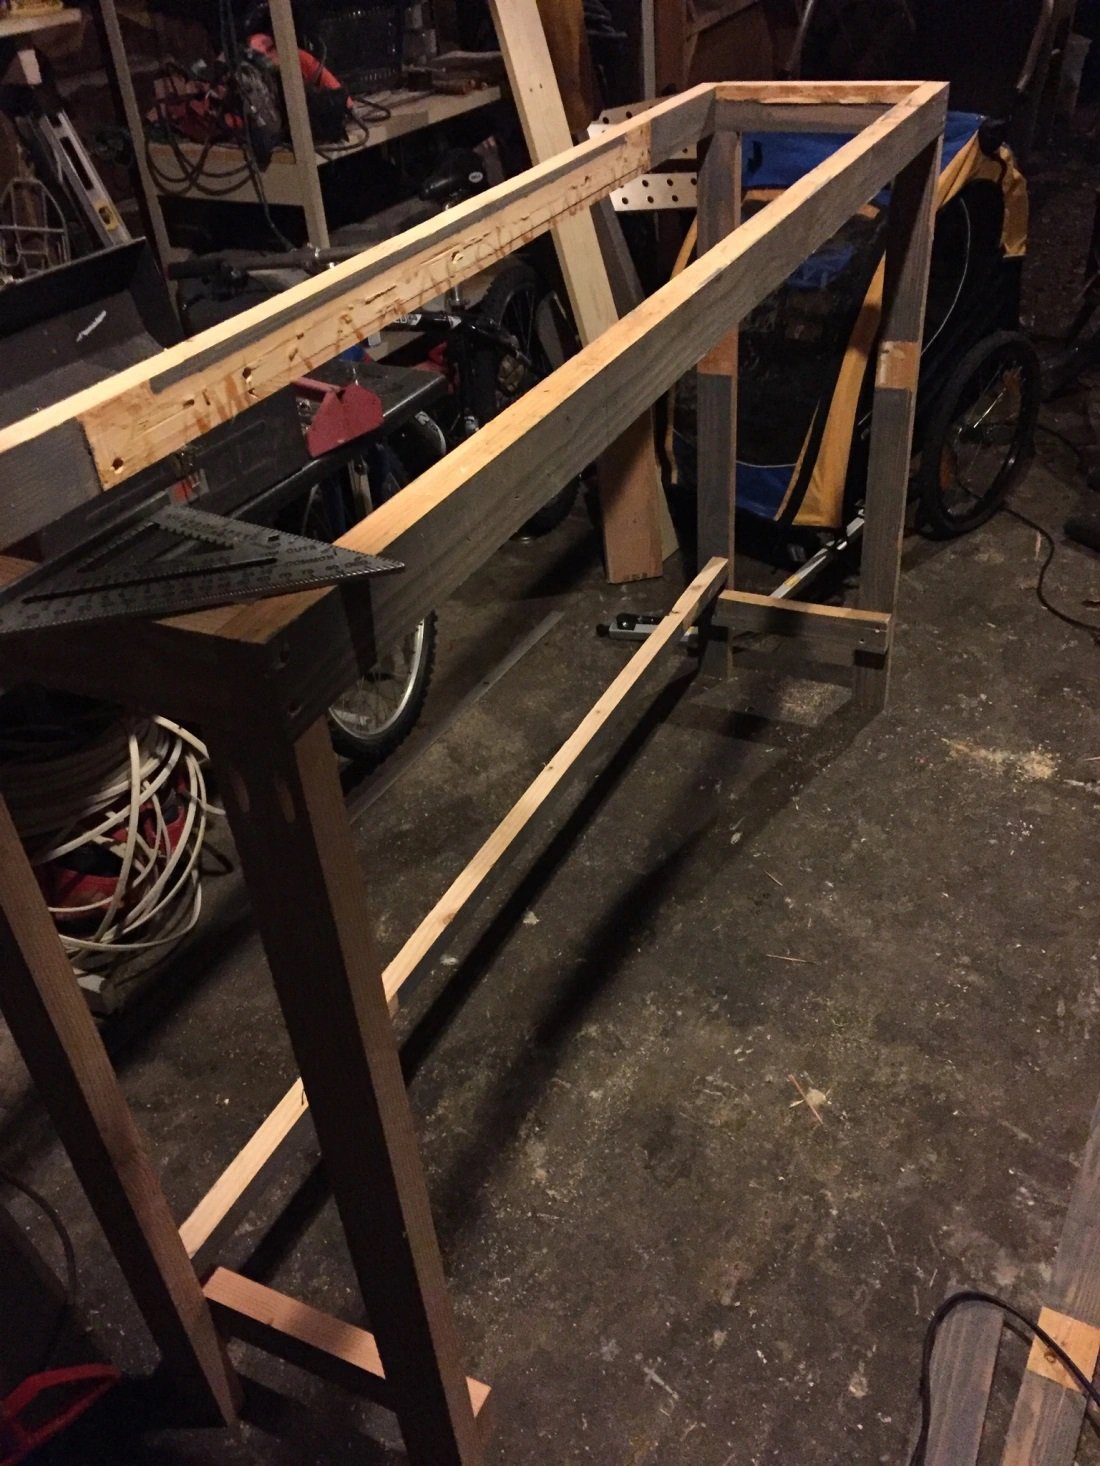
We actually used an old work table we no longer needed to start the base. After dismantling the table and milling some 2 1/4″ strips out of the top, we put together this basic shape with wood glue and screws. At this point in building something you intend to be in your house for a while, make sure that you are checking it for square all along in the beginning phases.
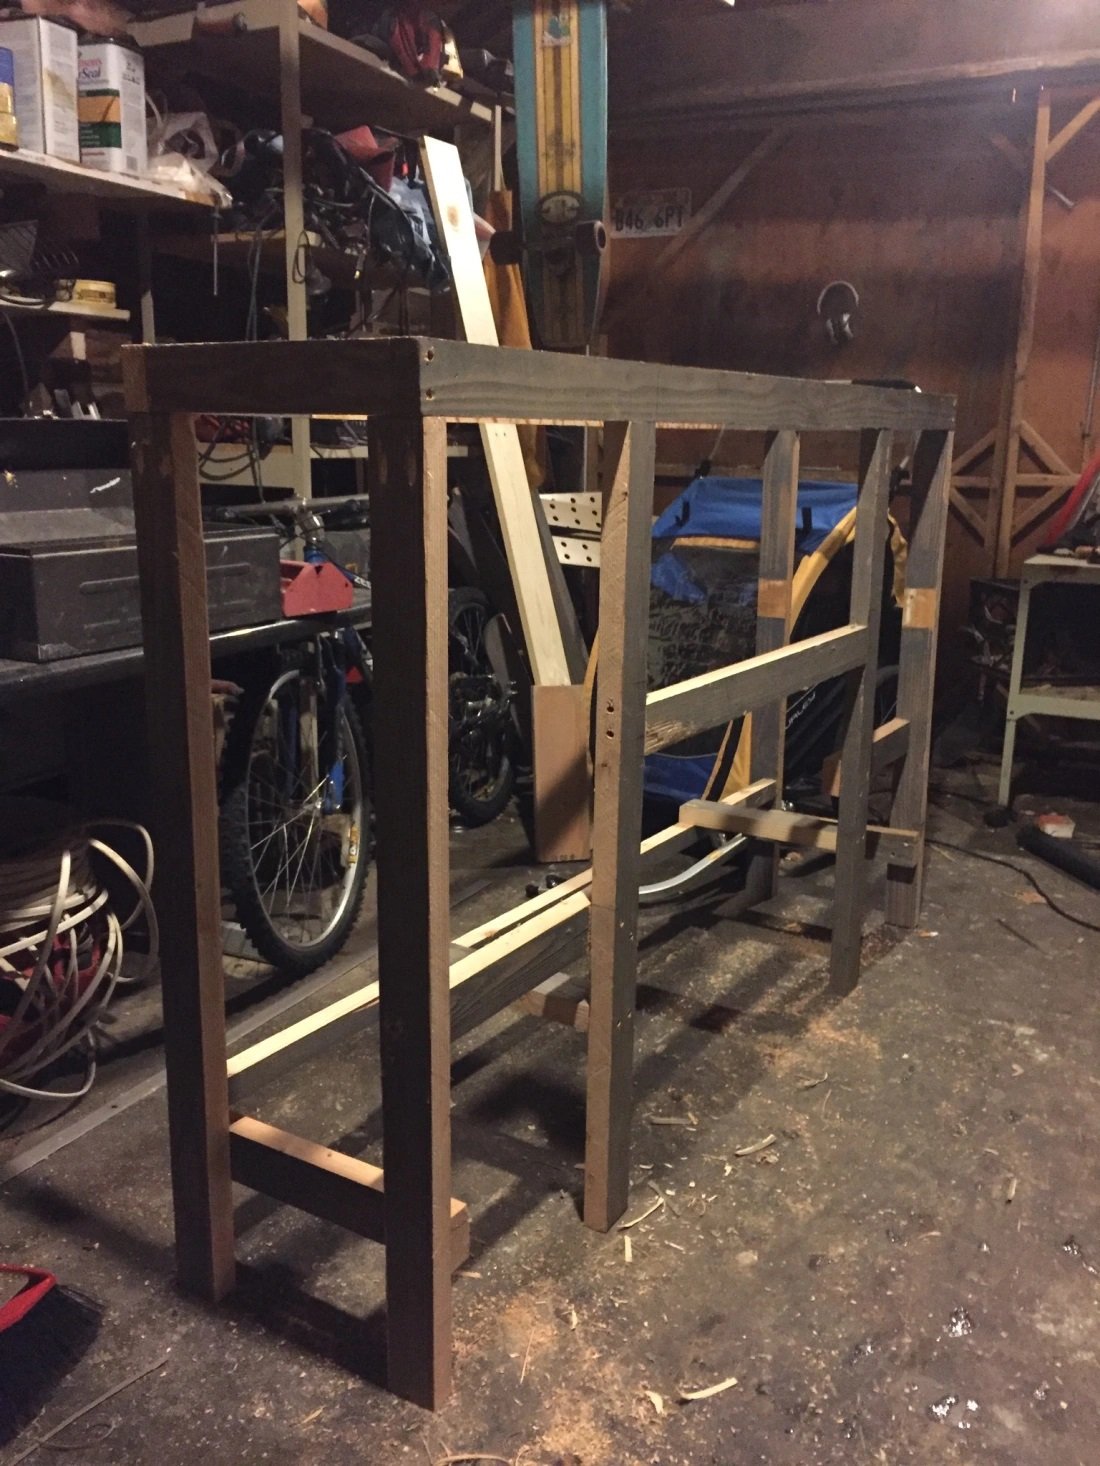
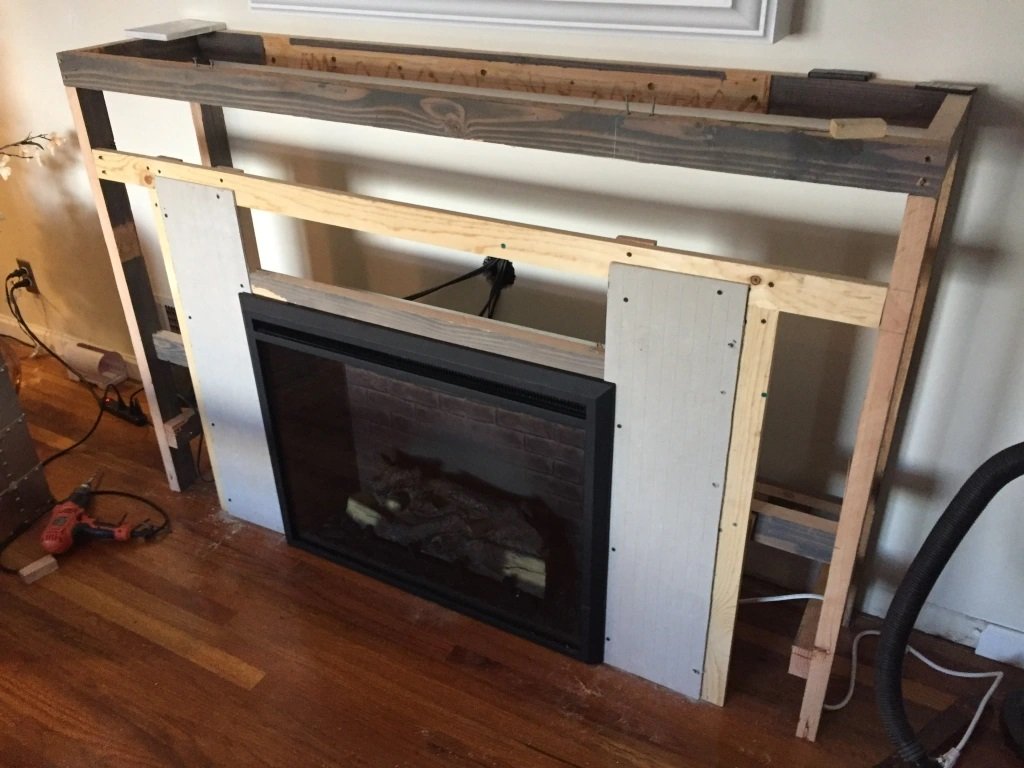
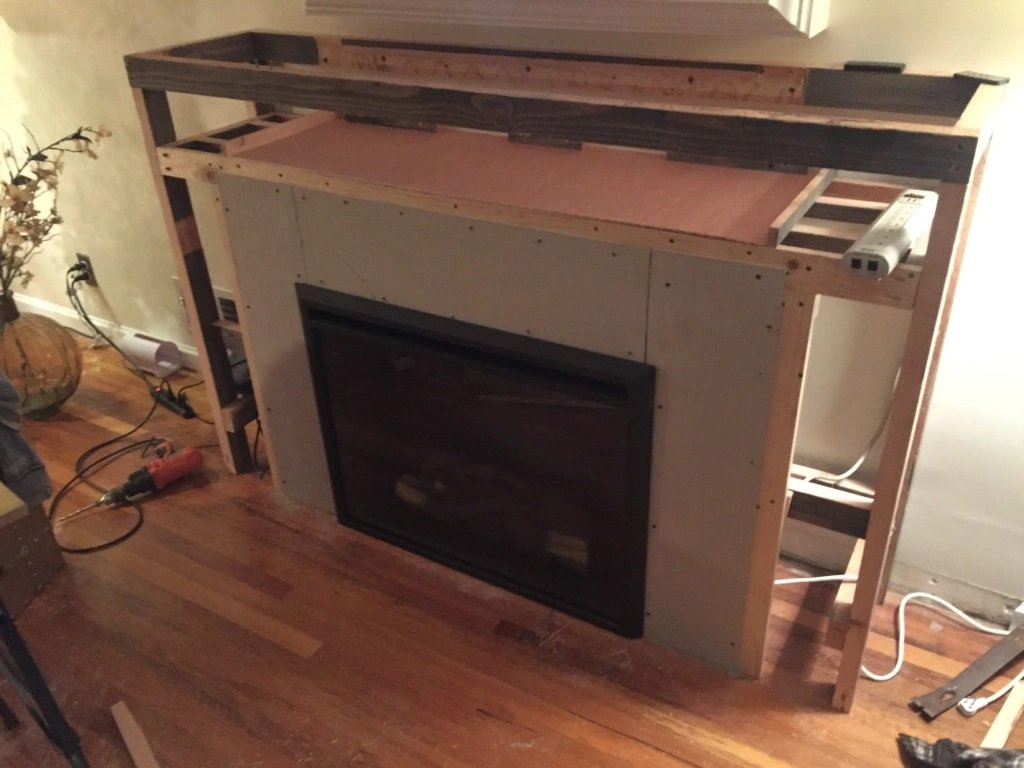
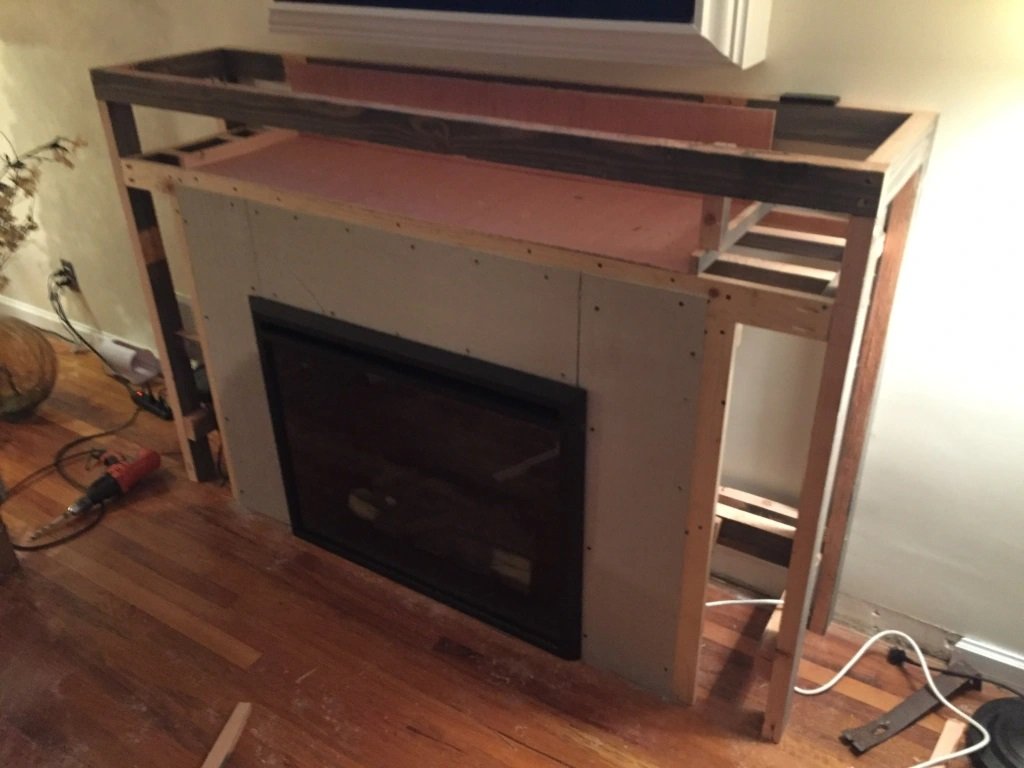
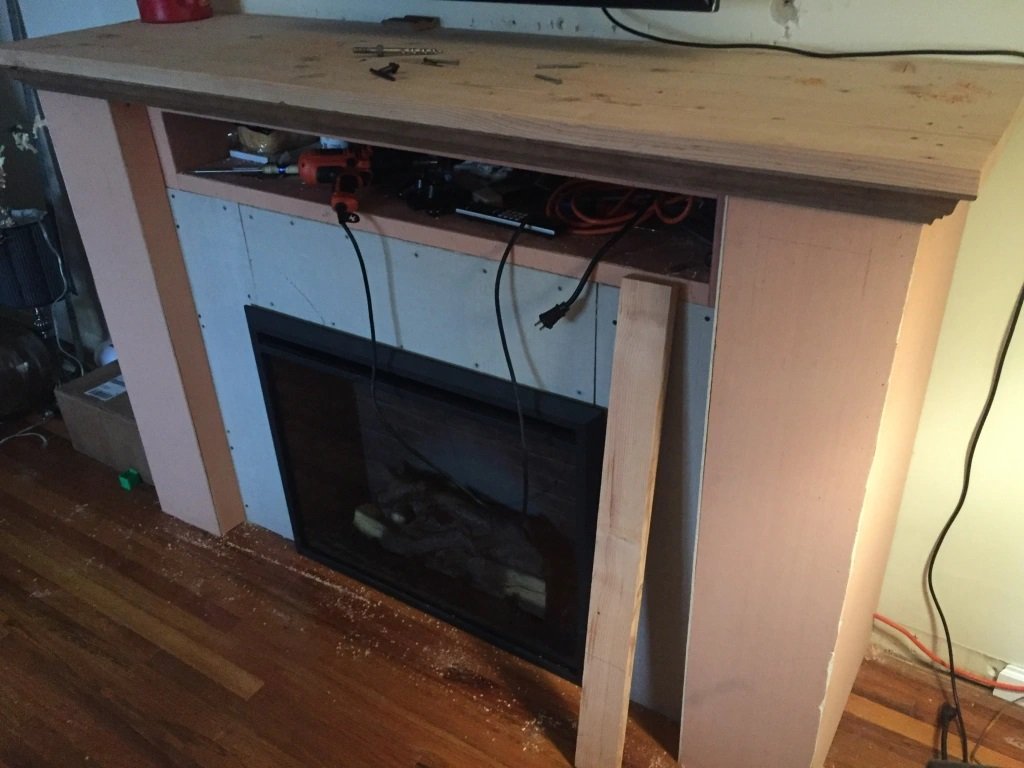
We’ve moved it inside now, although that means that we’ll be making a large mess in our living room. We don’t want to continue much further without putting it in place and making sure that the scale of it works for what we’re thinking. It is looking plumb and square with the wall, and also the scale looks appropriate to our liking. We ordered a fireplace insert from Amazon, and are waiting for that to arrive to make sure that my void is the correct measurements. We won’t continue building on it until that has a chance to get here and we can check it out. Because we have no plans we’re following my conceptualization. The point in saying so is to hopefully encourage you to try building whatever project you want and just “go with it” until you are done with what you want!

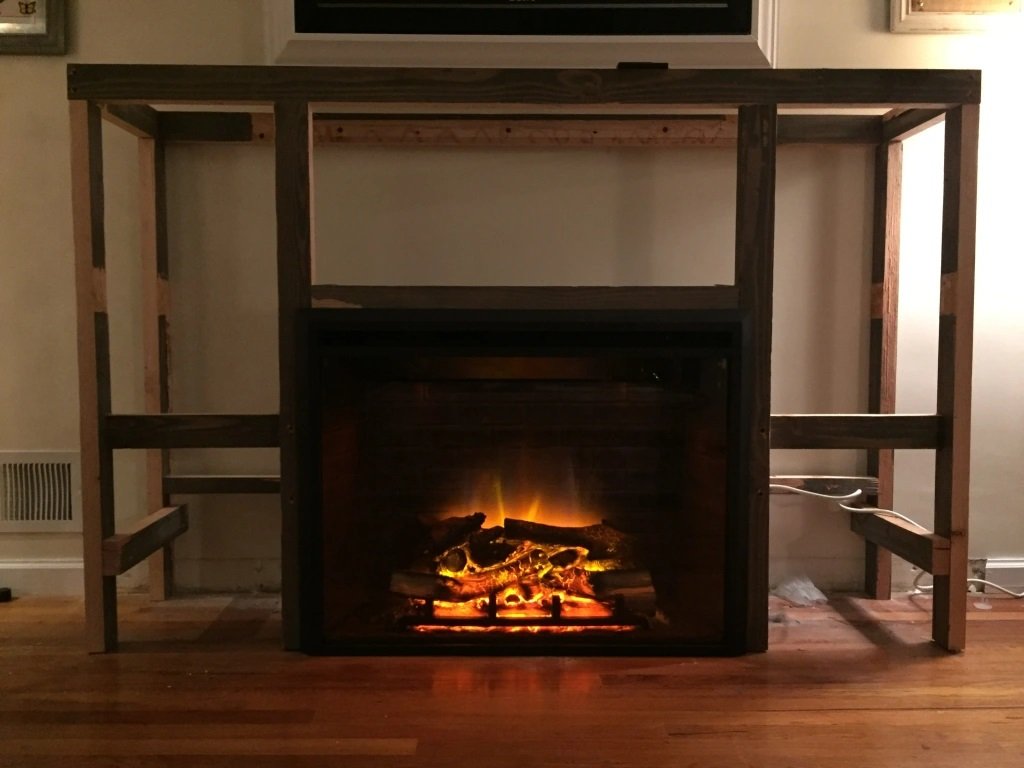
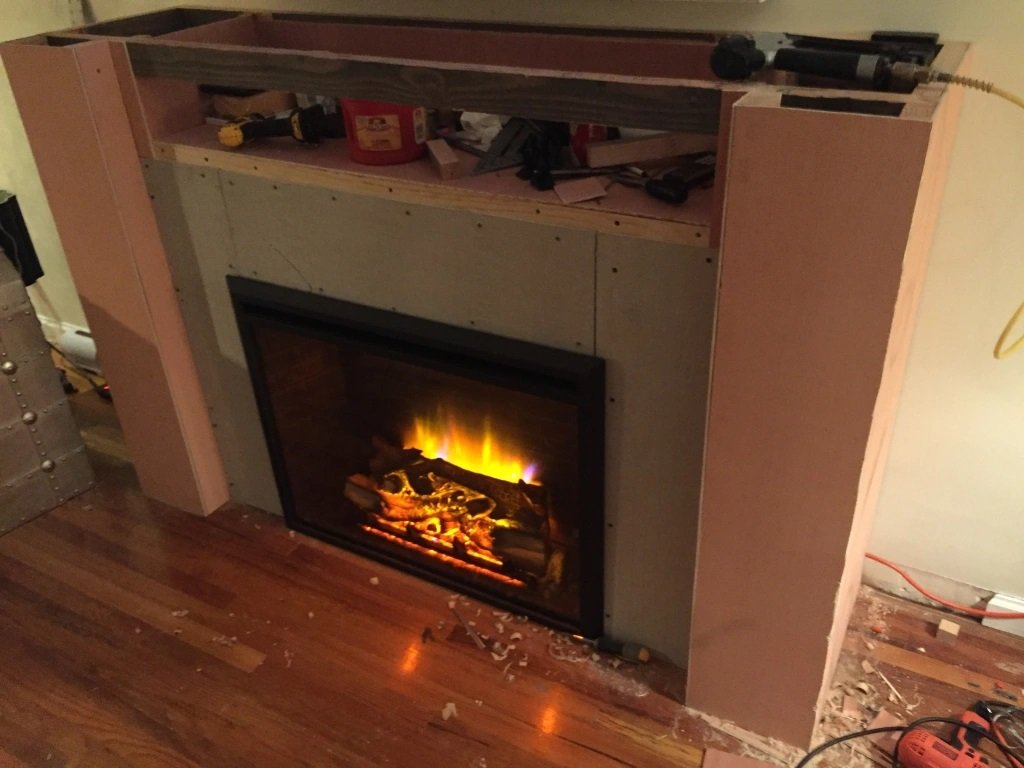
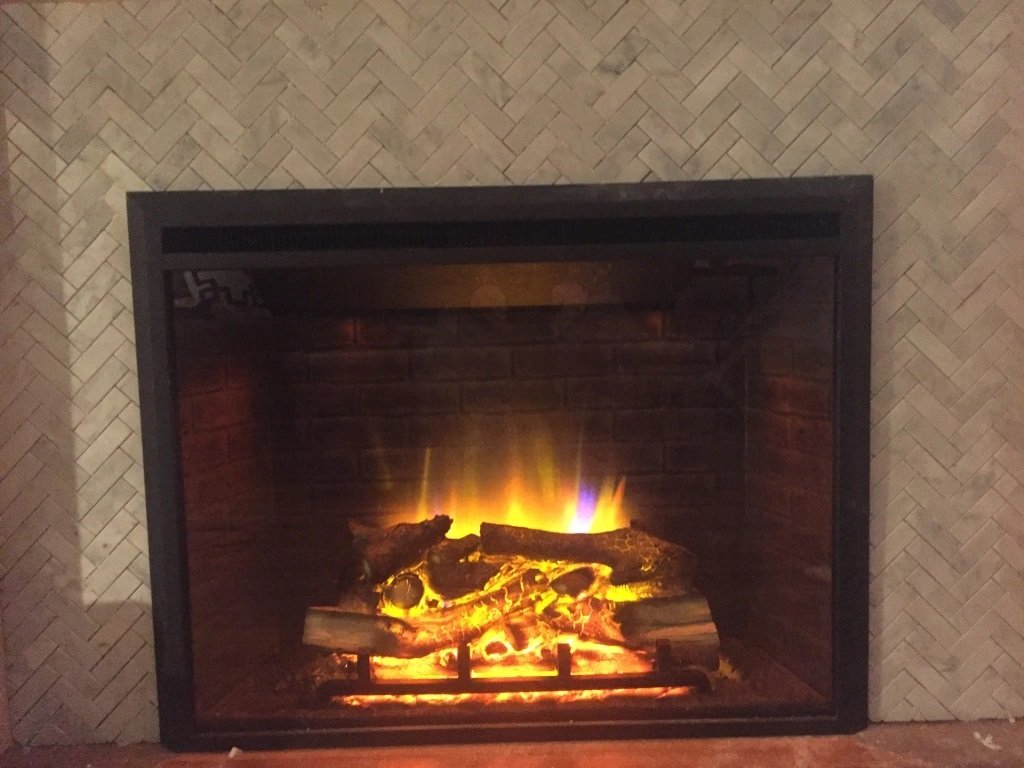
We got the insert and it fits perfectly! We are also pleased enough with the realness factor of the fake logs that we will keep this insert and move forward with the building project as is. We are currently debating whether or not we want columns on the sides or what the dimensions will be for all of the components. The horizontal column/section above the fireplace, but below the mantle can be flush, inset, or protruding from the side columns. Make sure that whatever you are doing includes at least a mental picture of what you want (when you know what that is).
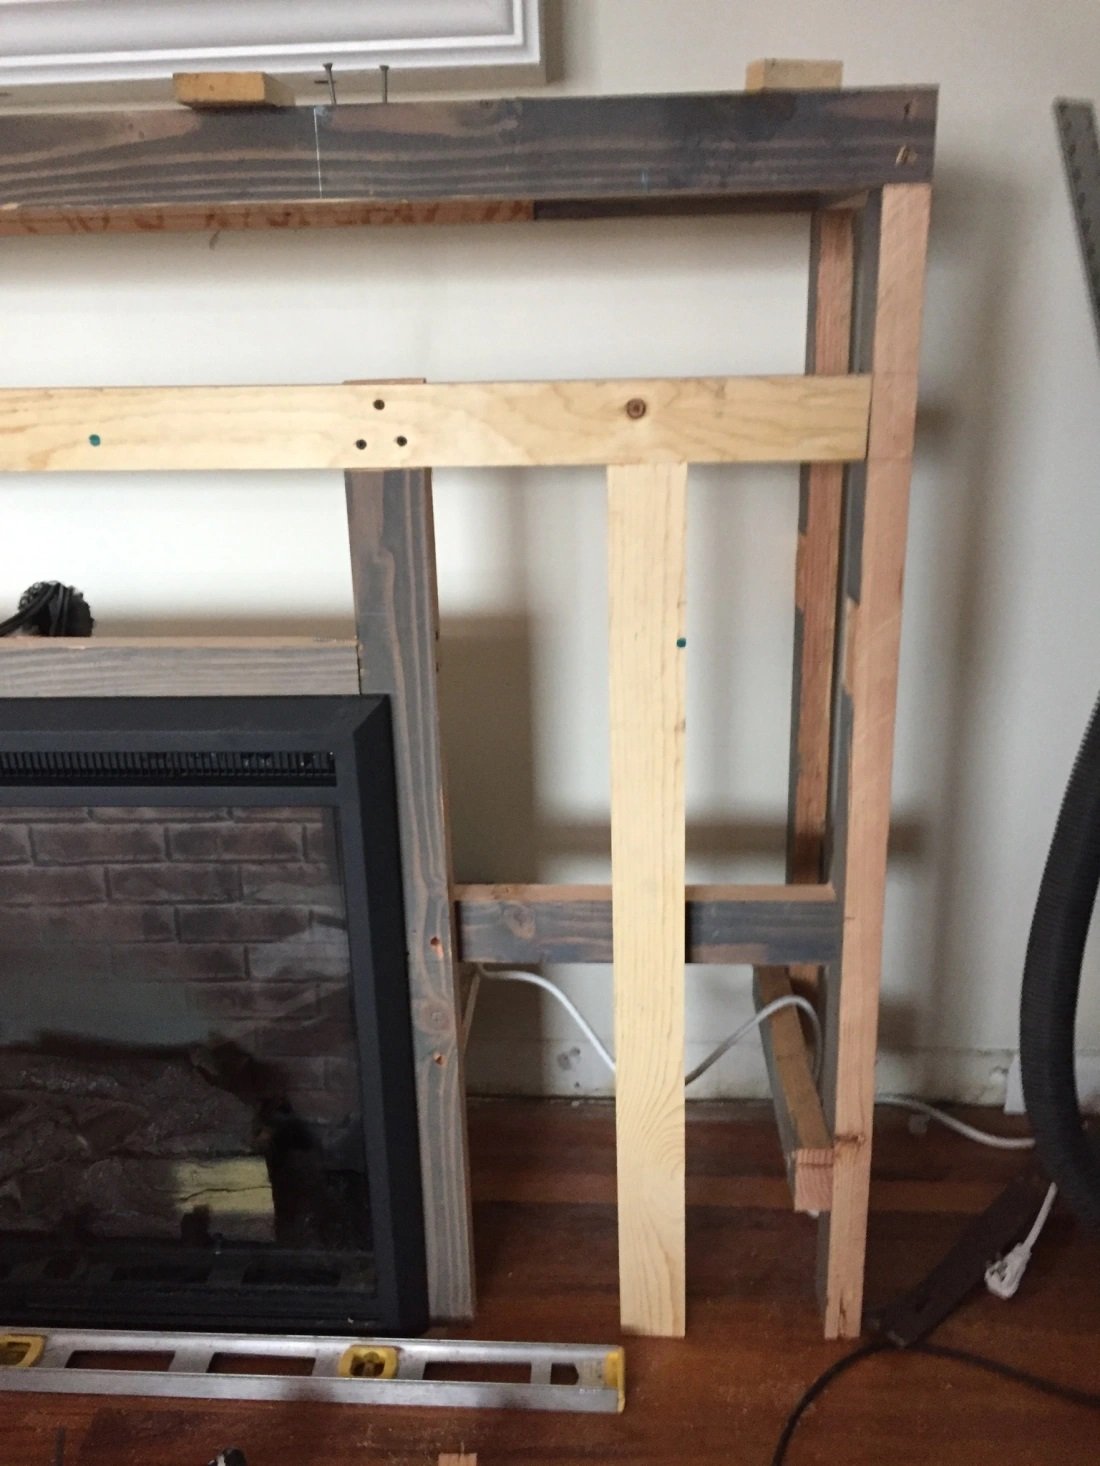
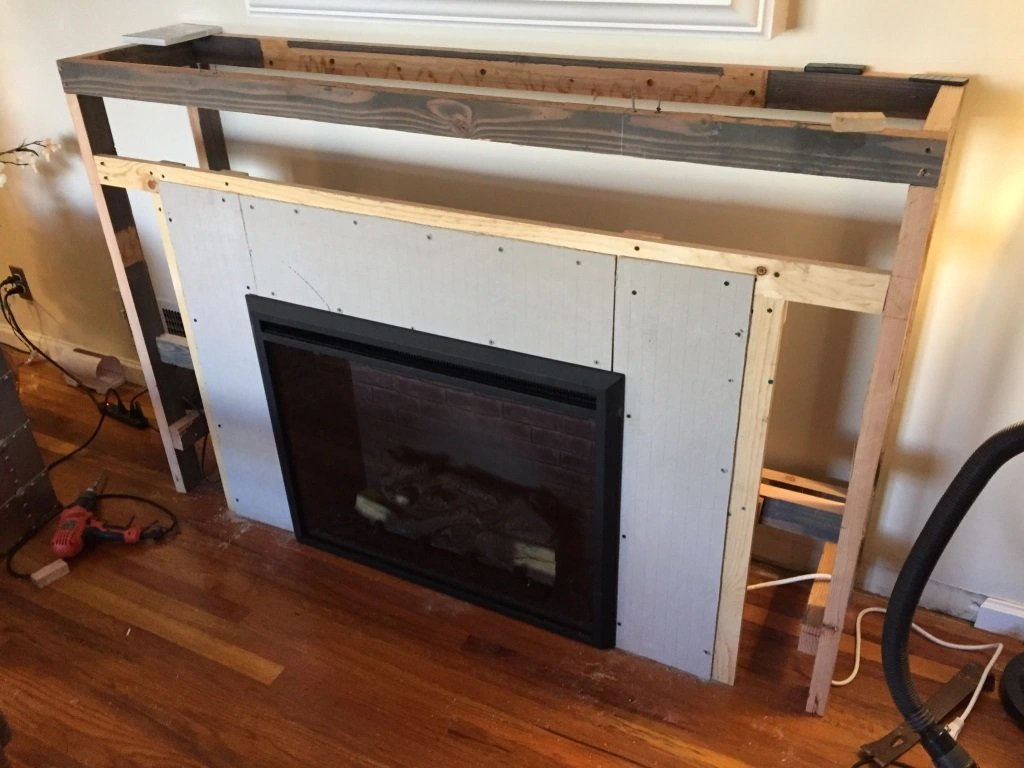
Due to lack of foresight on all of the components (mentioned above) we need to add another horizontal stick so that we can have something to tack the sheathing and cement board (for the tile) to. We did a lot of visual exercises to figure out what we wanted. The tile around the fire insert will be about 9″ wide, and the columns will be about 9 1/2″. We wanted them to be about the same width. so I added this middle board while accounting for the measurements mentioned. Score-and-snap products (meaning run a razor knife across your measurement and bend to snap it) are so easy to use. We love placing tile board for an intricate floor with HardiBacker instead of mesh cement board that needs to be cut with an angle grinder. Very dusty.
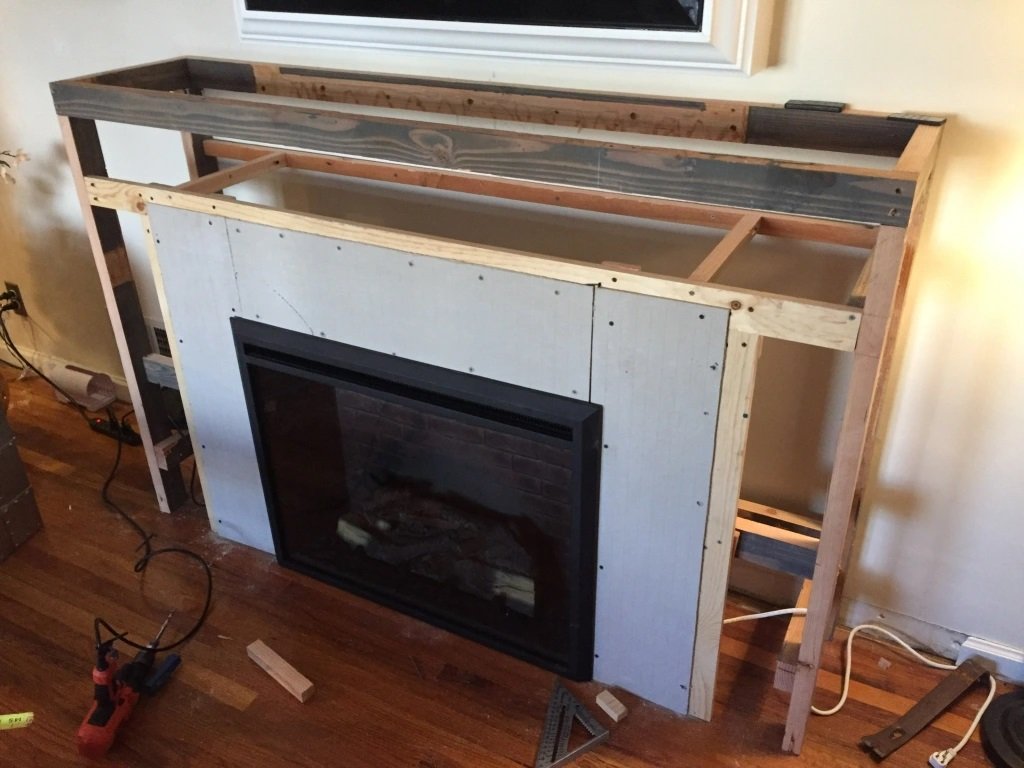
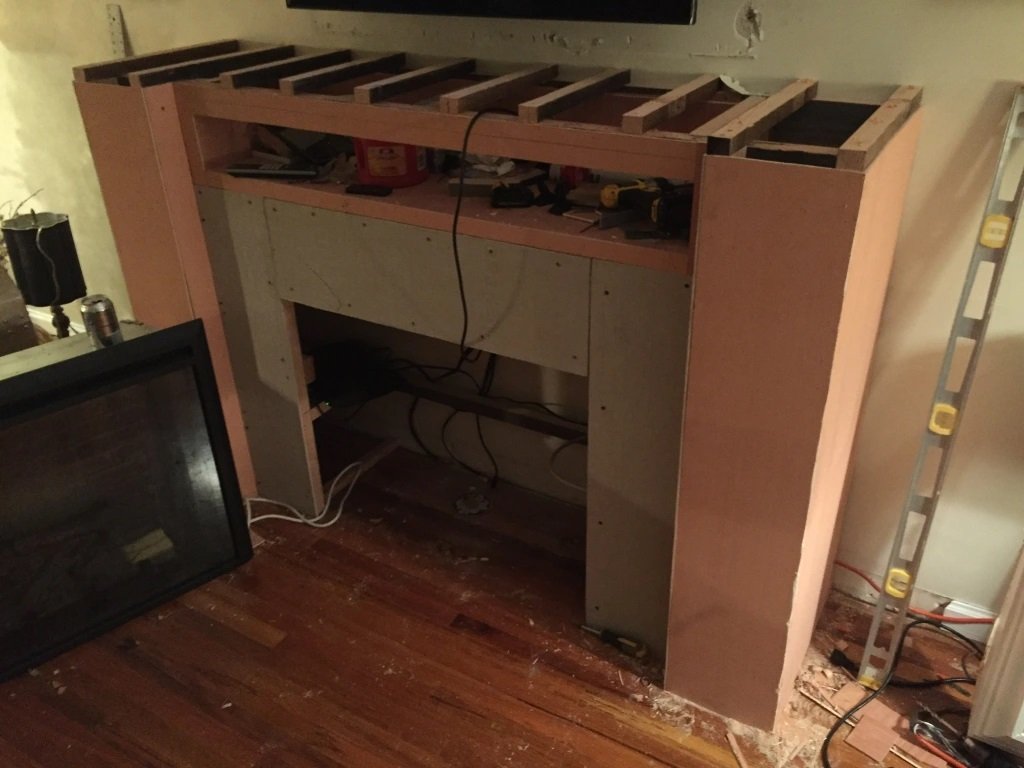
This looks like the same picture, but notice the horizontal boards we attached to the wall and added two little braces to it. Now it’s all boxed in and supported. This is going to be a “secret stash” for our electronics etc. that need to be hooked up to the TV. We have been transitioning to mostly digital, so we don’t need a bunch of storage for DVDs and the like anymore.
One of the only construction costs so far (aside from the $300 insert) is the plywood panel boards that we bought (2) at about $15 apiece. I used a slice of that to be the bottom of the secret compartment.
Again, this looks about like the previous picture, but I’ve added a back panel to the compartment.
We put the same plywood over the first column on the right. Moldings will be all over this, so my corners don’t need to be perfect.
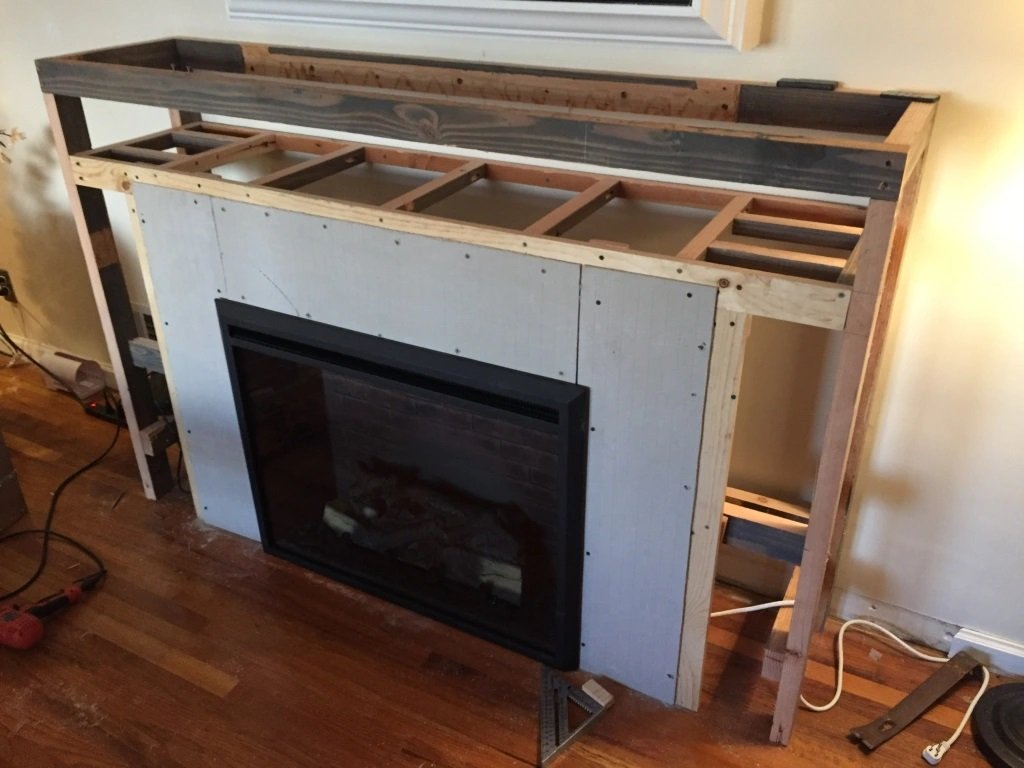
Notice at the top that I added in horizontal supports for the mantlepiece. We’ve got all the bones in place now and I’m ready to add the finer details to it.

For this second phase, we need a mantlepiece and moldings. As a reminder, we are trying to reuse materials that we have around instead of buying all of these things new; partially because we don’t have the money at the moment and partially because we can reuse the wood. We have a table that we used for a lathe in the garage and another outdoor picnic table we built years ago that we are milling and reusing the wood from. So far, we have only spent money on the 3/16″ plywood that we used for the outer shell. We think it’s been about 30-40 dollars so far.
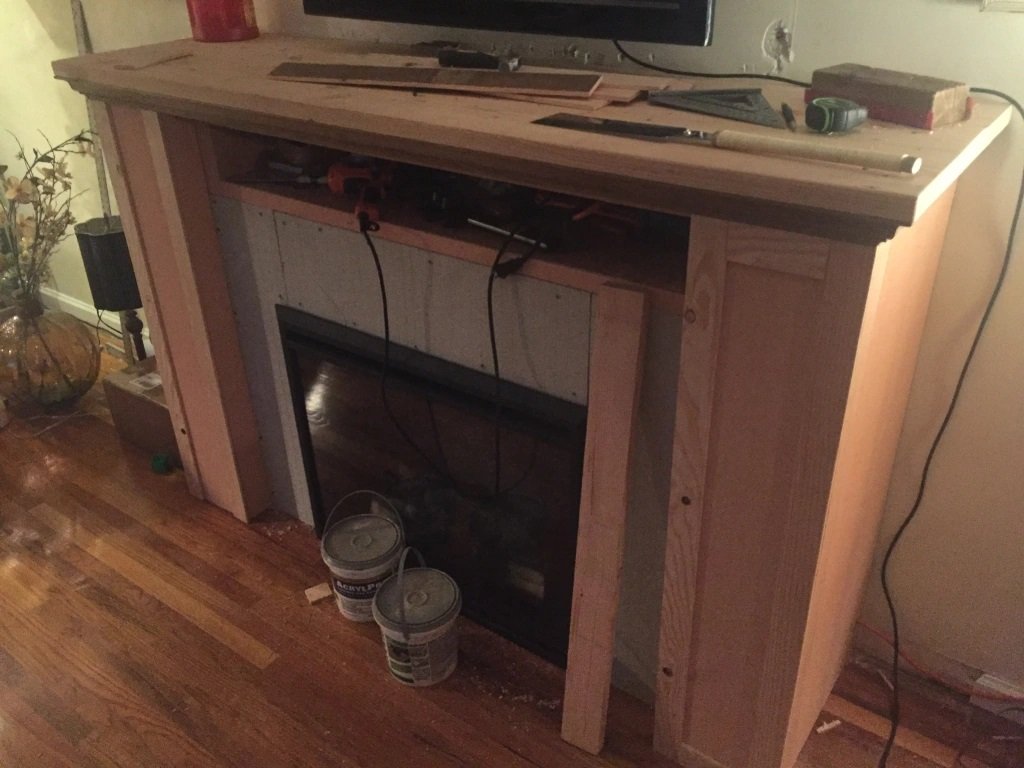
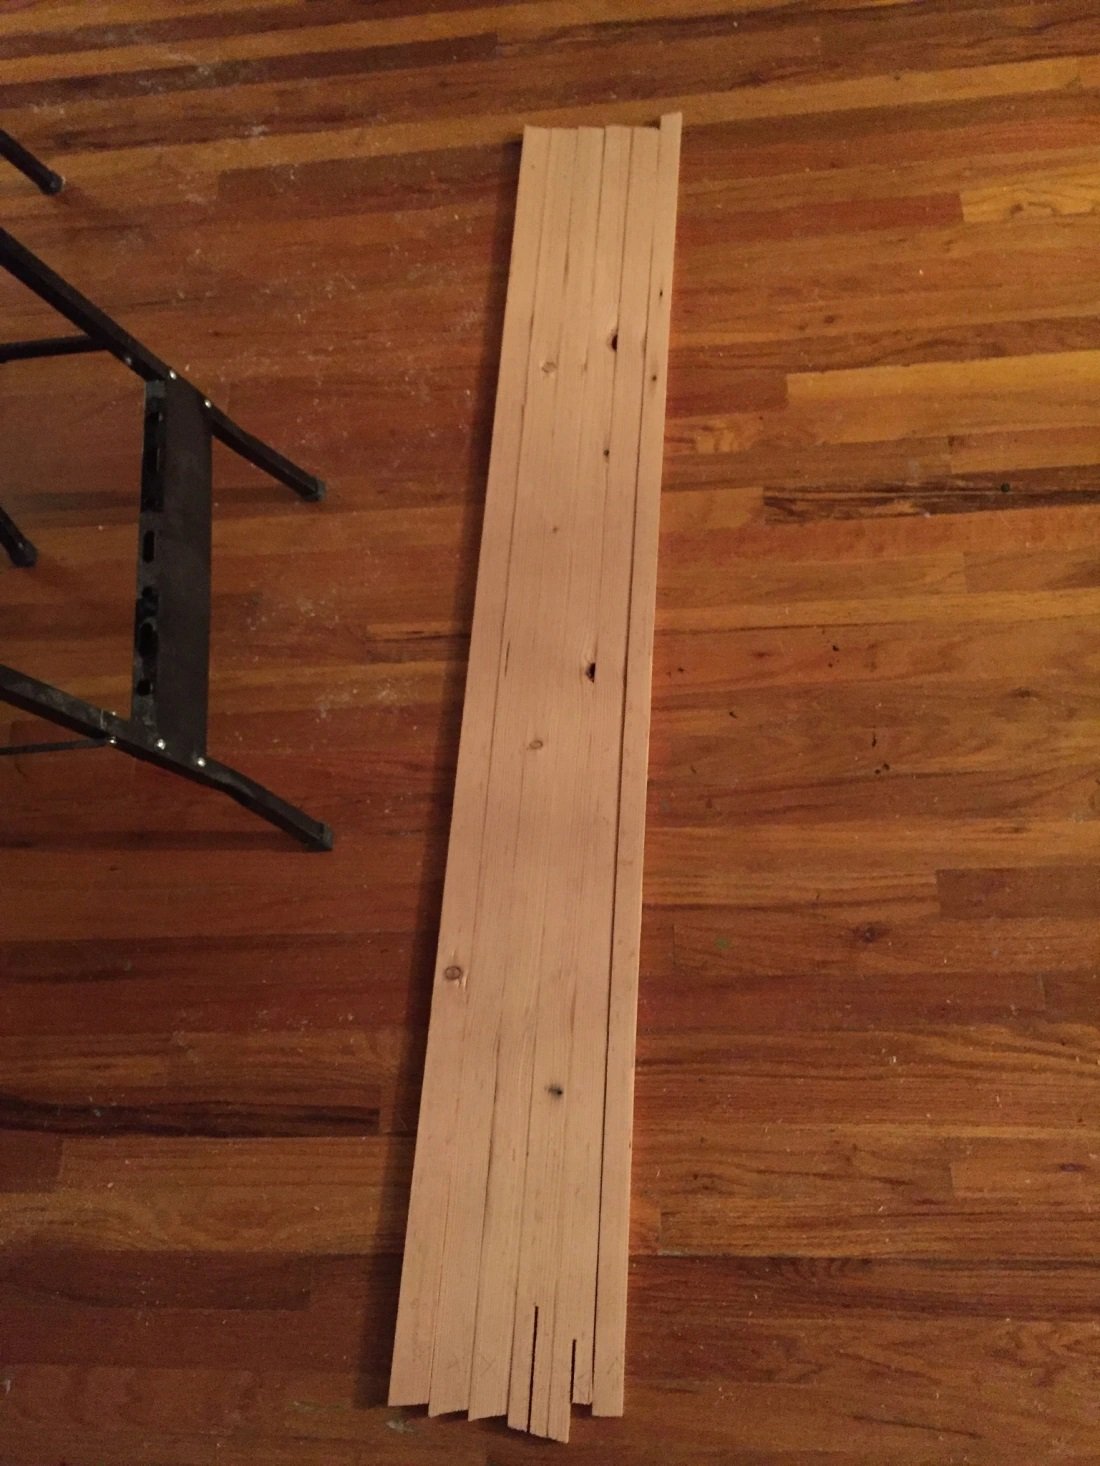
I used the second of the two old tables I am breaking down for this to make the mantlepiece. I joined three boards together with biscuits and wood glue, then smoothed it over with a belt sander, then an orbital sander. It looks fairly decent so far!
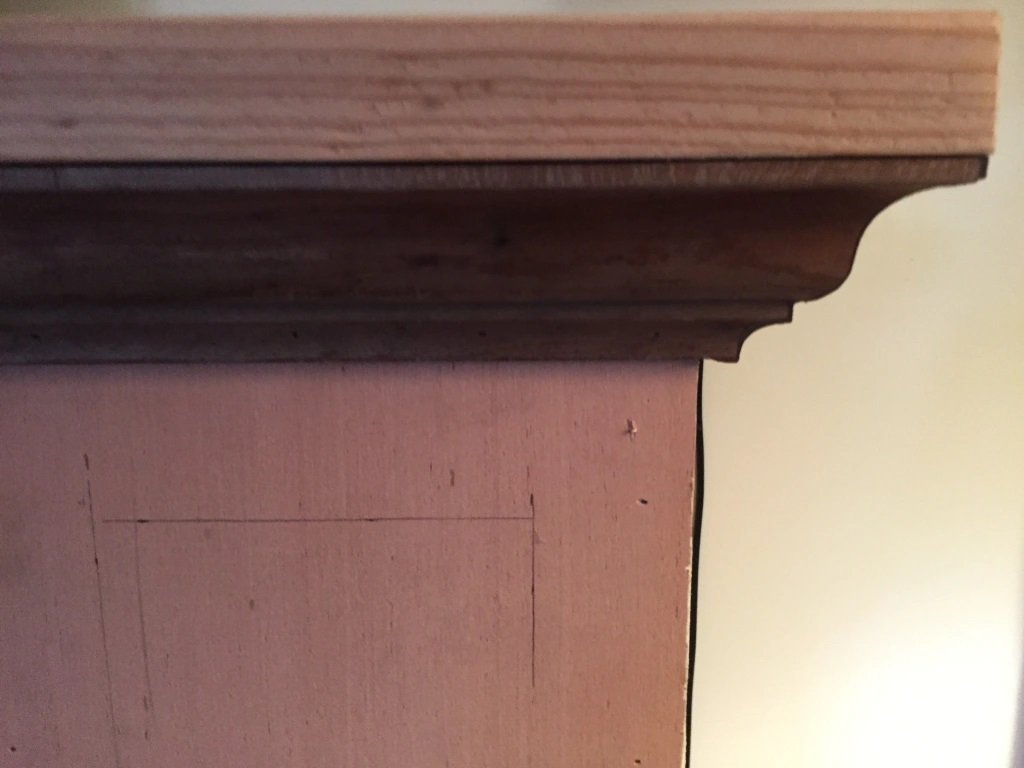
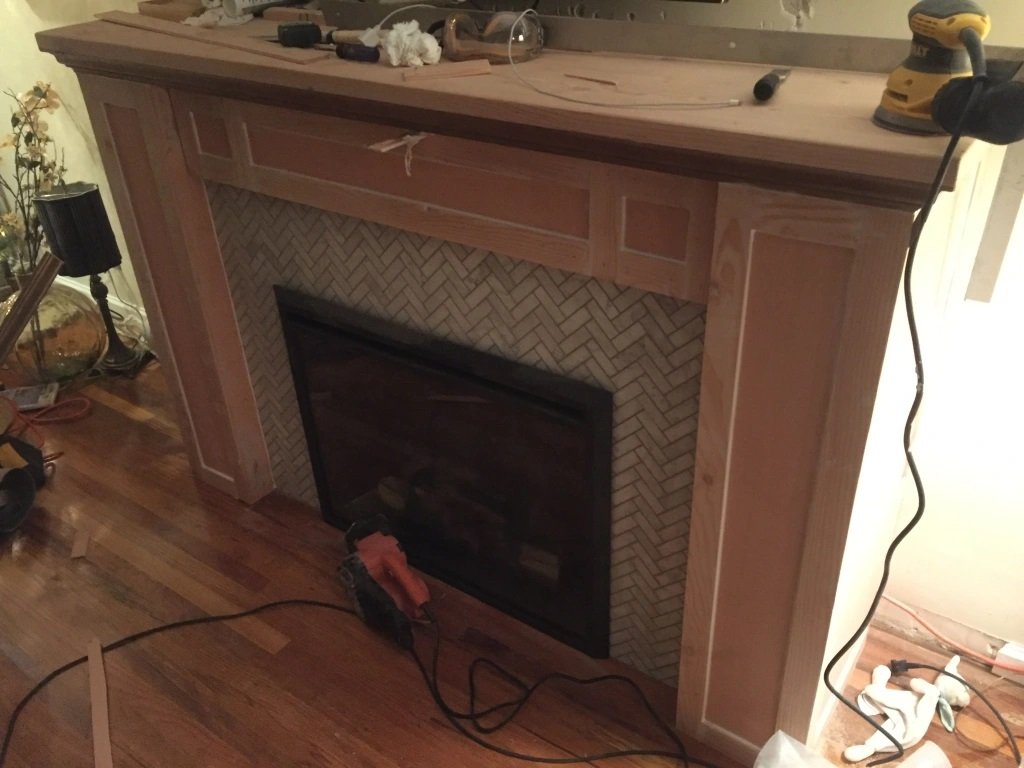
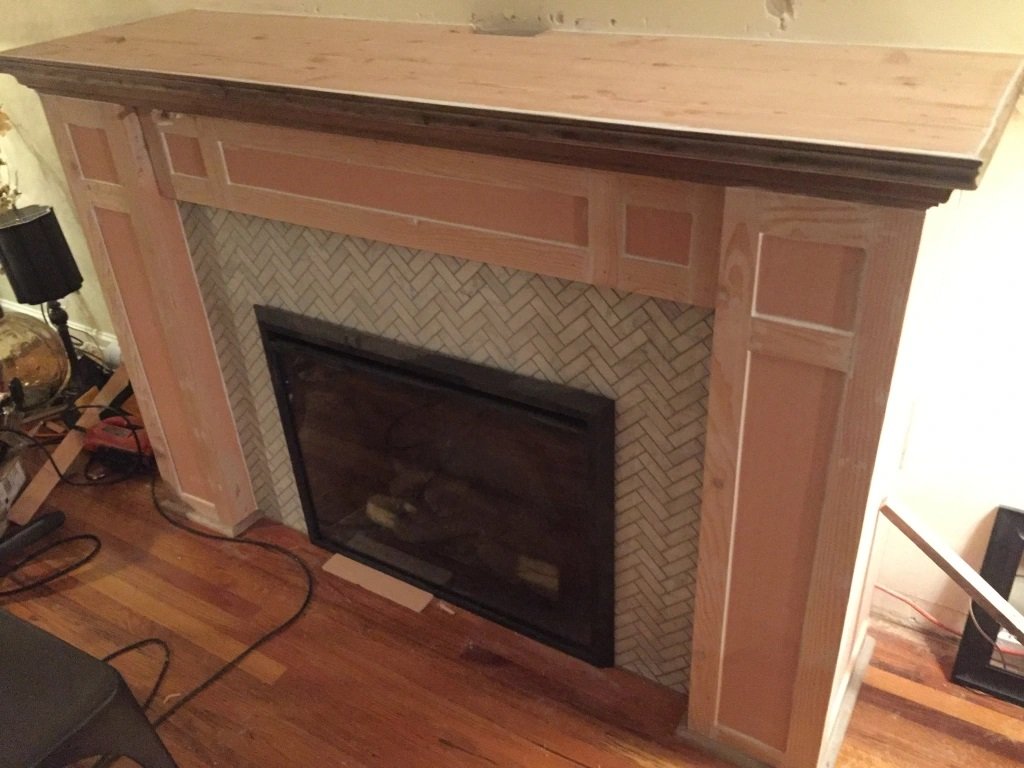
Believe it or not, we also had these old crown molding pieces hanging out in our wood stack and waiting to be used for something. The moldings were given to my mother a friend, sat in her yard through weather for a few years, then she gave them to us. These are made from alder wood, and they are still perfect for this application! By the way, if we hadn’t had these moldings, we would have milled some sticks from one of the two tables and routed a molding myself instead of purchasing them. I cut 2 1/4″ slices from my wood stock, sanded them lightly for snags, and installed the molding on the side posts. I am ready for tile!
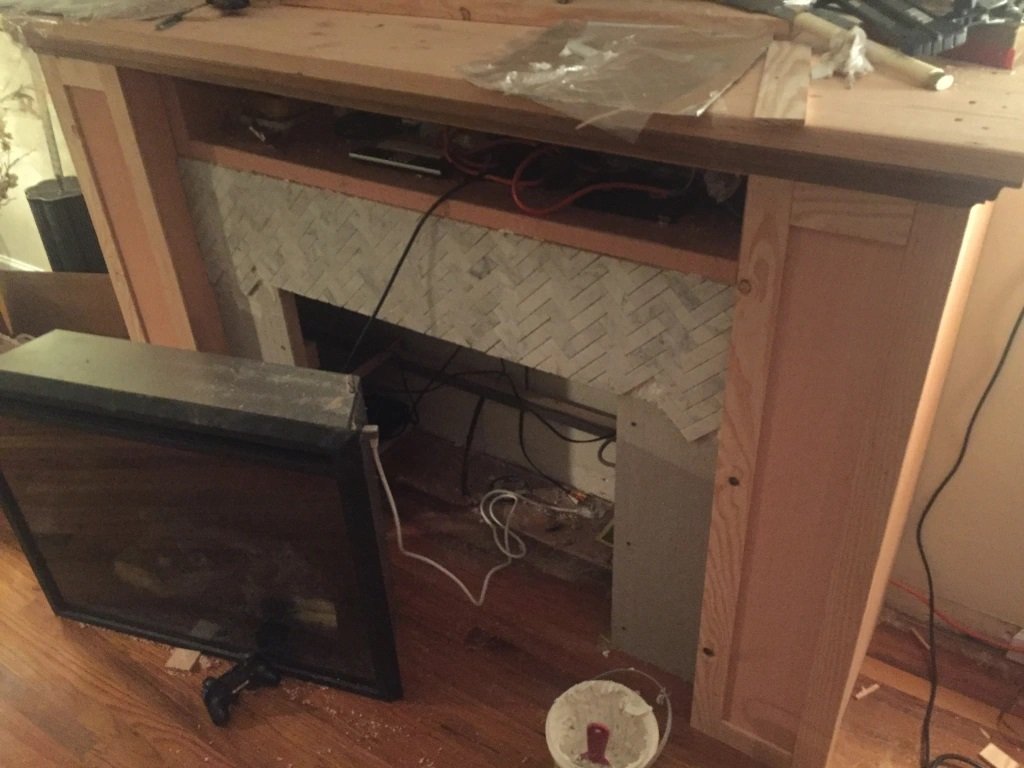
We got this great grey herringbone tile on sale for Black Friday. We paid about $5/square foot for it, and we got about 10 square feet of it, plus some grout. We’re using some leftover mastic (thin set mortar alternative) from our bathroom wall to attach the tiles to the backer board. All told, we believe we’re about $75 dollars in on the fireplace tile. The tile is now set and ready for grout.

We glued these strips together for the door to our “secret” shelf, which will hold a DVD player and controllers, etc. We laminated the door, so it has the glued strips on the back side, then the same 3/16″ plywood, then the same molding strips. It looks great! We found some old hinges in the garage that were on a box that held routing bits. They were perfect, and we saved more money on that too! It’s a bit hard to see any difference here, but the tile has grout now and it is a great improvement.
We primed the fireplace tonight, which went much faster than expected. It took about 30-45 minutes to get it taped off, cut in, and primed and ready for paint.

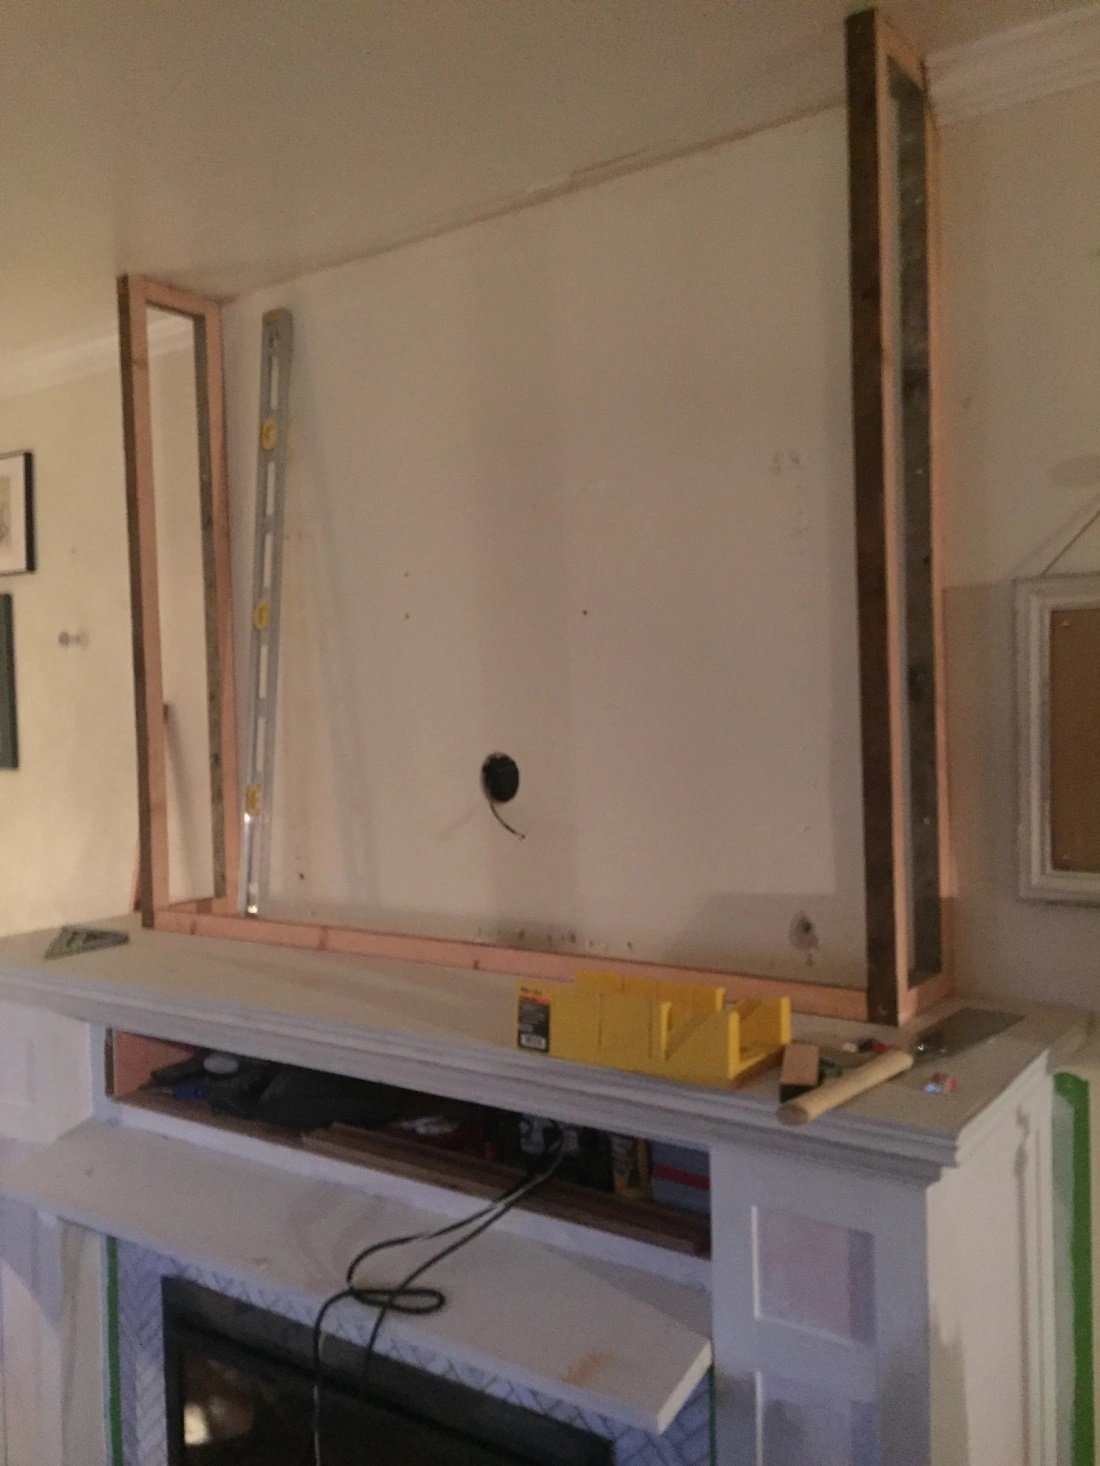
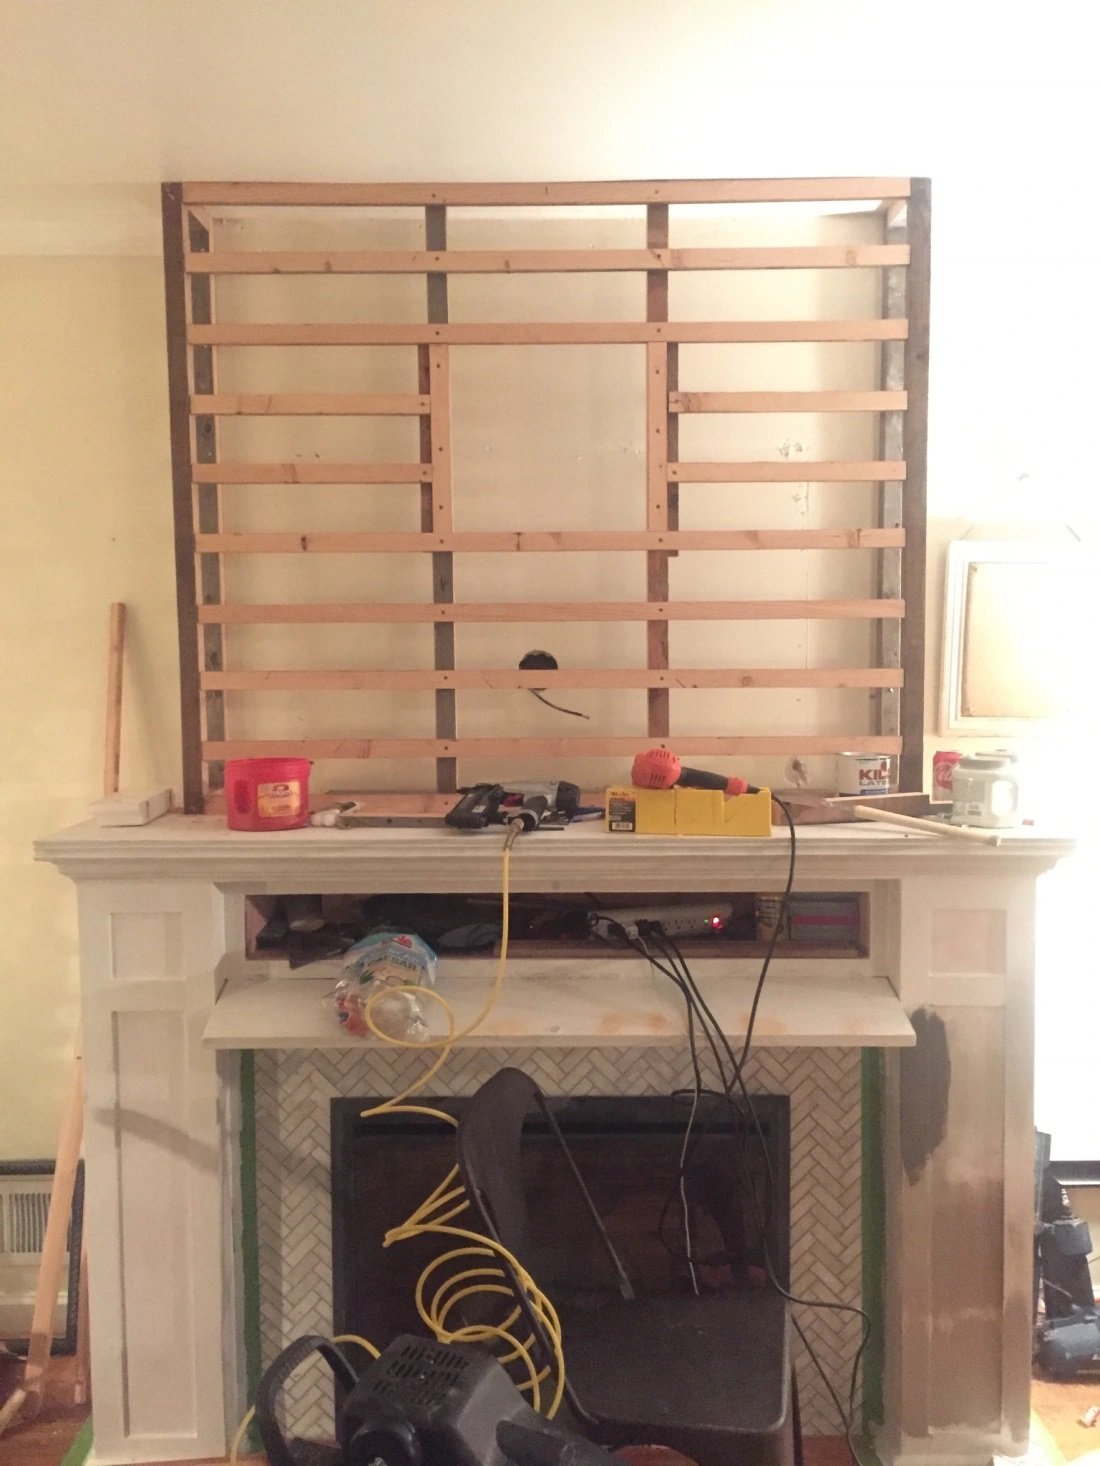
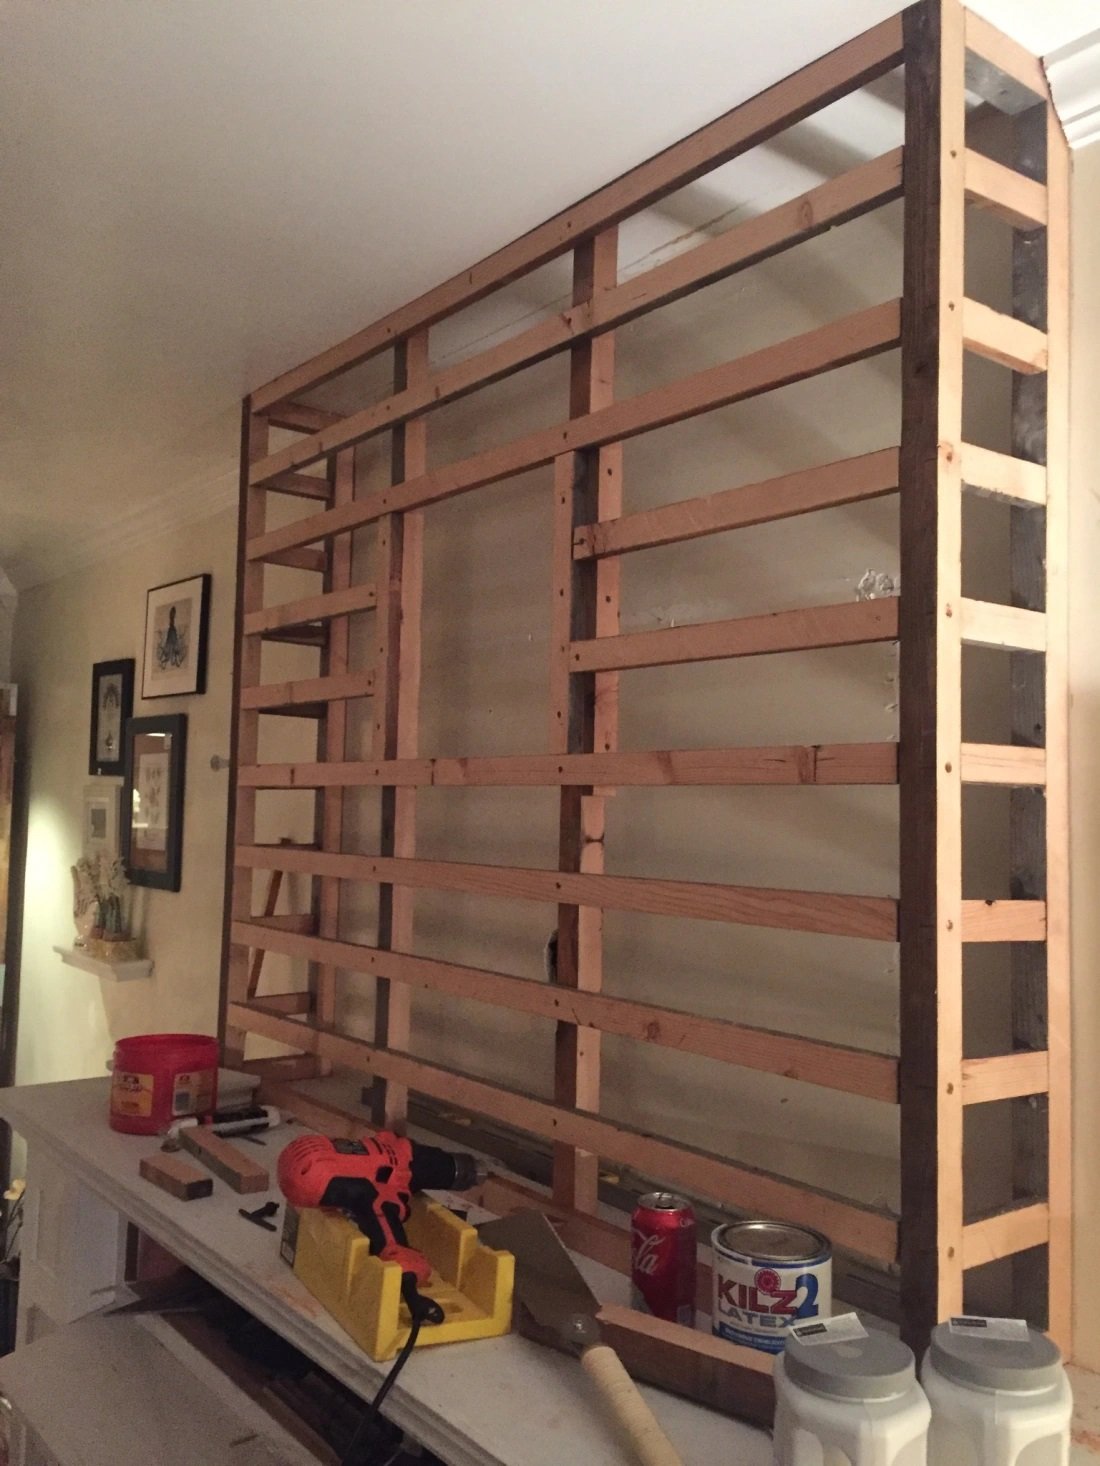
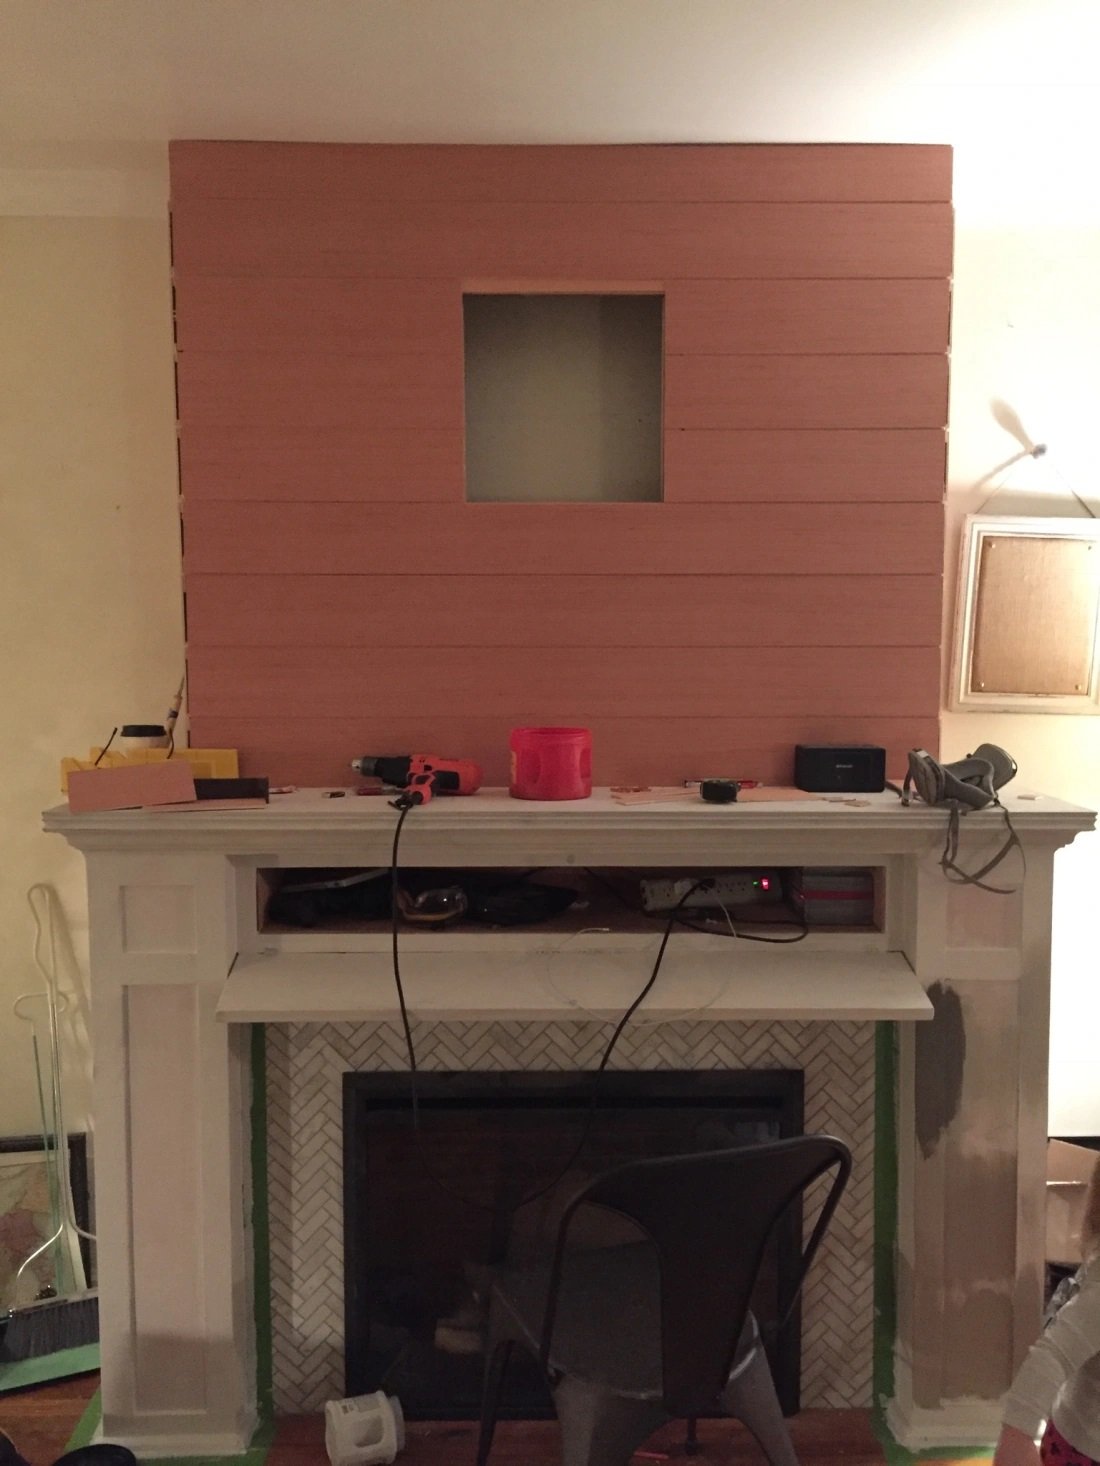
The “flue” area, where we will hang our TV, will have a cut out where the mount will connect to the wall, and we will be able to route our cords behind that and through the small hole we cut in the top of the mantle board. we cut out the existing crown molding on the wall and placed the first two studs in for the flue wall the box both sides in. We used the right column to test out some paint colors and worked on fully enclosing the flue wall . The horizontal studs are in place for the boards we’ll will be adding, so we had to use the measurement of the boards (5 1/2″) plus the spacing we wanted between them (3/16″) to find the center point for each of them. Pretty simple stuff, but you have to get this part right so you’ll have something to nail into for each board.

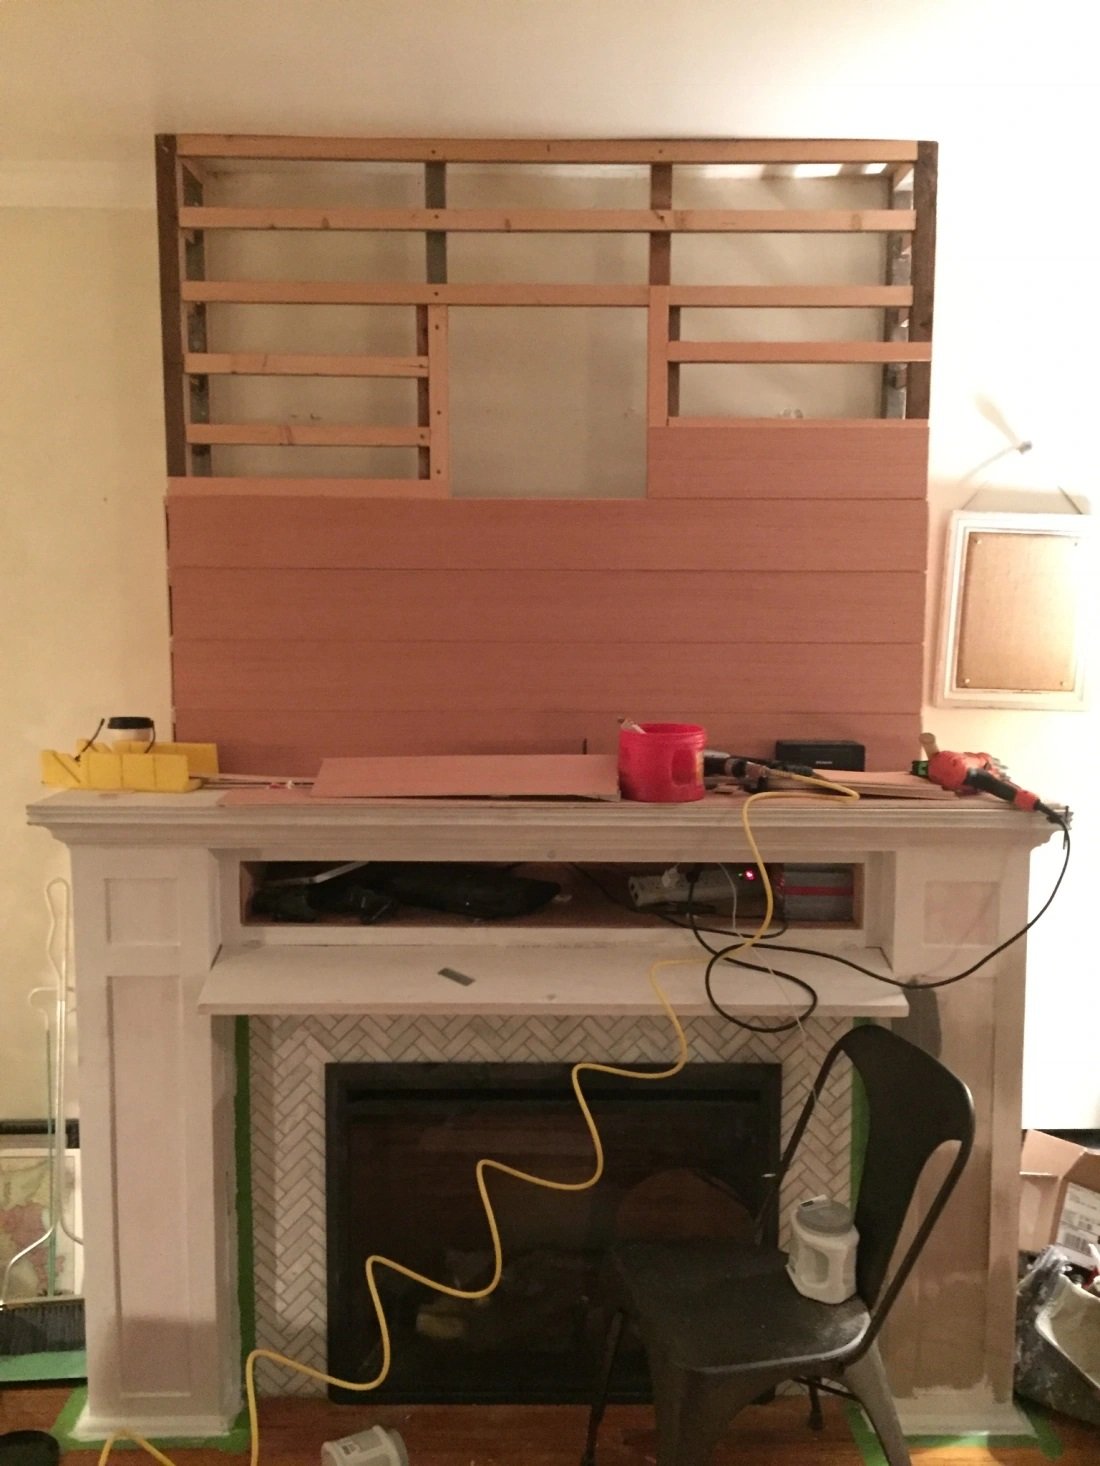
Using scraps from the same 3/16″ boards we purchased to cover the columns, I cut 5 1/2″ strips out with my table saw and started tacking them up tonight with my finish nail gun. Here it is about halfway done.
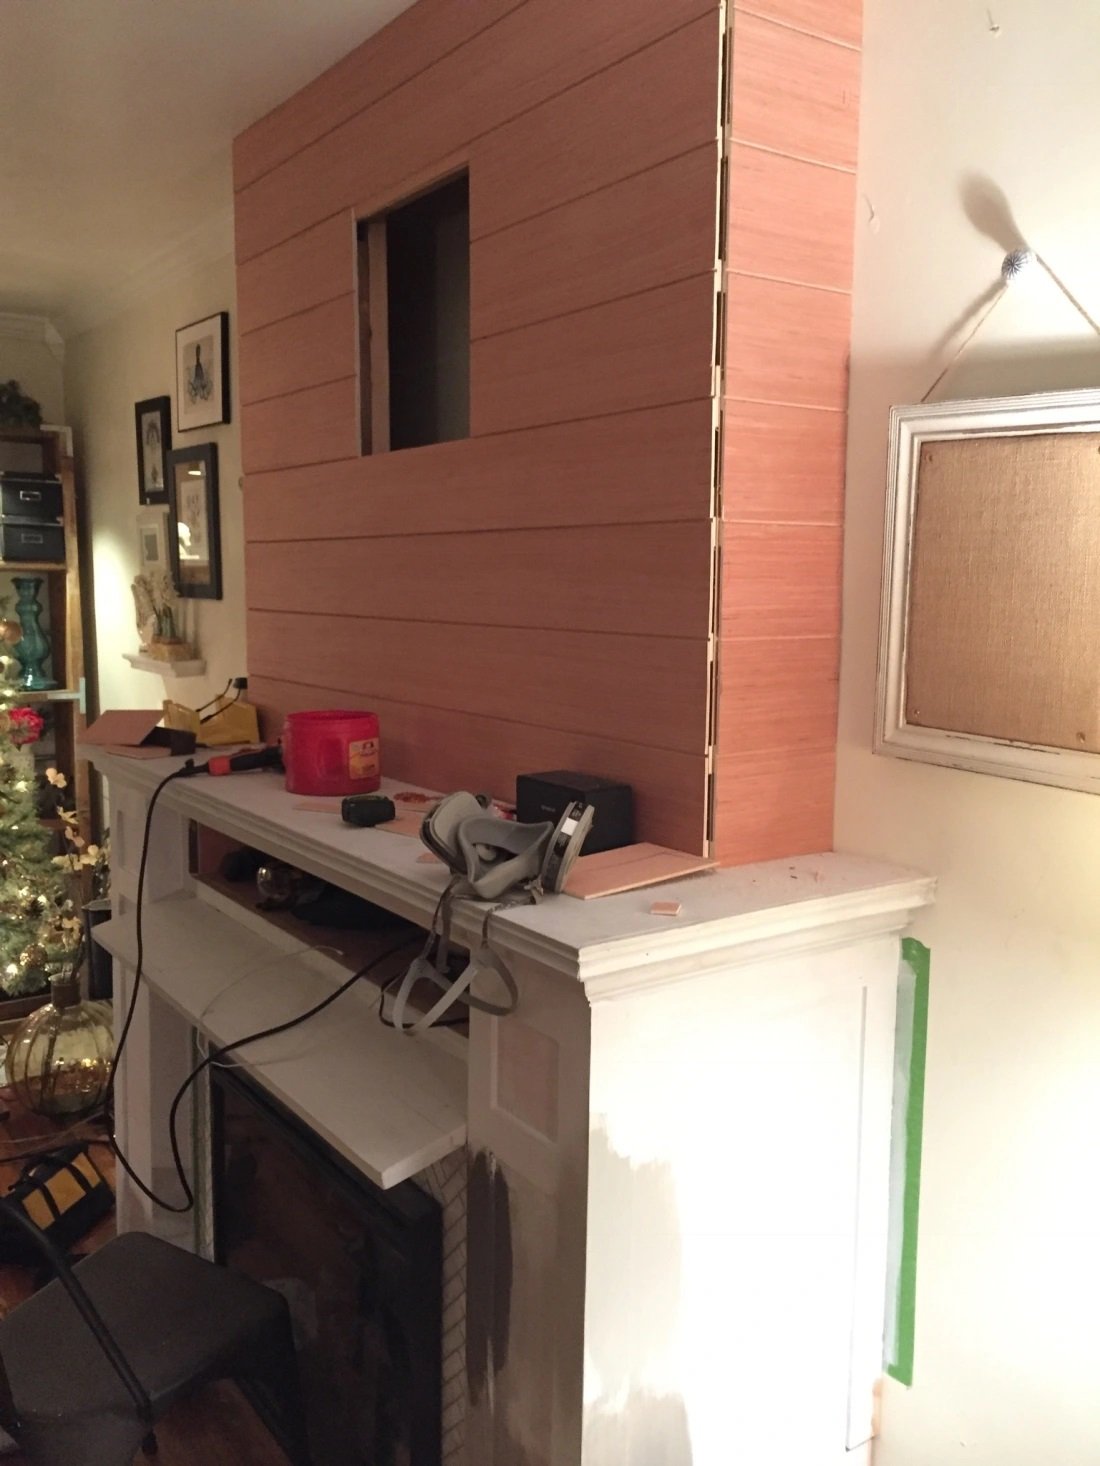
Here’s another angle of the same thing. Bad news though, we decided that we wanted the access hole for the TV a little lower. we’re going to move the box down one plank, which means we have to re-place two of the studs in the wall. This should be fairly easy, but it is a slight setback.
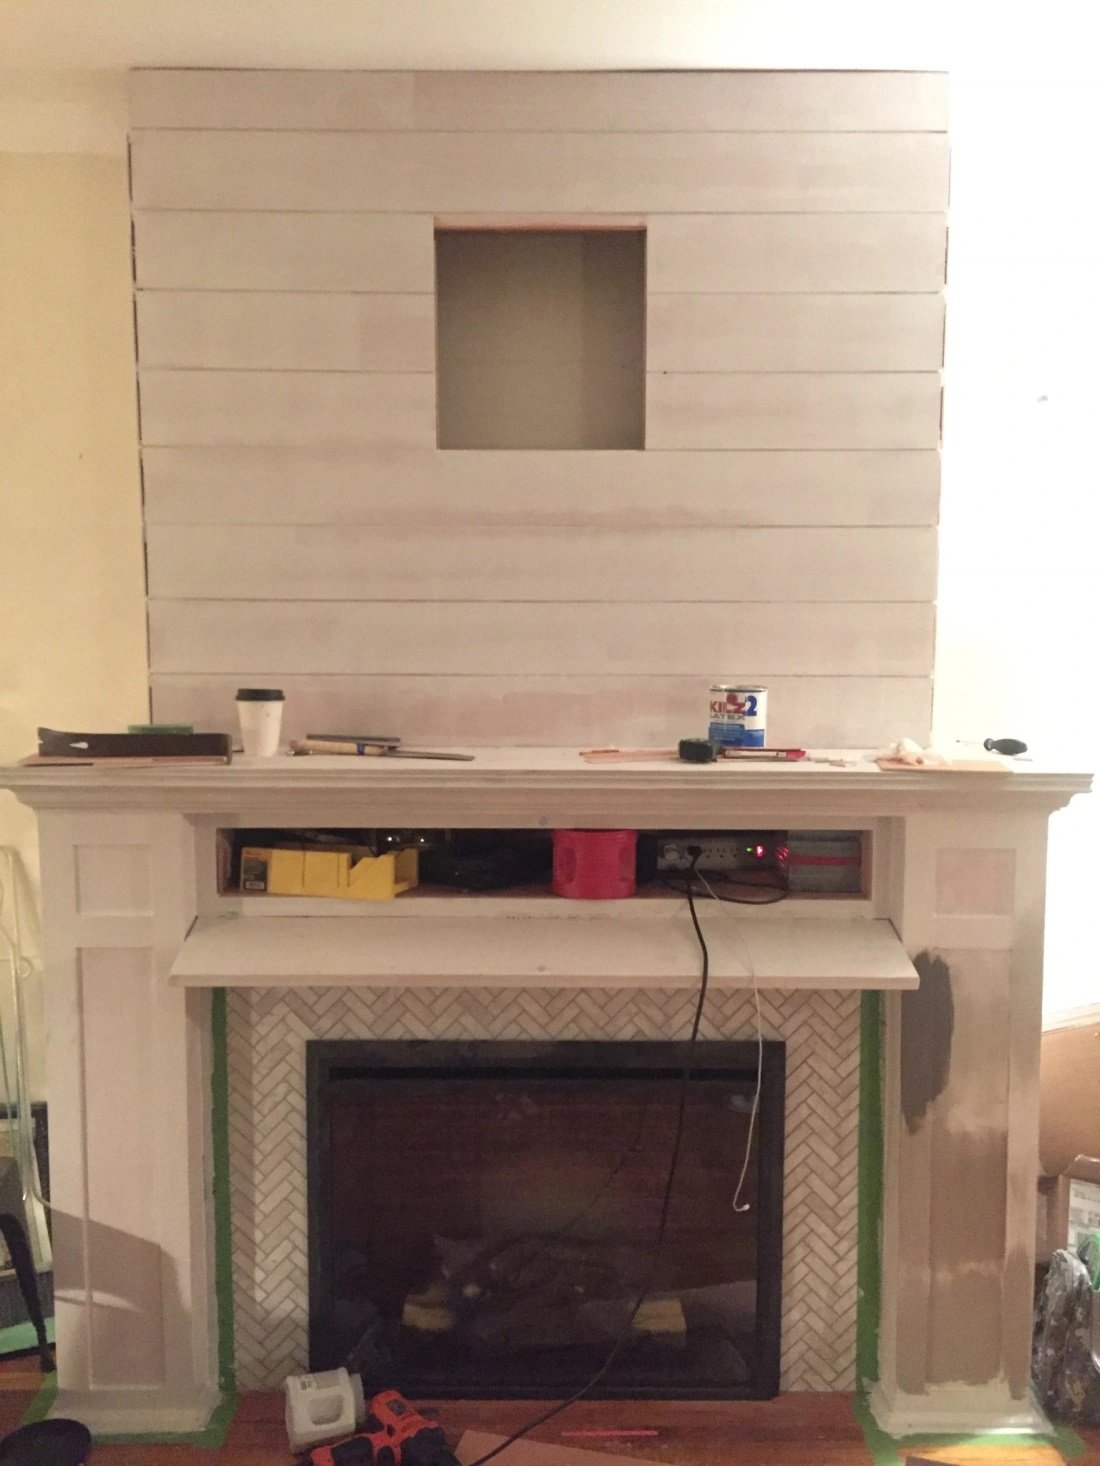
Primed and painted, there are now three planks above the access hole and three planks below it. All we did to get it moved down was to cut out the top and bottom studs behind the planks, used a Kreg jig to pocket-hole them back into place, and traded the bottom plank for the two smaller planks that used to be on top. No new materials needed.
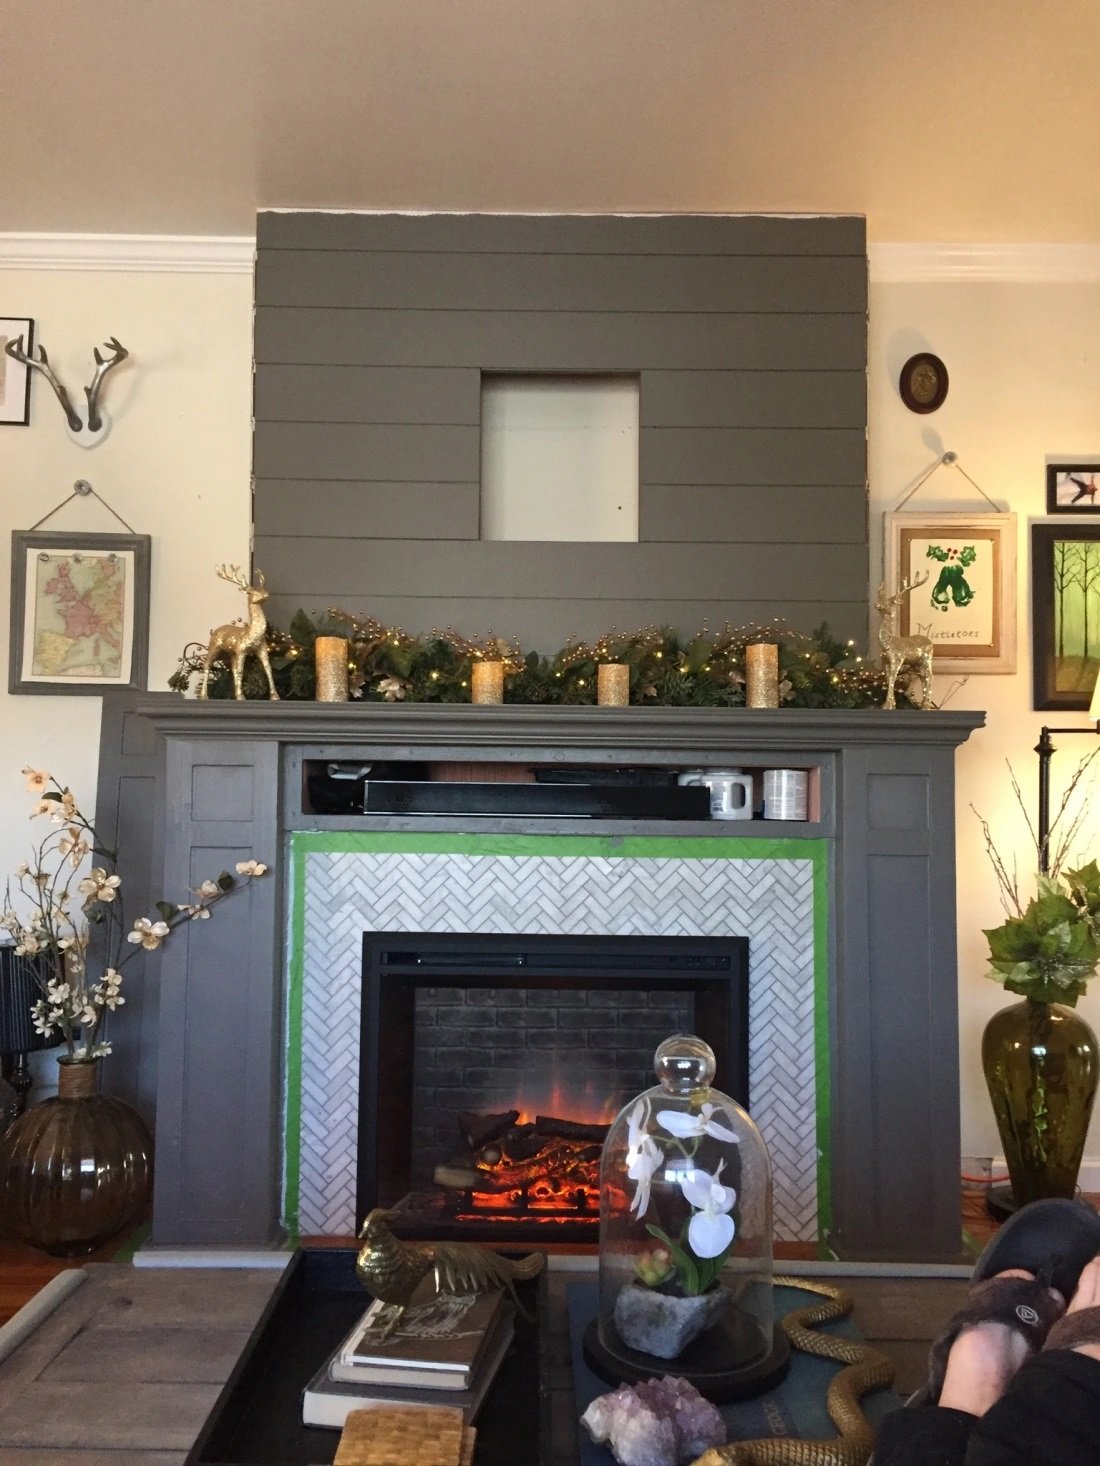
And now the final product! TV is mounted, secret console door attached and crown molding added to the top to match the rest of the room. Chef’s kiss!
